By Jeff Daum, Ph.D., PPA
Technology & Product Analyst
While there was a plethora of surveillance systems at this year’s Consumer Electronics Show (CES 2026), Reolink’s product line stood out. I was particularly impressed with the specifications and capabilities of their new Altas PT Ultra with Solar Panel 2 unit. Here’s why:
One of the potential drawbacks for many surveillance cameras on the market today is the need for direct access to a power outlet. Some manufacturers have attempted to get around this by combining their camera with a solar panel. But numerous of these solar powered units did not generate sufficient power to continue working throughout the night or on days with little to no sun.
This brings me to why I wanted to test the Altas PT Ultra unit. It was designed from the ground up to be supported by solar power, with a massive 20,000 mAp battery along with proprietary technology that reduces power draw. Aaron Downes, the Go To Market Manager NA for Reolink arranged for me to receive an Altas PT Ultra with Solar Panel 2 for testing and review.
Here are the Altas PT Ultra unit’s specifications with the optional Solar Panel 2 from Reolink’s web site: [1]
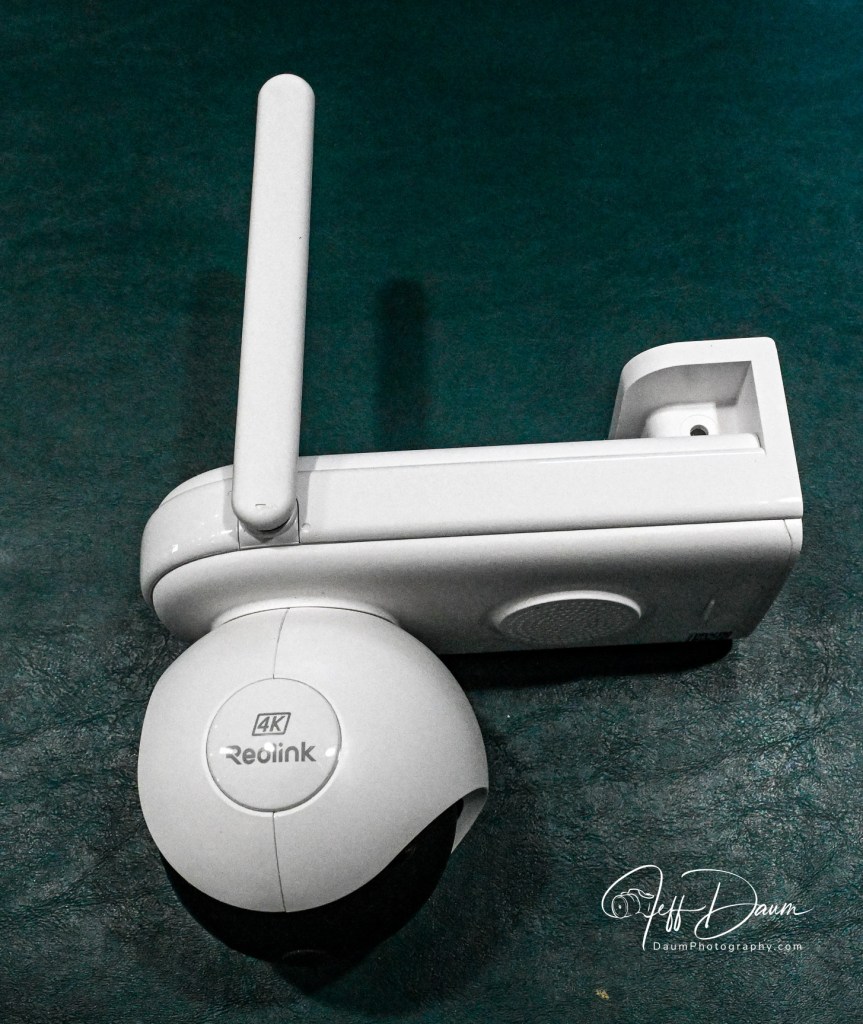
- 4K 360° Pan & Tilt Long Lasting Battery Camera with Pre-recording
- 500-Day Long Lasting Battery
- Up to 10s of Pre-recording
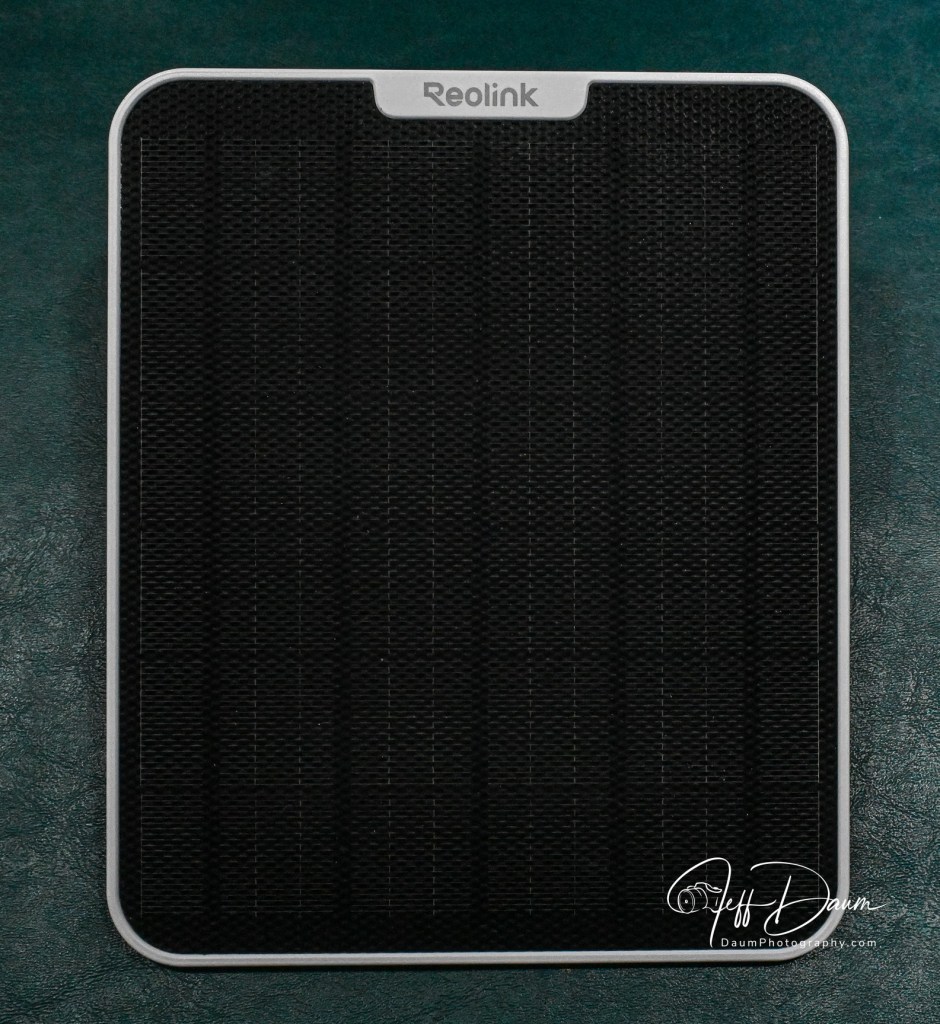
- Solar Panel Support
- 4K ColorX Night Vision
- 360° Automatic Tracking
- No Monthly Fees For Local Storage
- With a 20,000mAh battery, it delivers an impressive 500 days of operation in PIR mode, ensuring reliable performance even during cold winters or extended periods without sunlight, all on a single charge.
- 6 watt solar panel
- 256 GB microSD card capability
It lists with the Solar Sanel 2 at US$219.99 in white or US$239.99 in black, though they do run sales on their website and it can be ordered with or without the solar panel and with a 256GB microSD card.
Installation and Setup
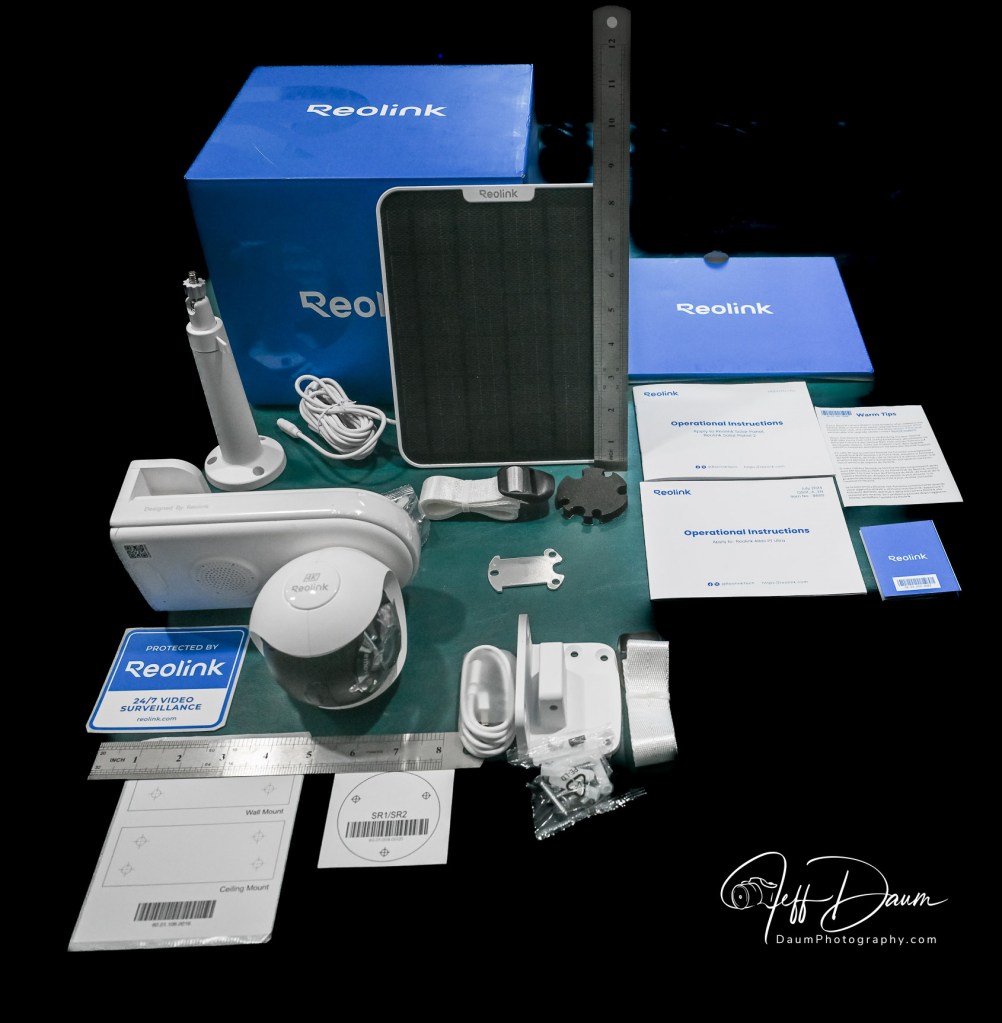

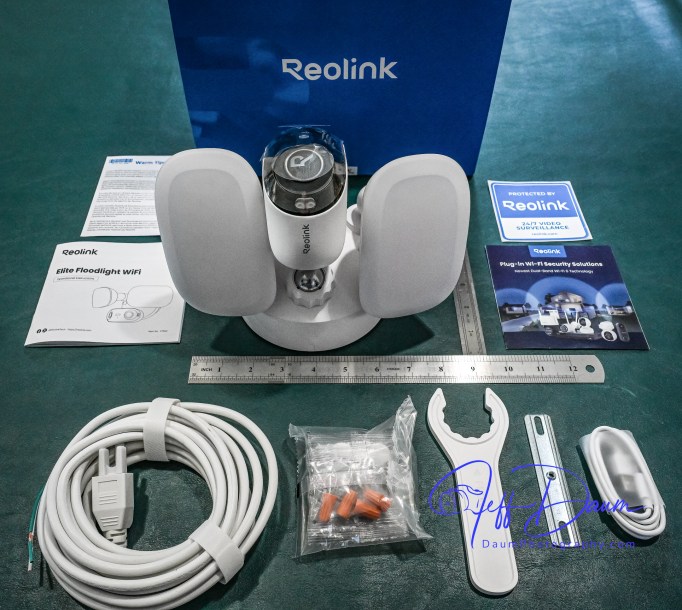
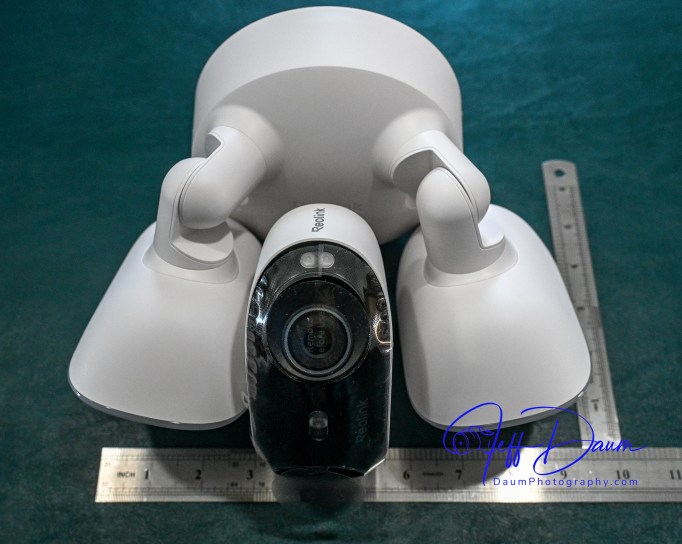
The Altas PT Ultra with Solar Panel 2 comes with just about everything you need to install the camera and solar panel. The mounting instructions included in the Operational Instructions booklet are easy to follow.
The first step after unboxing is to download the free Reolink app and the use the QR code on the camera to add it to the app. The process is easy and quick.
Prior to mounting the camera, the instructions recommend you fully charge the battery using the included USB A to C cable and your own 5v USB power adapter. I did this while deciding on the best location to mount both the Altas PT Ultra camera and the Solar Panel 2.
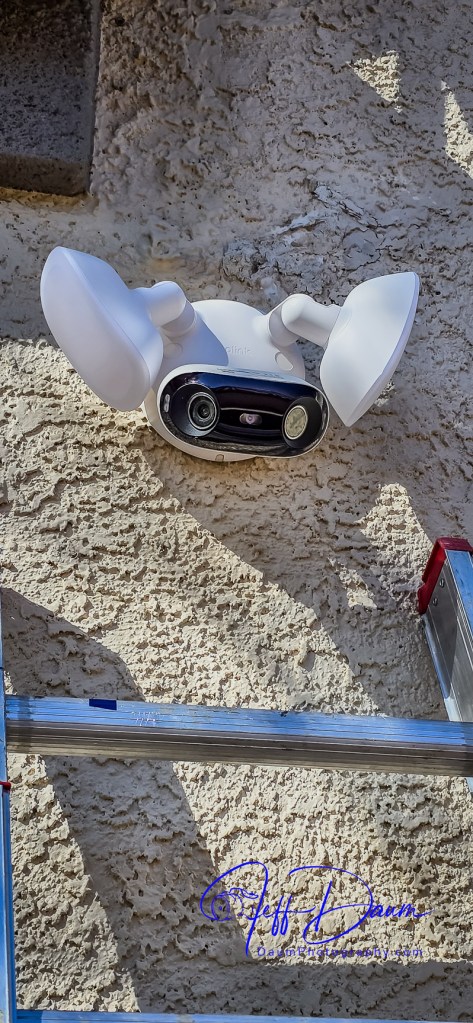
There are three mounting options for the camera: on a wall or to the ceiling, or it can be mounted to a pole or tree. The necessary brackets, screws, anchors and straps are provided.
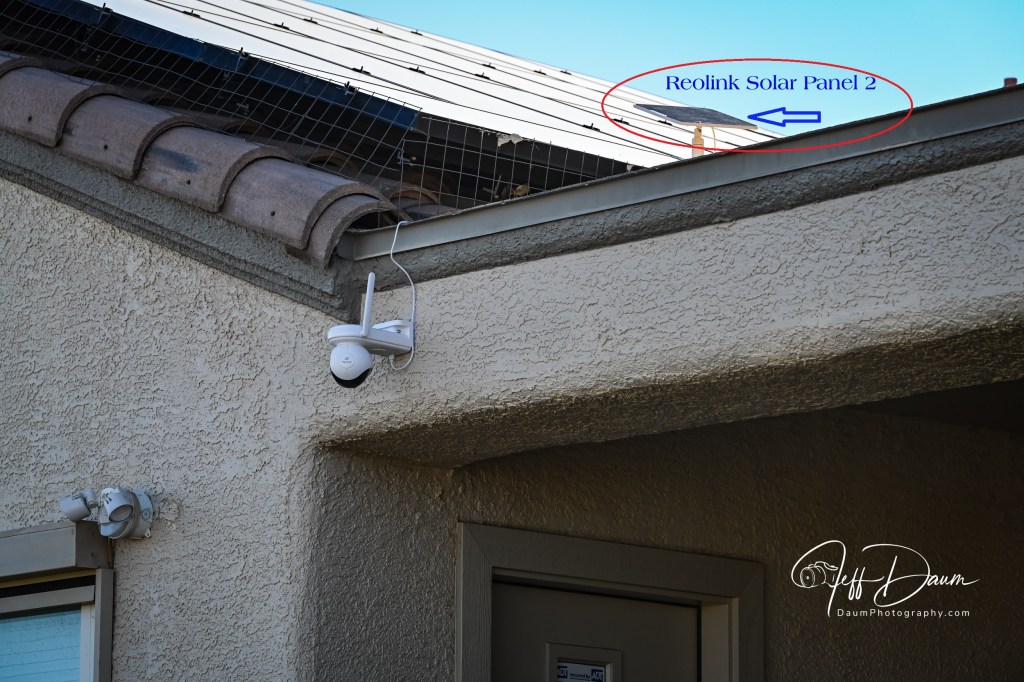
Before finalizing the mounting location, I held the camera temporarily in place and checked the image on the app. In my case I mounted the camera on the wall and the solar panel nearby on the roof. Reolink provided templates for both units to ensure you drill the holes correctly.
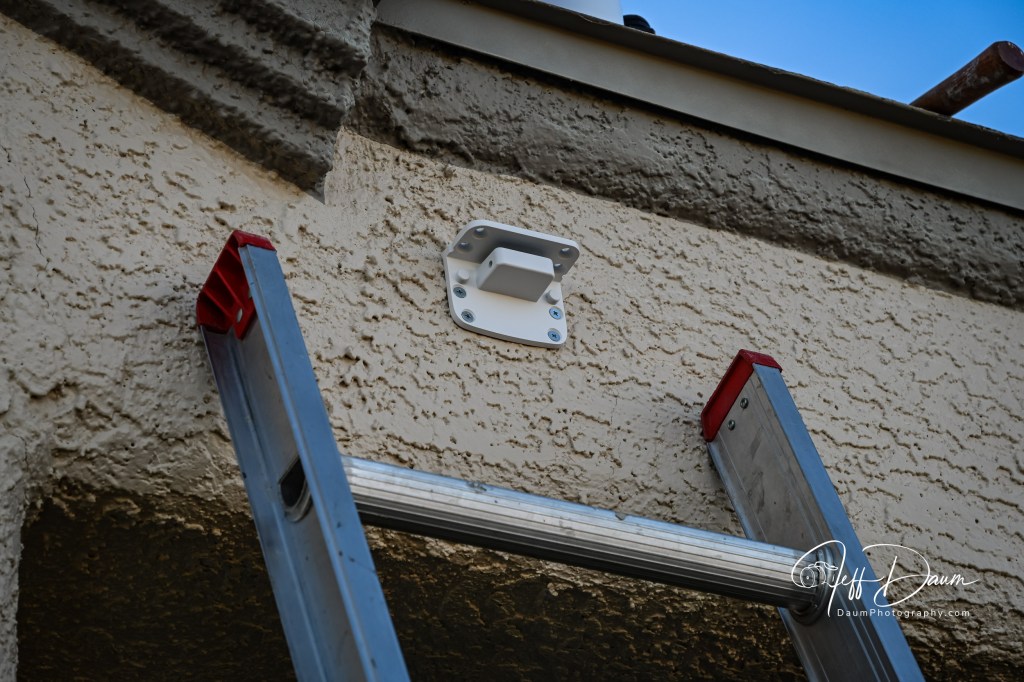
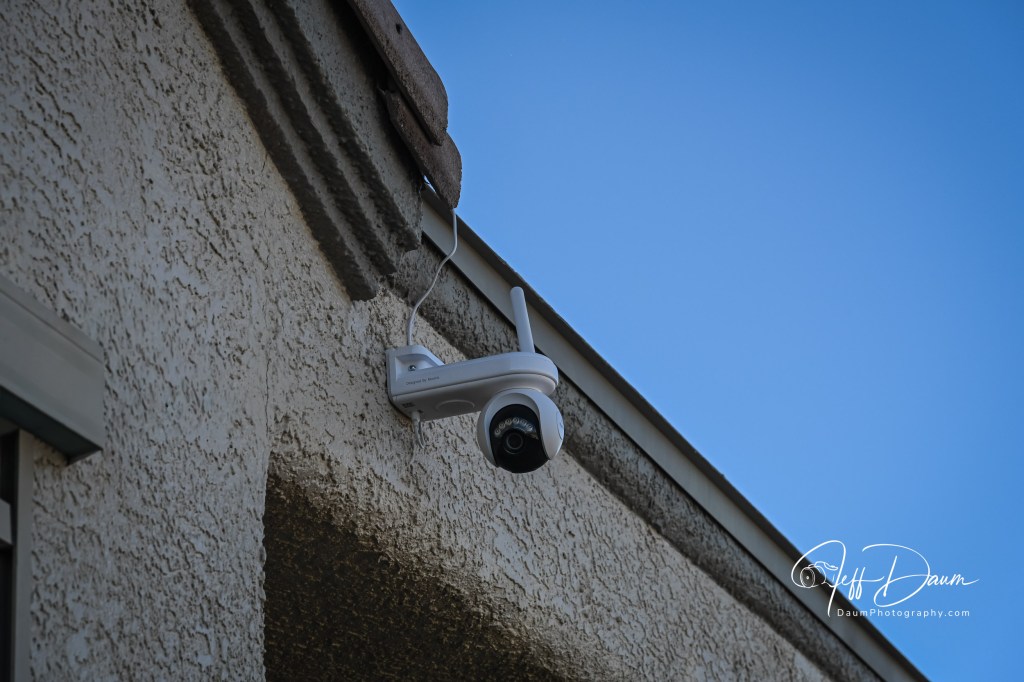
Note: I decided on securing the connection wire from the solar panel to the camera along the surface using heavy duty outdoor hot glue and a glue gun. Out of an abundance of caution, I also modified the rubber plug that sits over the USB port and camera power button. The plug is designed to weather seal that area but does not fit once you attach the solar power cord to the camera. So, I cut the plug into pieces to cover the area to the left of the solar cord and to the right of the solar cord where the power button is located.
Once everything was mounted, I used the app to fine tune the setting. There are easy to follow comprehensive options including: the type of recording, resolution, frame rate, bitrate, time/schedule, auto tracking with a settable central return position, PIR or passive infrared sensor or not, sensitivity of the PIR, time lapse, night time spot light, use of its built in alarm and its duration, two way speaker, audio recording, saving recordings to an optional built in microSD card or optional Reolink hub or local driver, type and manner of notification, and auto update of software.
Since this system is solar powered, once you have paired the camera with the Reolink App and set up the parameters to your liking, you can mount the camera up in a location that has neither power nor WiFi. Everything will function perfectly, except of course, you could not view the images live or playback recorded videos remotely. However, you could go to the remote camera location and remove the microSD card and then view the recording on your computer or similar device.
Preliminary Results
As I found when I reviewed another Reolink Serveillance camera, The Reolink Elite 4K Floodlight WiFi surveillance camera[2], they do not disappoint! Reolink continues to raise the bar with this Altas PT Ultra with Solar Panel 2 system.
The crystal-clear images were available on my phone and my computer as soon as the system was up and running. The camera records simultaneously in both low and high definition called Fluent and Clear, respectfully at 640P and 4KMP. You can view and download in either, though I recommend using the Clear 4KMP.
The auto tracking worked flawlessly both in the daytime and at nighttime. Even with auto tracking set, while in ‘Live’ viewing you can reposition the camera using the pan and tilt control in the app to anywhere in its 360 degree range to look at a specific area, and then return it to the preset central position. A fairly unique capability of this solar powered camera is its ability to pre-record the interval prior to someone entering the field of view. You can set this for two to ten seconds. This feature ensures you don’t miss capturing anything of relevance.
Using the app, I could playback video recordings by a specific date and time. Because of the location I chose, I used the recording parameters of only capturing ‘people’ and ‘animals.’ When you playback videos, you can look at all of them or select to only see ones with people or animals or cars. The excellent AI software quickly sorts through the recording and shows only those meeting your selected parameters. This is a tremendous time saver when you are trying to find a specific incident.
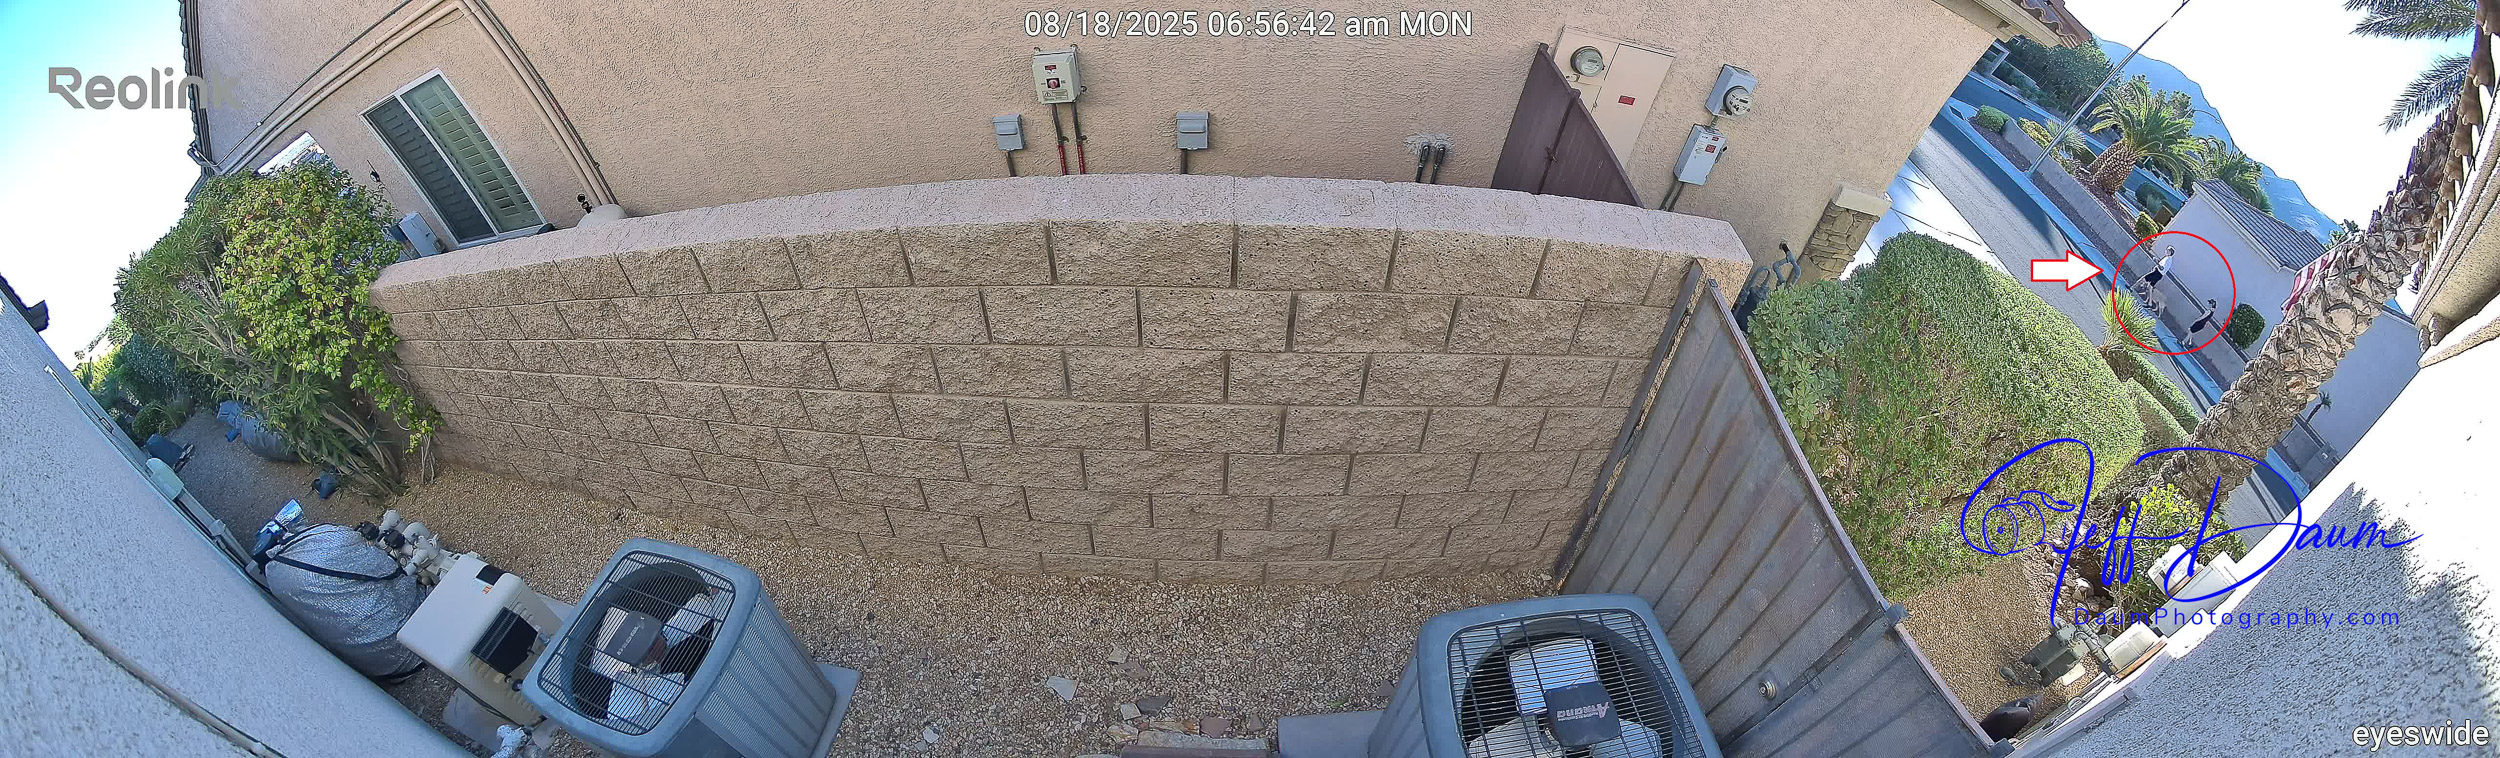
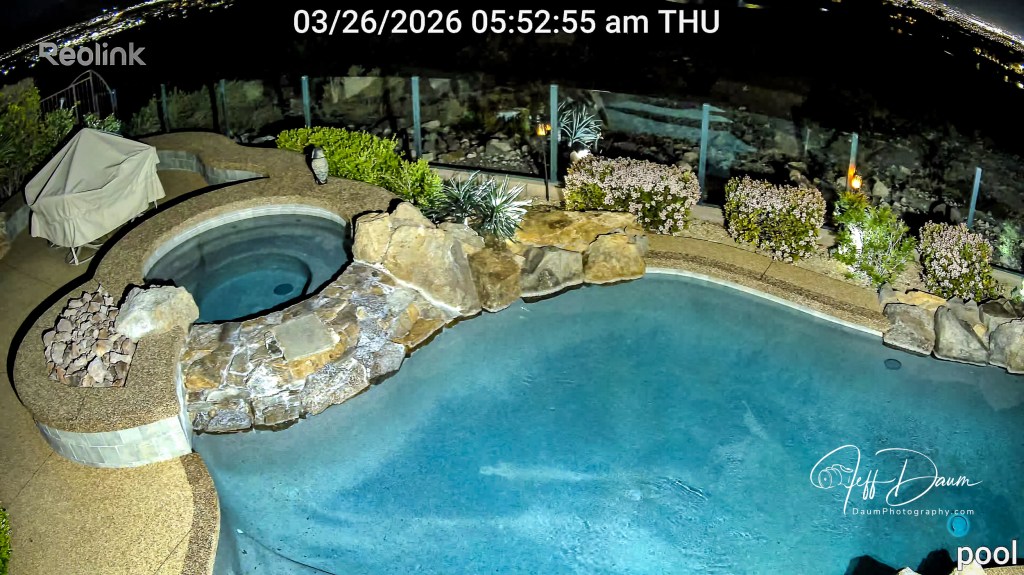
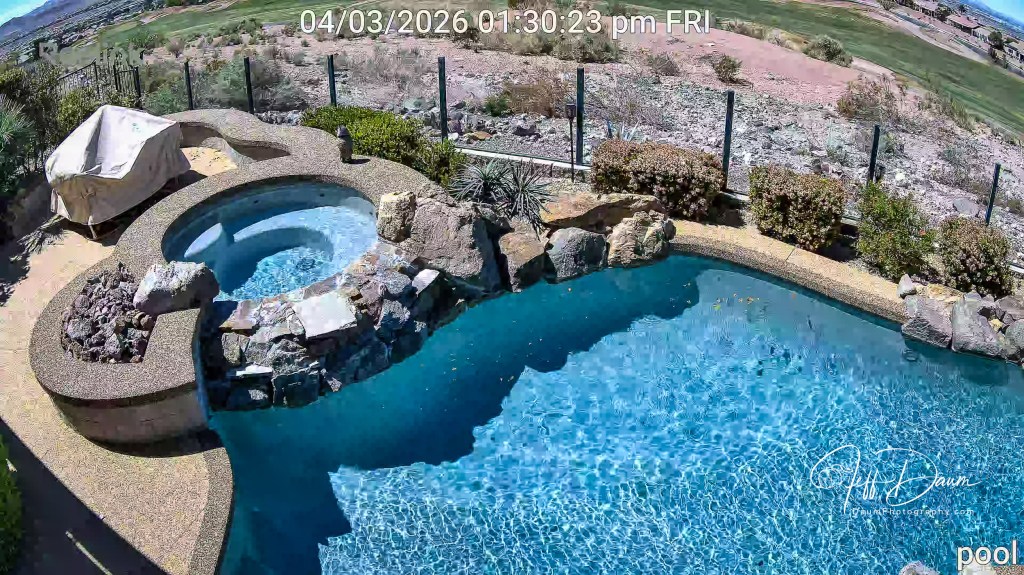
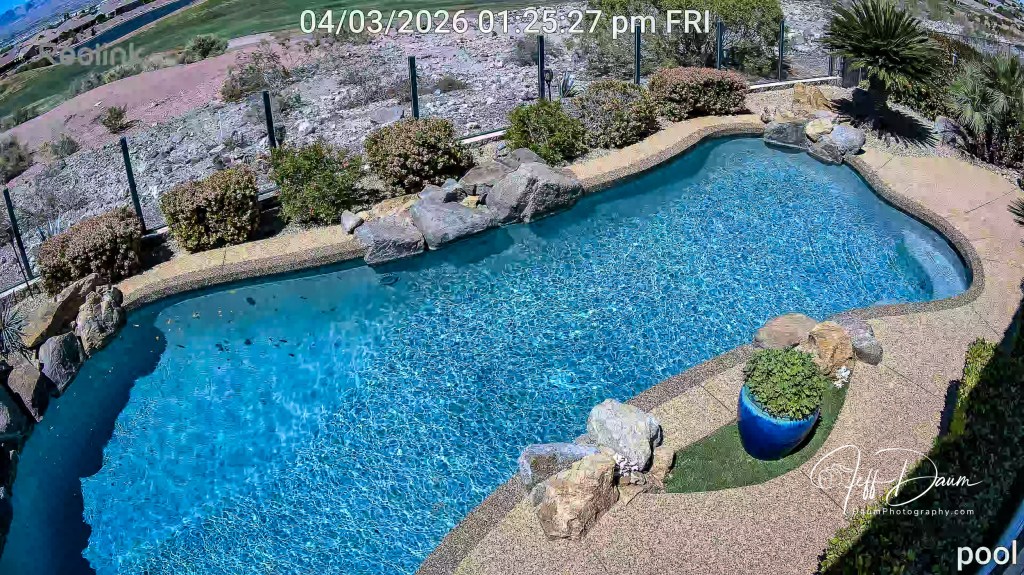
These two live downloaded images show the same general area captured at night and in the day. Note, I did not have the built-in spot light set to turn on automatically in the night shot.
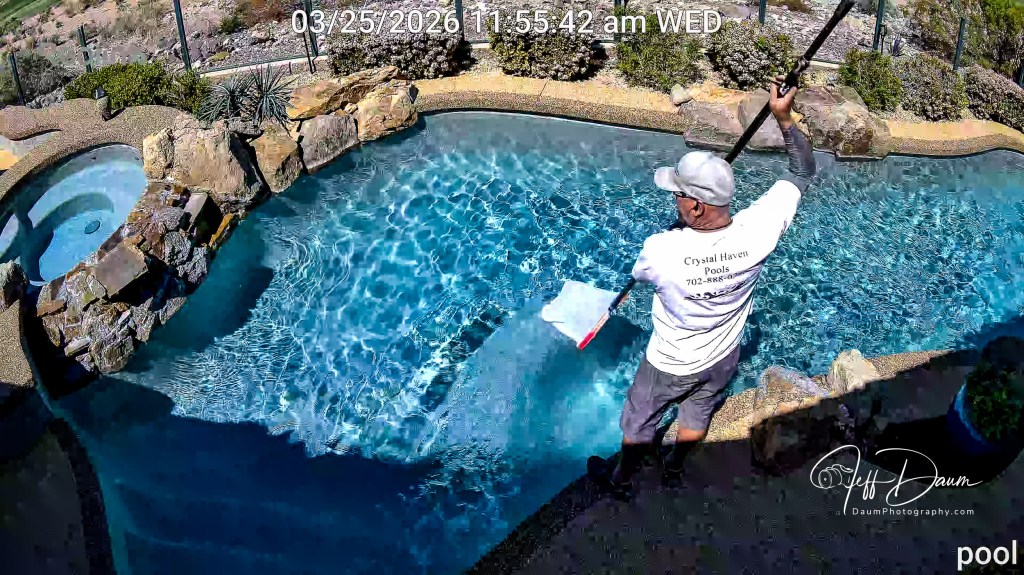
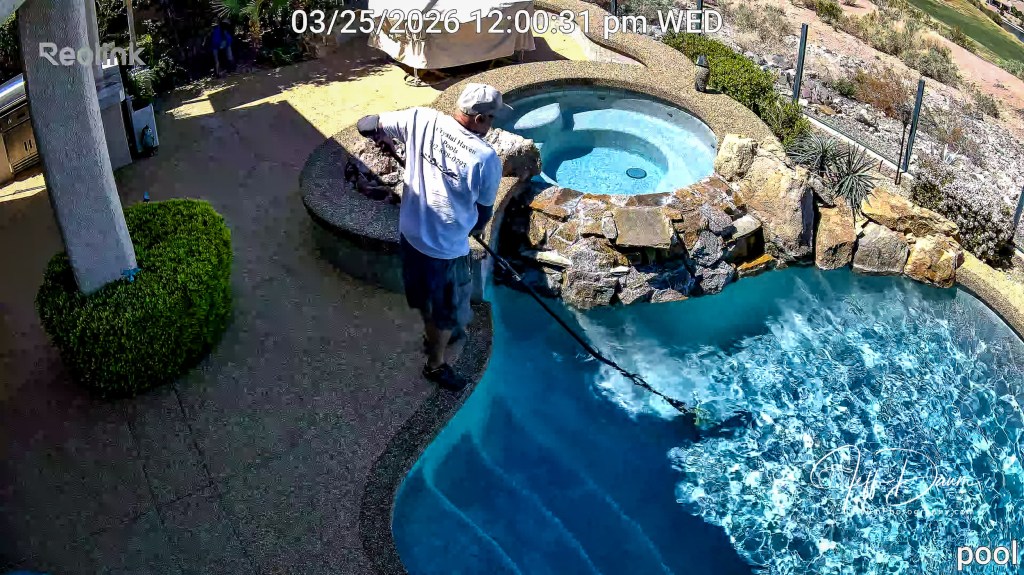
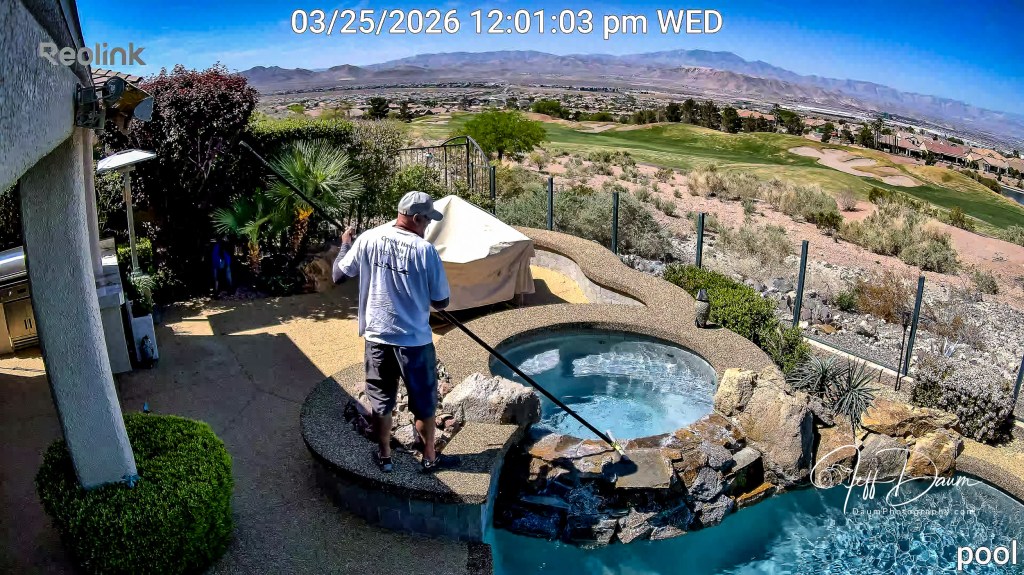
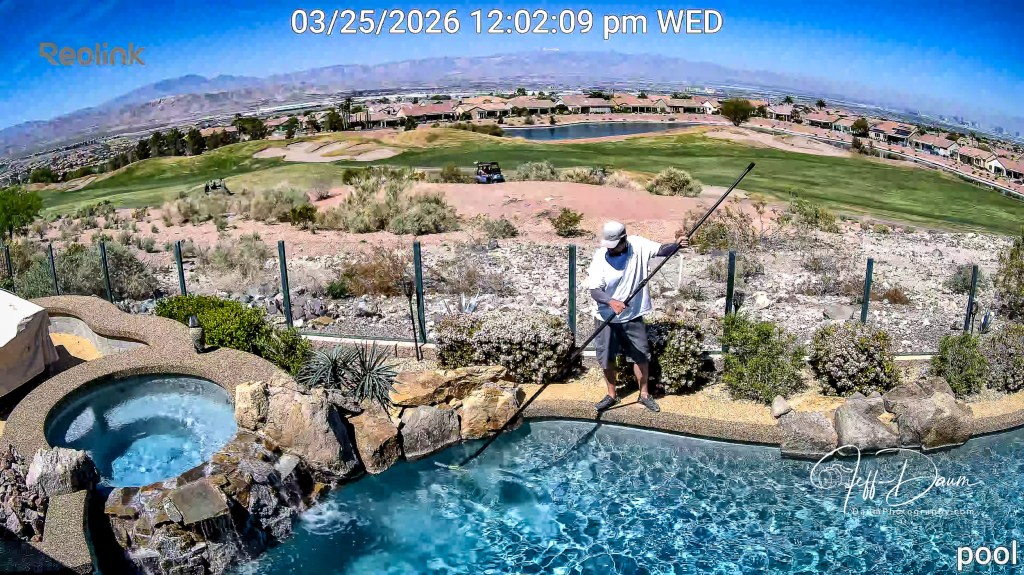
This set of four images downloaded from a playback video demonstrates the Altas PT Ultra excellent auto tracking triggered as the subject crosses the covered area, from right to left and then top.
This image live downloaded shows the camera returned to its central point when no activity is sensed.
As noted, you have the option of capturing audio simultaneously with the video. Normally I found the audio clear and easy to understand. However, when it is windy, the built-in microphone seems overly sensitive. As far as I can tell the Altas PT Ultra does not offer any noise reduction option as they do, for example, on the Elite 4k Floodlight WiFi unit. Perhaps this will be offered in future software updates.
The two-way built-in speaker works well and without distortion. It also features an alarm that you can set the parameters for when or if it is activated. It certainly would startle someone when triggered but isn’t as loud as a typical freestanding alarm.
Since I have put the Altas PT Ultra in service for only a few weeks, I can’t yet attest to Reolink’s stated potential “in PIR Trigger mode the battery can last up to 500 days (16 months) based on 300s of recording per day ” [Reolink web site]. However, so far the battery has shown 100% power remaining every day. This has been the case even when I check it in the morning. Based on this, I think the system could easily fully operate multiple days with no power generated by the sun through the Solar 2 panel. Stay tuned for long term updates.
Conclusion
The image quality day or night matches the best wired (120/240 volt powered) surveillance cameras I have tested. The cameras auto tracking and AI software are excellent. The Solar Panel 2 truly raises the bar by providing greater options for camera placement along with no detriment to image quality, recording and camera capabilities.
The Altas PT Ultra with its Solar 2 panel is an excellent choice for any surveillance needs. It is ideal for use in locations where you don’t have easy access to a power outlet but do have a viable WiFi signal. Even without WiFi signal it would be an excellent option but would require the manual removal of the microSD card to view saved recordings.
Thanks for visiting! If you have any questions or comments, please feel free to enter them below.
[1] https://reolink.com/us/product/altas-pt-ultra/
[2] https://insight.daumphotography.com/2025/08/23/youve-been-captured-reolink-elite-4k-floodlight-wifi-surveillance-camera-review/