By Jeff Daum, Ph.D., PPA
BlackVue represents some of the best dashcam systems on the market. You can see my reviews of previous models at for the DR970X https://insight.daumphotography.com/2024/02/02/blackvue-dr970x-2ch-plus-and-dr970x-2ch-lte-plus-dash-cameras-field-test/ and https://insight.daumphotography.com/2020/07/11/product-review-blackvue-dr900s-2ch-field-test/ for the DR900S. This review focuses on BlackVue’s new DR770X Box-3 channel Pro version. It is primarily designed for the individual who wants up to three cameras- a front facing, rear facing and interior facing dashcams, and a system that is designed to provide protection from someone else getting to the recording memory card or attempting to physically remove the connections to each of the dashcams. You might want this added security, for example, in a ride share or taxi vehicle. Of course, the DR770X can be used in your own vehicle even if you don’t need the added security of a tamper proof set up.
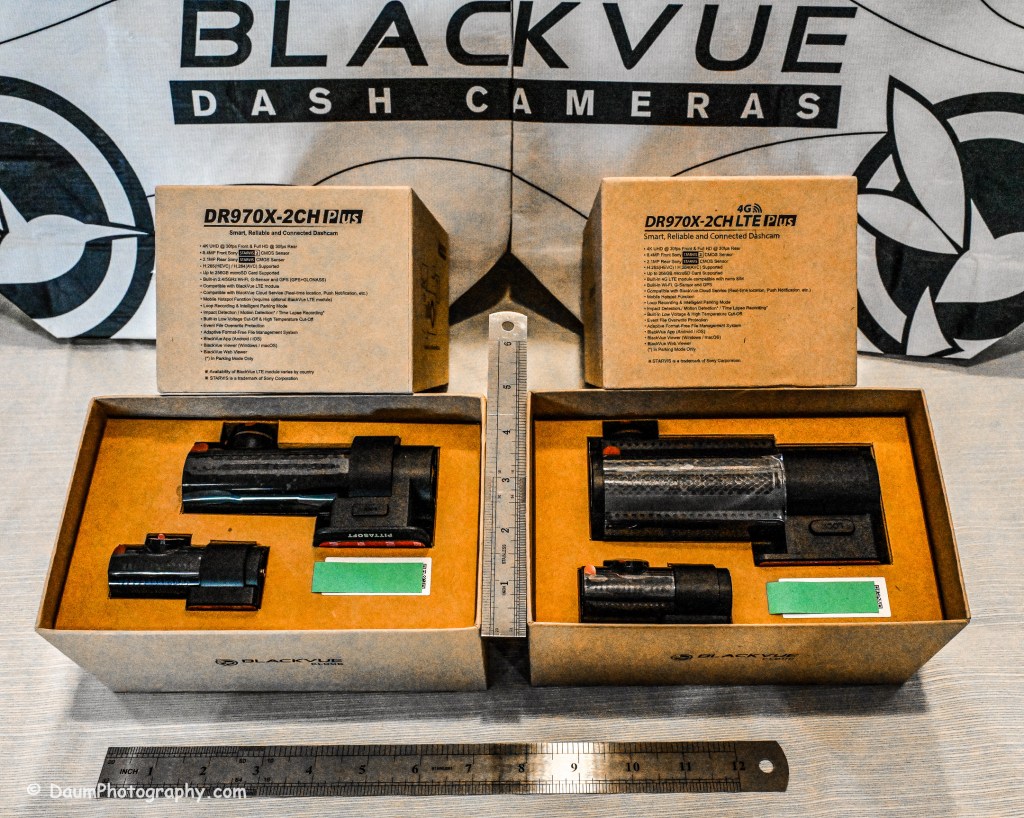
What is in the box and specifications

In the DR770X Box-3 channel Pro set you receive three dashcams, front facing, rear facing and interior facing dashcams, a central box that connects the three dashcams, the power cable, and the microSD memory card. There is also a separate GPS logger and Wireless Button. The set includes all the necessary hook-up wiring including both accessory plug or direct to fuse box hardwiring power options, a pry tool and spare 3M adhesive pads and Quick Start Guide.
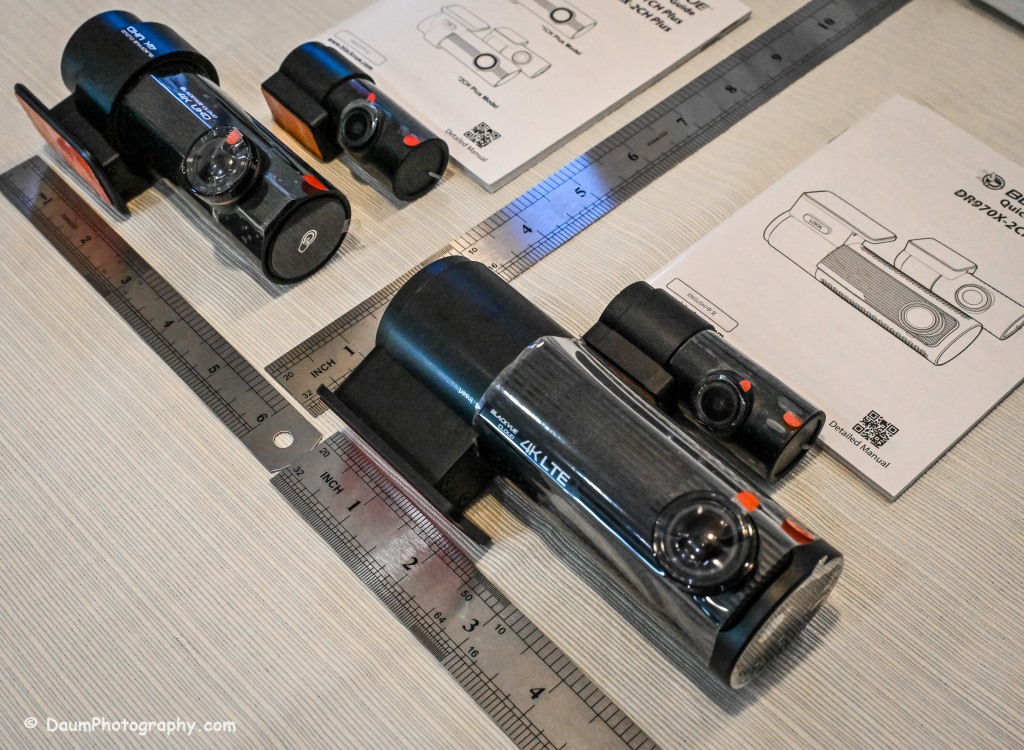
The first thing you’ll notice is that the front facing DR770X is physically a lot smaller than most other BlackVue dashcams. Specifically, the DR770X is approximately 3 inches (76mm) long compared to their DR970X and DR900S at approximately 4.7 inches (118.5mm) long or the even longer DR970X-2CH LTE Plus at approximately 5.4 inches(137.6mm).

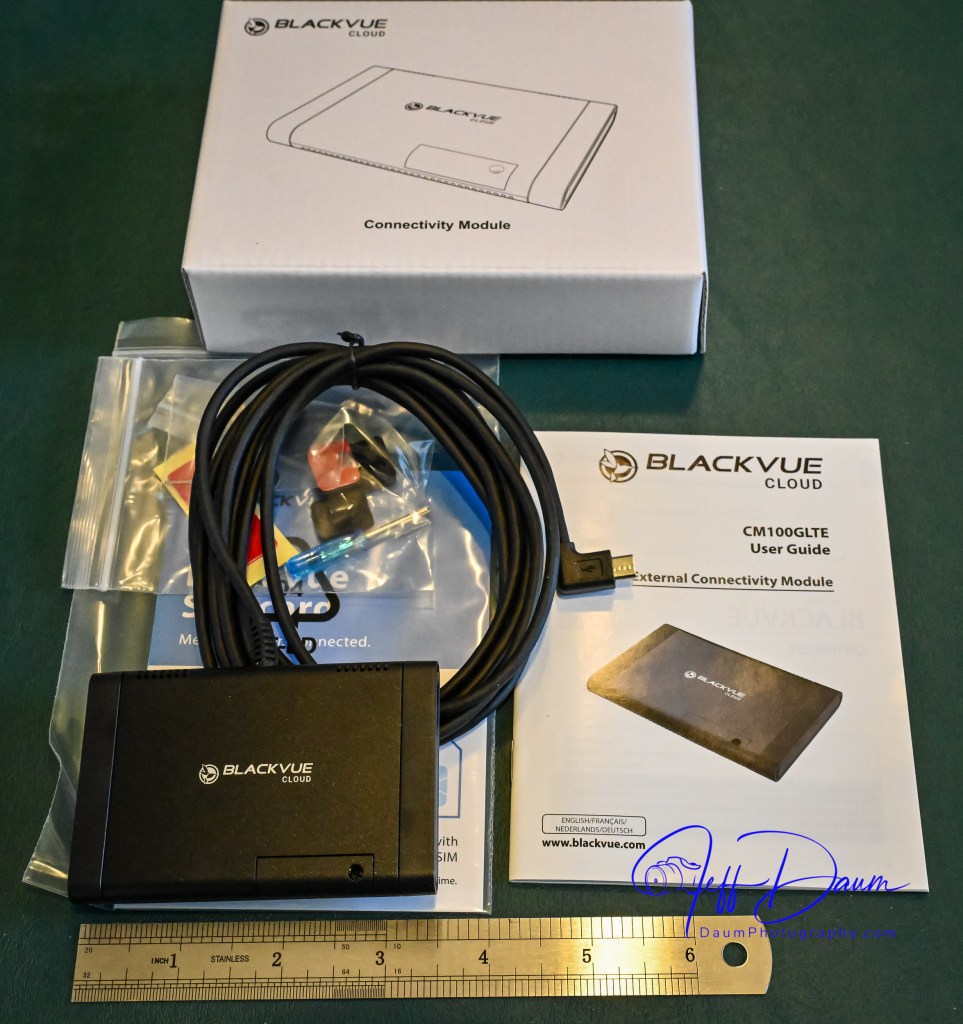
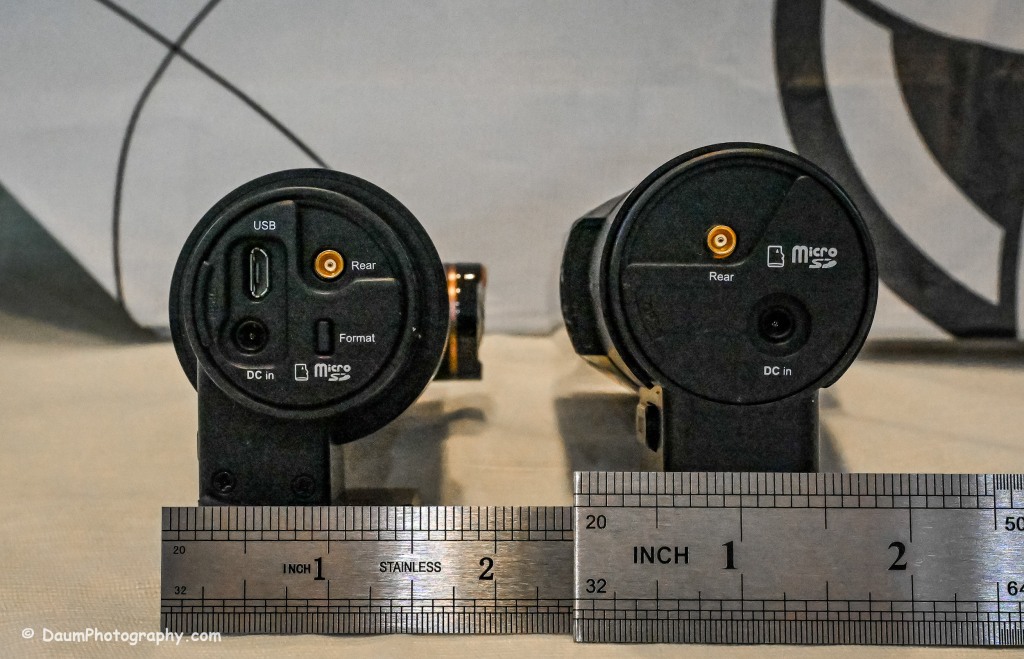
One reason for the smaller front (main) dashcam size is that the DR770X has an external GPS antenna/receiver that must be plugged into the ‘locking main box’ and does not incorporate a MicroSD memory card slot. The DR970X and DR900S incorporate both the MicroSD card and GPS into the front dash cameras. The DR770X uses a lockable main box that includes connections for the front facing (main) dashcam, the IR internal facing dashcam, rear facing dashcam, MicroSD card, power supply, and GPS. Note, if you order and use the optional external LTE BlackVue cloud Connectivity Module you do not need the GPS module, since the Connectivity Module has GPS built into its antenna that goes onto the windshield. The optional LTEConnectivity Module connects to the main box instead of the GPS module at the same port. In addition to the main box being lockable so that neither the camera connections nor the MicroSD card can be removed without the key, each camera has tamper proof caps that secure both the connecting cord and the camera to the windshield mounting bracket.
The lockable main box comes with a large Velcro pad on the back so that it can be positioned out of sight but convenient to remove to gain access to the microSD card.
While BlackVue’s marketing states the DR770X has a faster lens at f/1.7, it depends on what other dashcam they use in the comparison: The DR970X Plus also has a f/1.7, but the DR970X’s is f/2.8.
The DR770X has a narrower coverage area with Diagonal 139°, Horizontal 116°, Vertical 61° for the front camera and Diagonal 115°, Horizontal 95°, Vertical 49° for the rear facing camera. The DR970X has front: Diagonal 155°, Horizontal 130°, Vertical 70° and rear: Diagonal 139°, Horizontal 116°, Vertical 61° while the DR900S had front: Diagonal 162°, Horizontal 136°, Vertical 77° and rear: Diagonal 139°, Horizontal 116°, Vertical 61°.
The DR770X is a 4K dashcam with Sony STARVIS, the DR970X and DR900S an 8-megapixel CMOS Sensor.
The DR770X Pro has an increase in the event buffer recording time to 10 seconds up from 5 seconds compared to prior models. Events are when the system senses a bump, hard turn, crash, etc., and automatically mark the recording as such preventing it from being overwritten when the MircoSD card is full.
Note: prior to setting up your DR770X system in your vehicle, I suggest you jot down the unique password that is on the camera behind the tamper proof end cover. You will need this if the auto-find in their app doesn’t locate and load your cameras on your initial set up.
All three models incorporate a built-in microphone in the front facing camera that can be set to always record interior sounds (voices, turn signals, music, etc.) or be turned off. They also include a speaker that lets you know the system is functioning when it turns on.
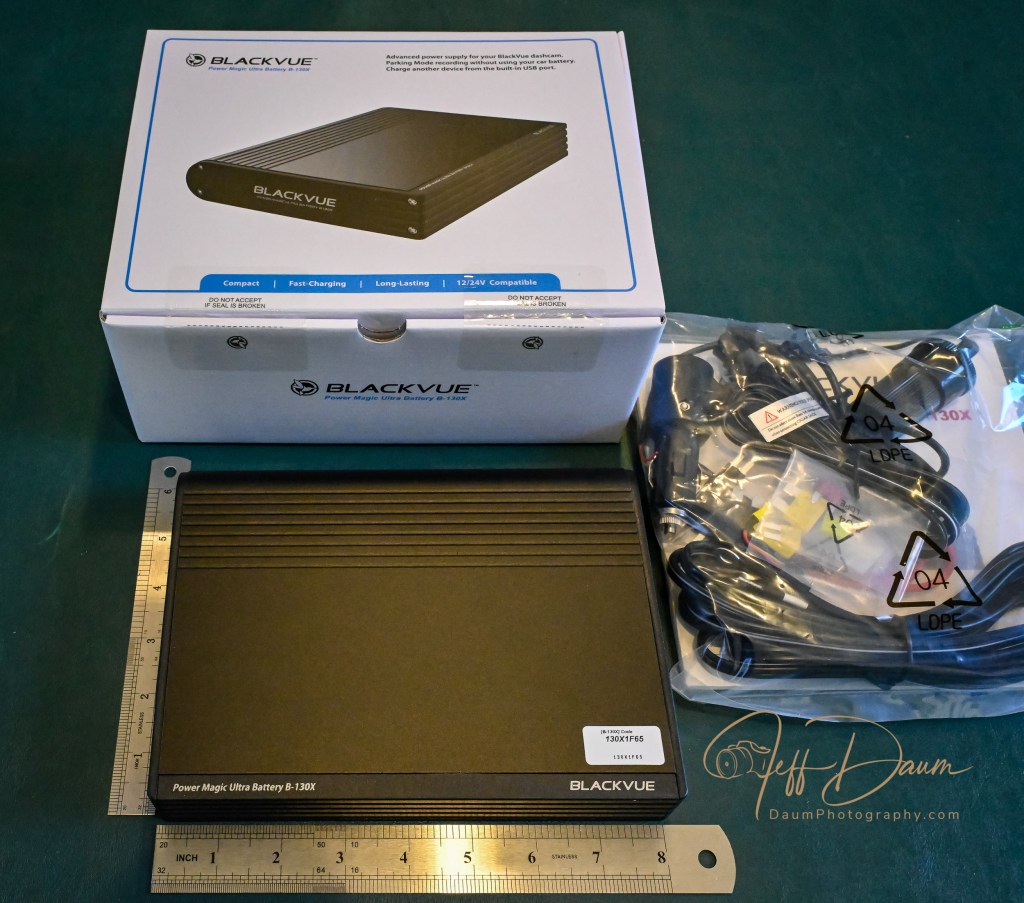
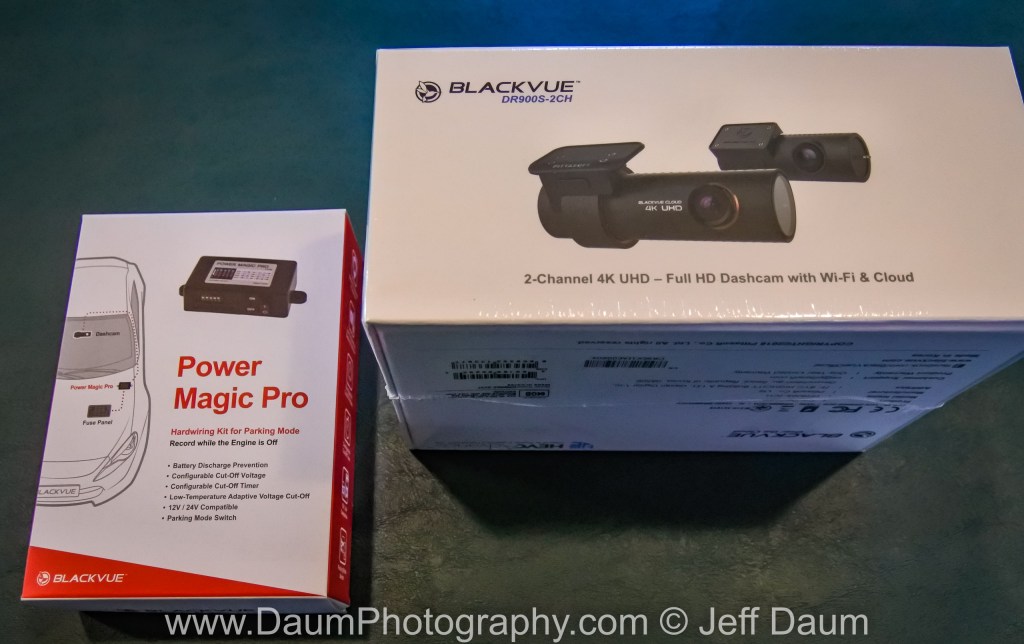
At the same time I tested the DR770X Box-3 channel Pro, I tested BlackVue’s LTE BlackVue cloud Connectivity Module and their B-130X Power Magic Ultra Battery system.
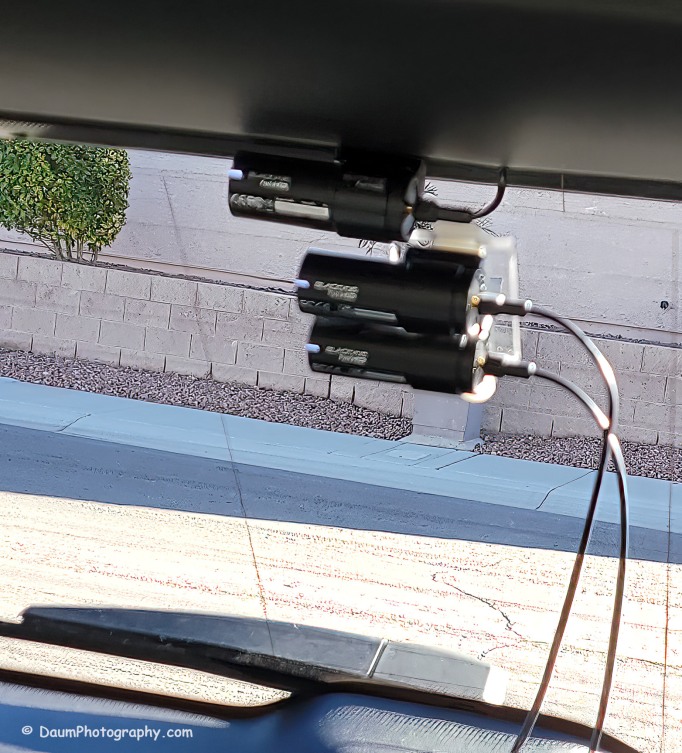
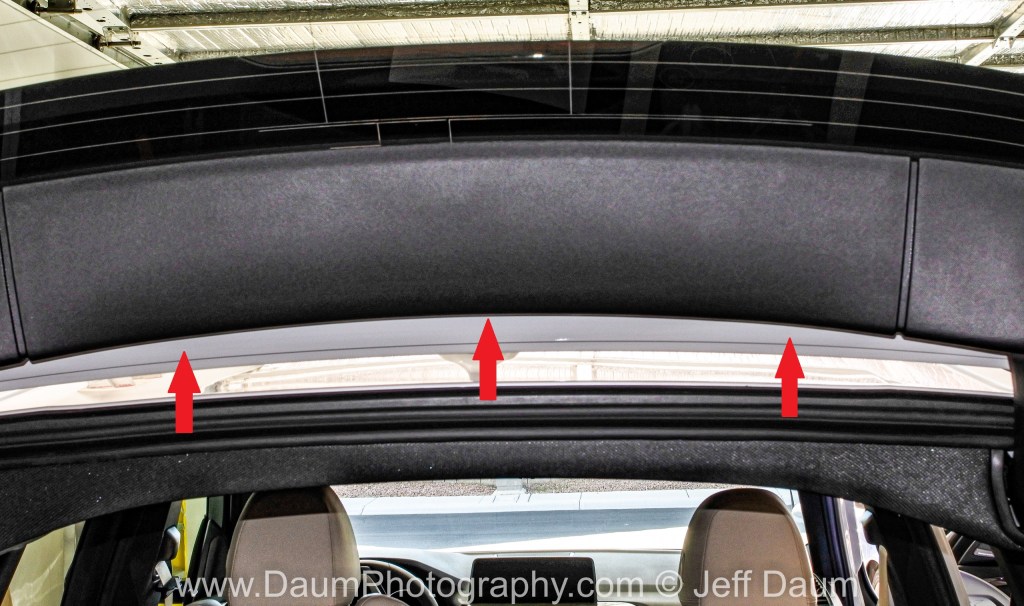
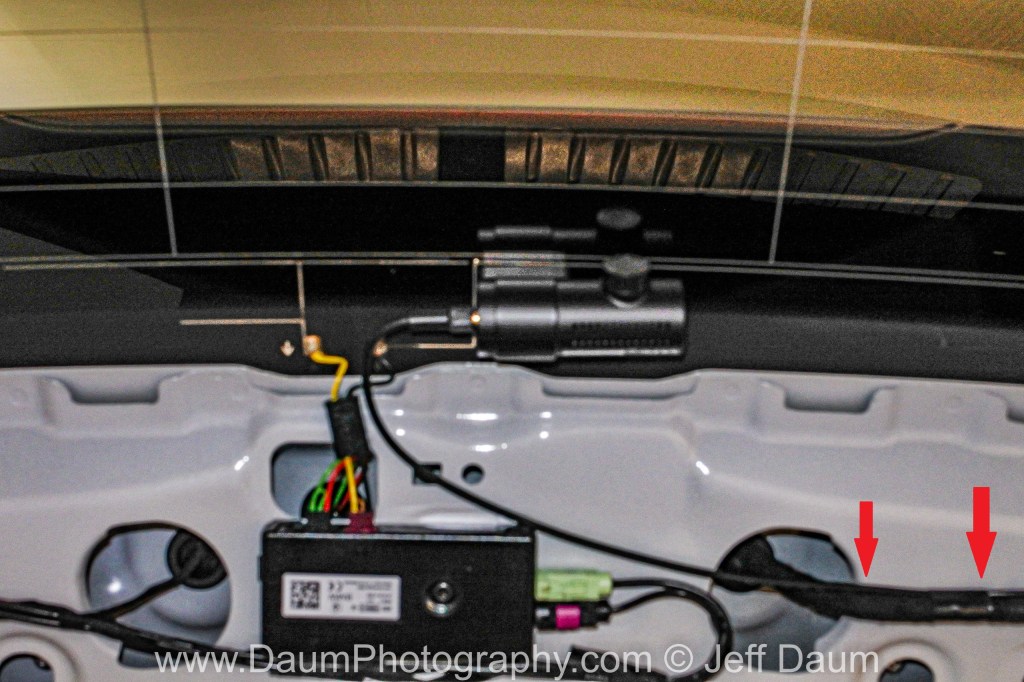
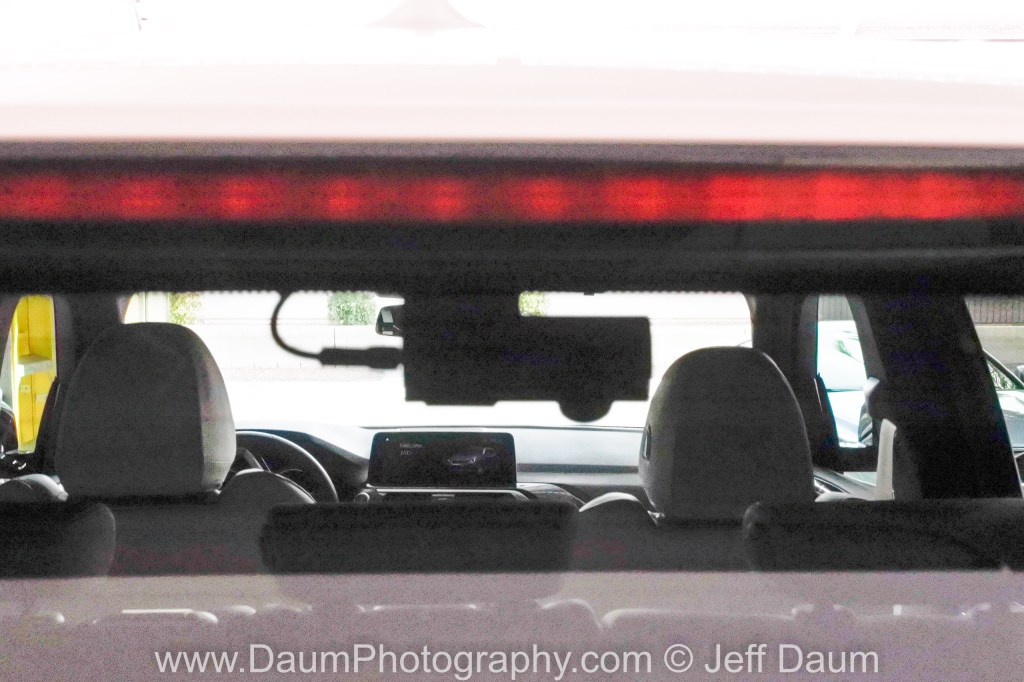
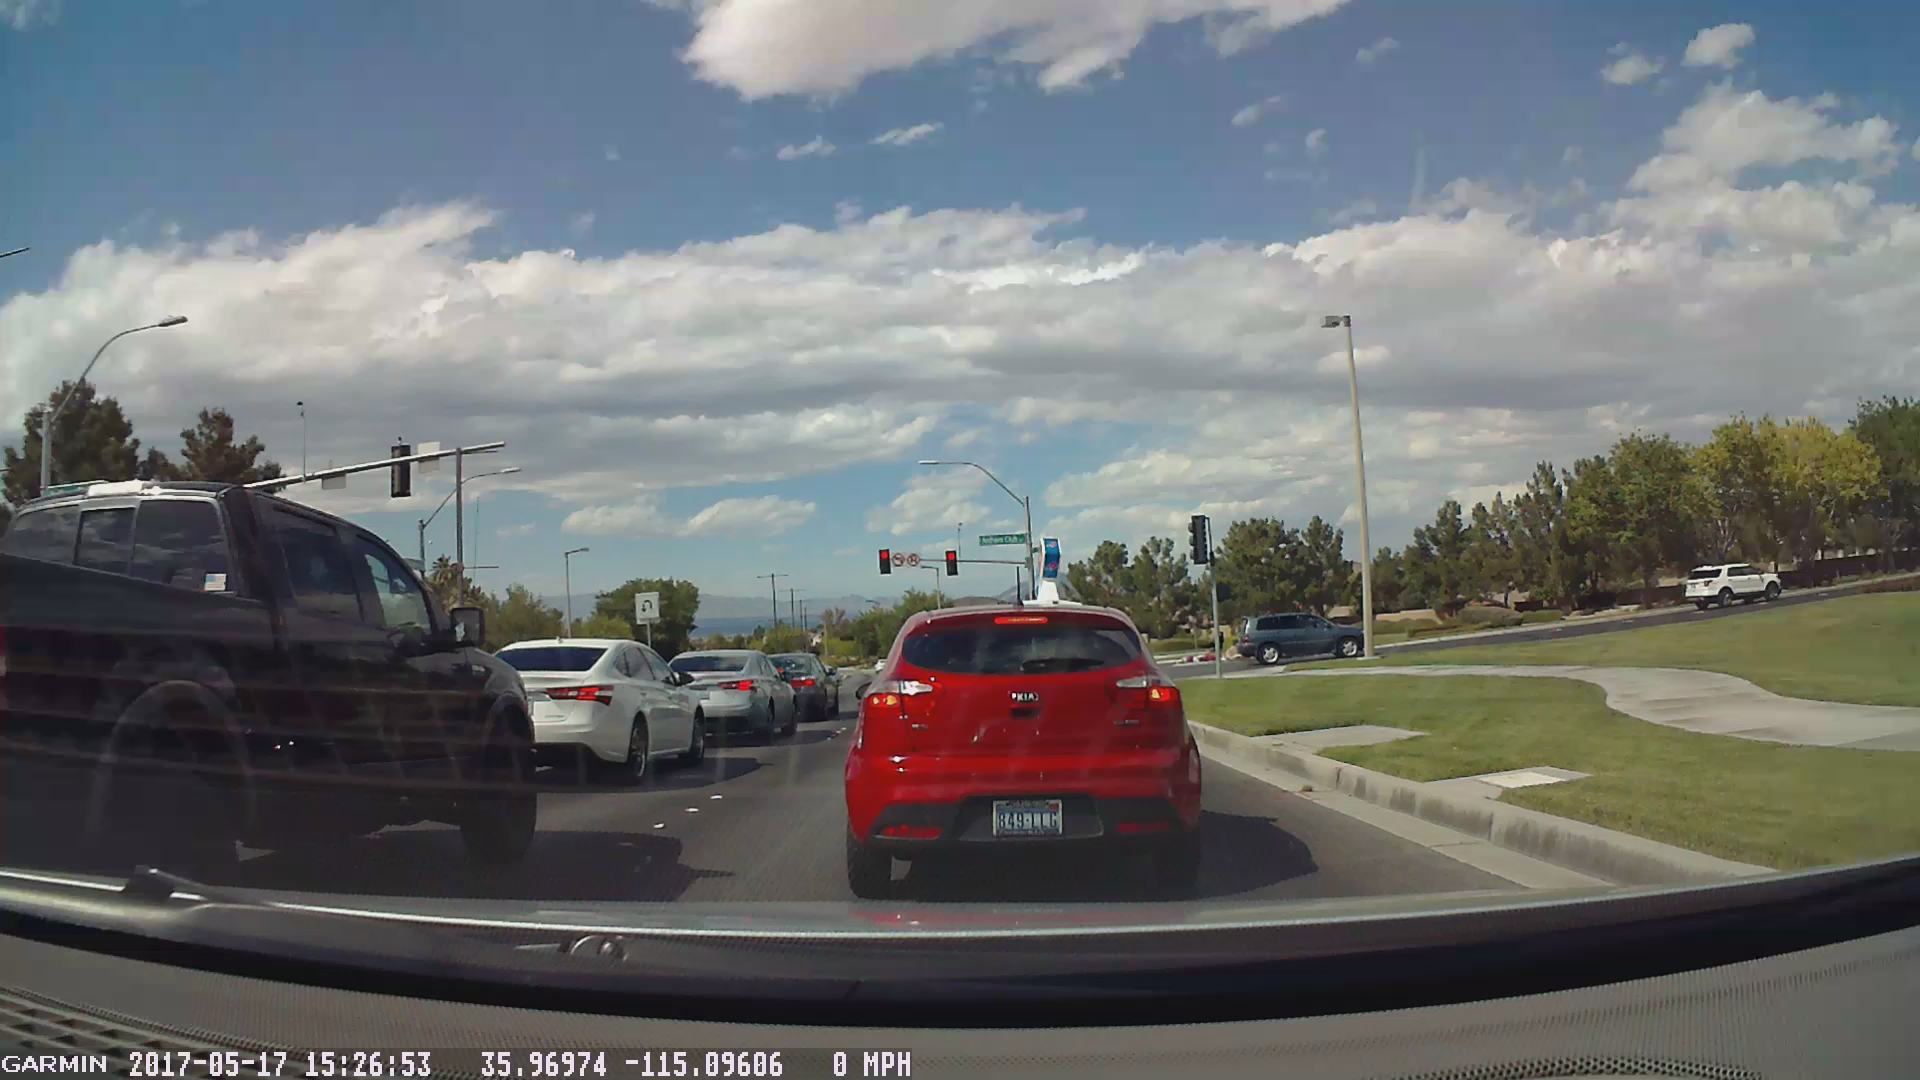
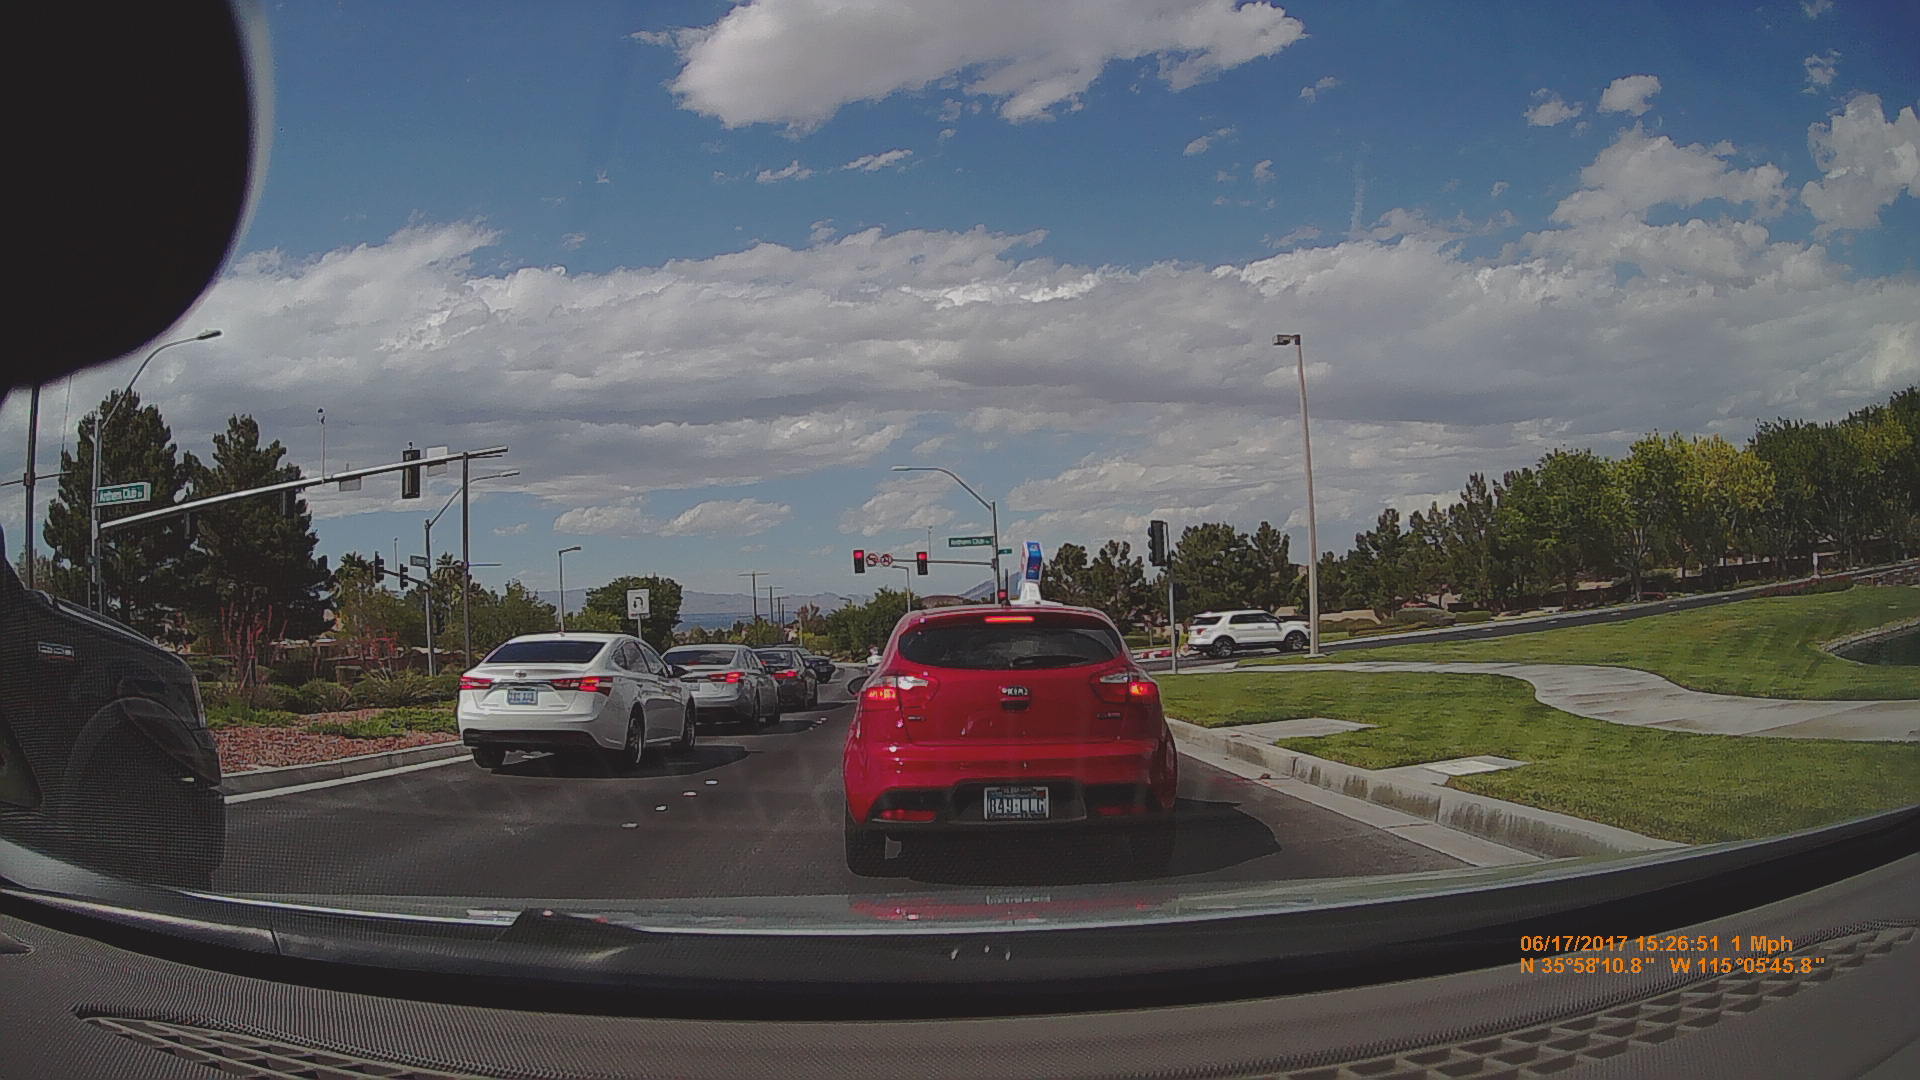
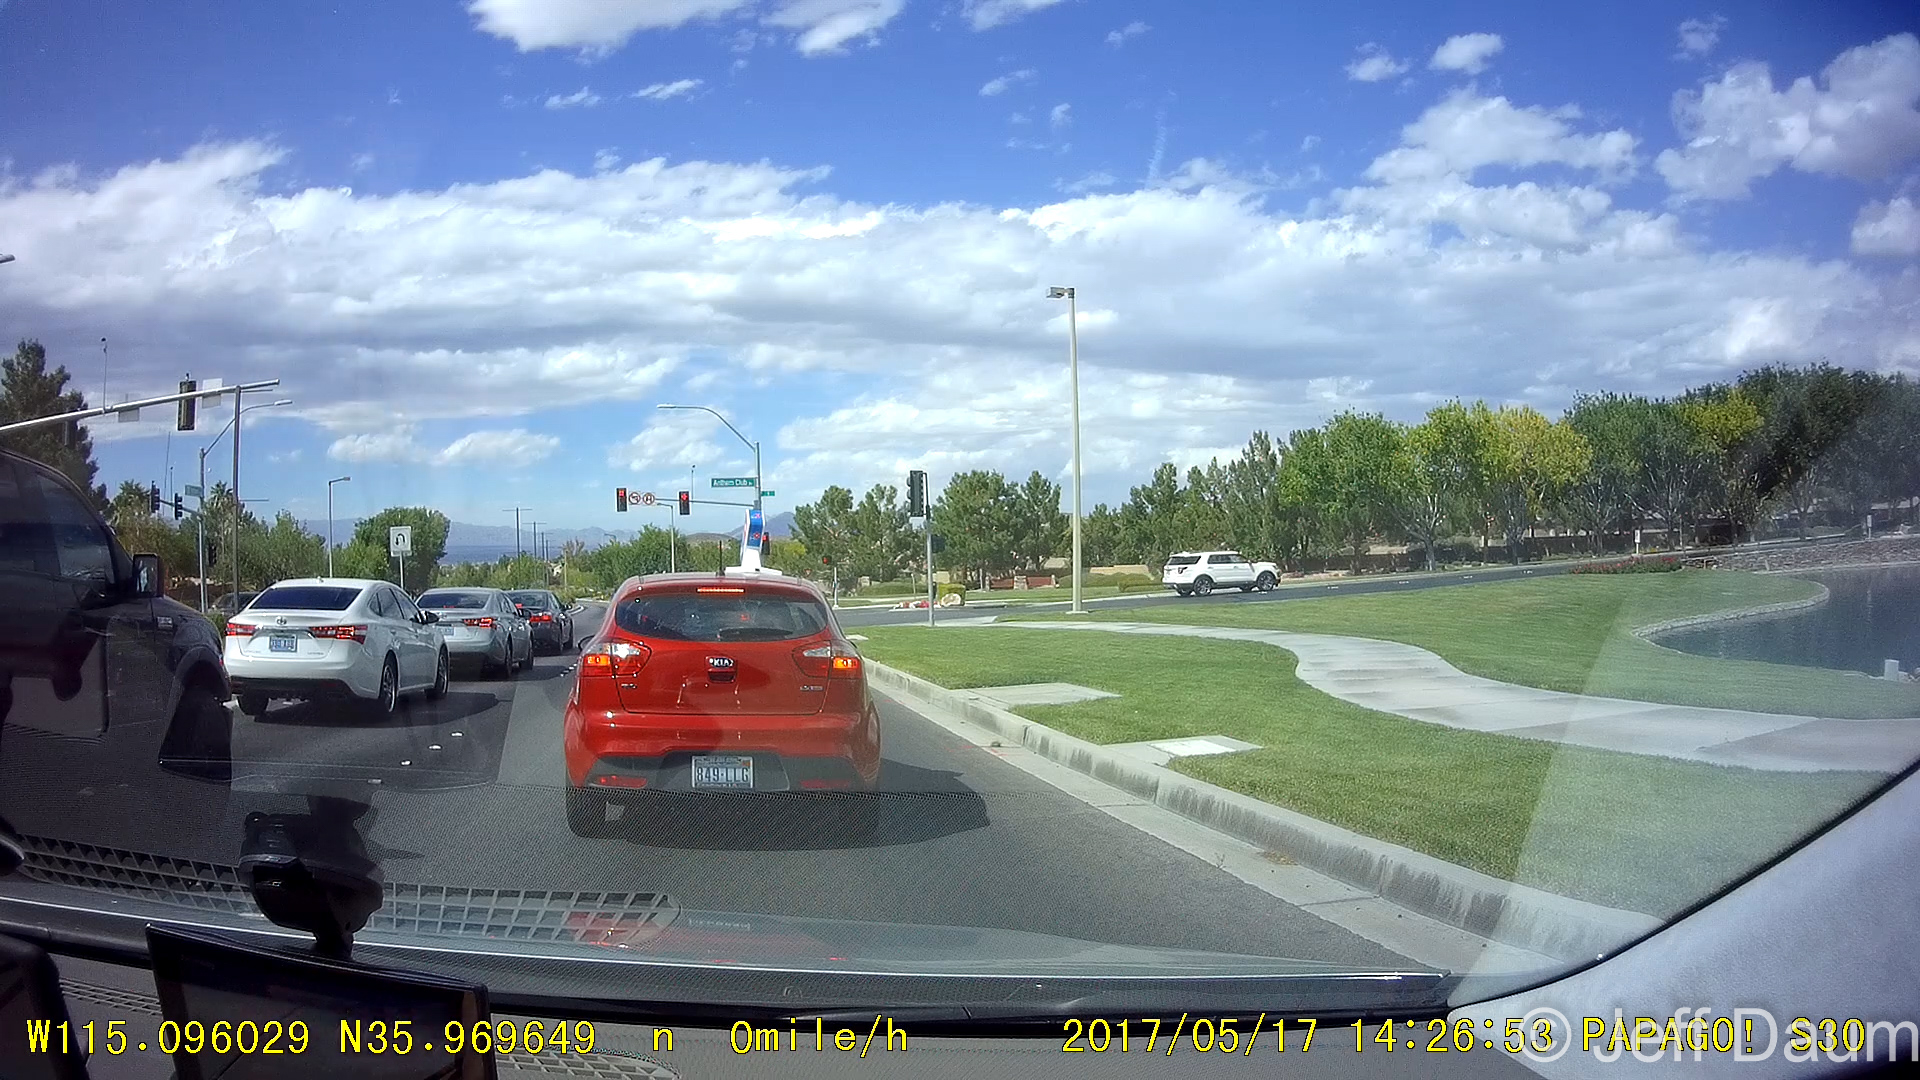
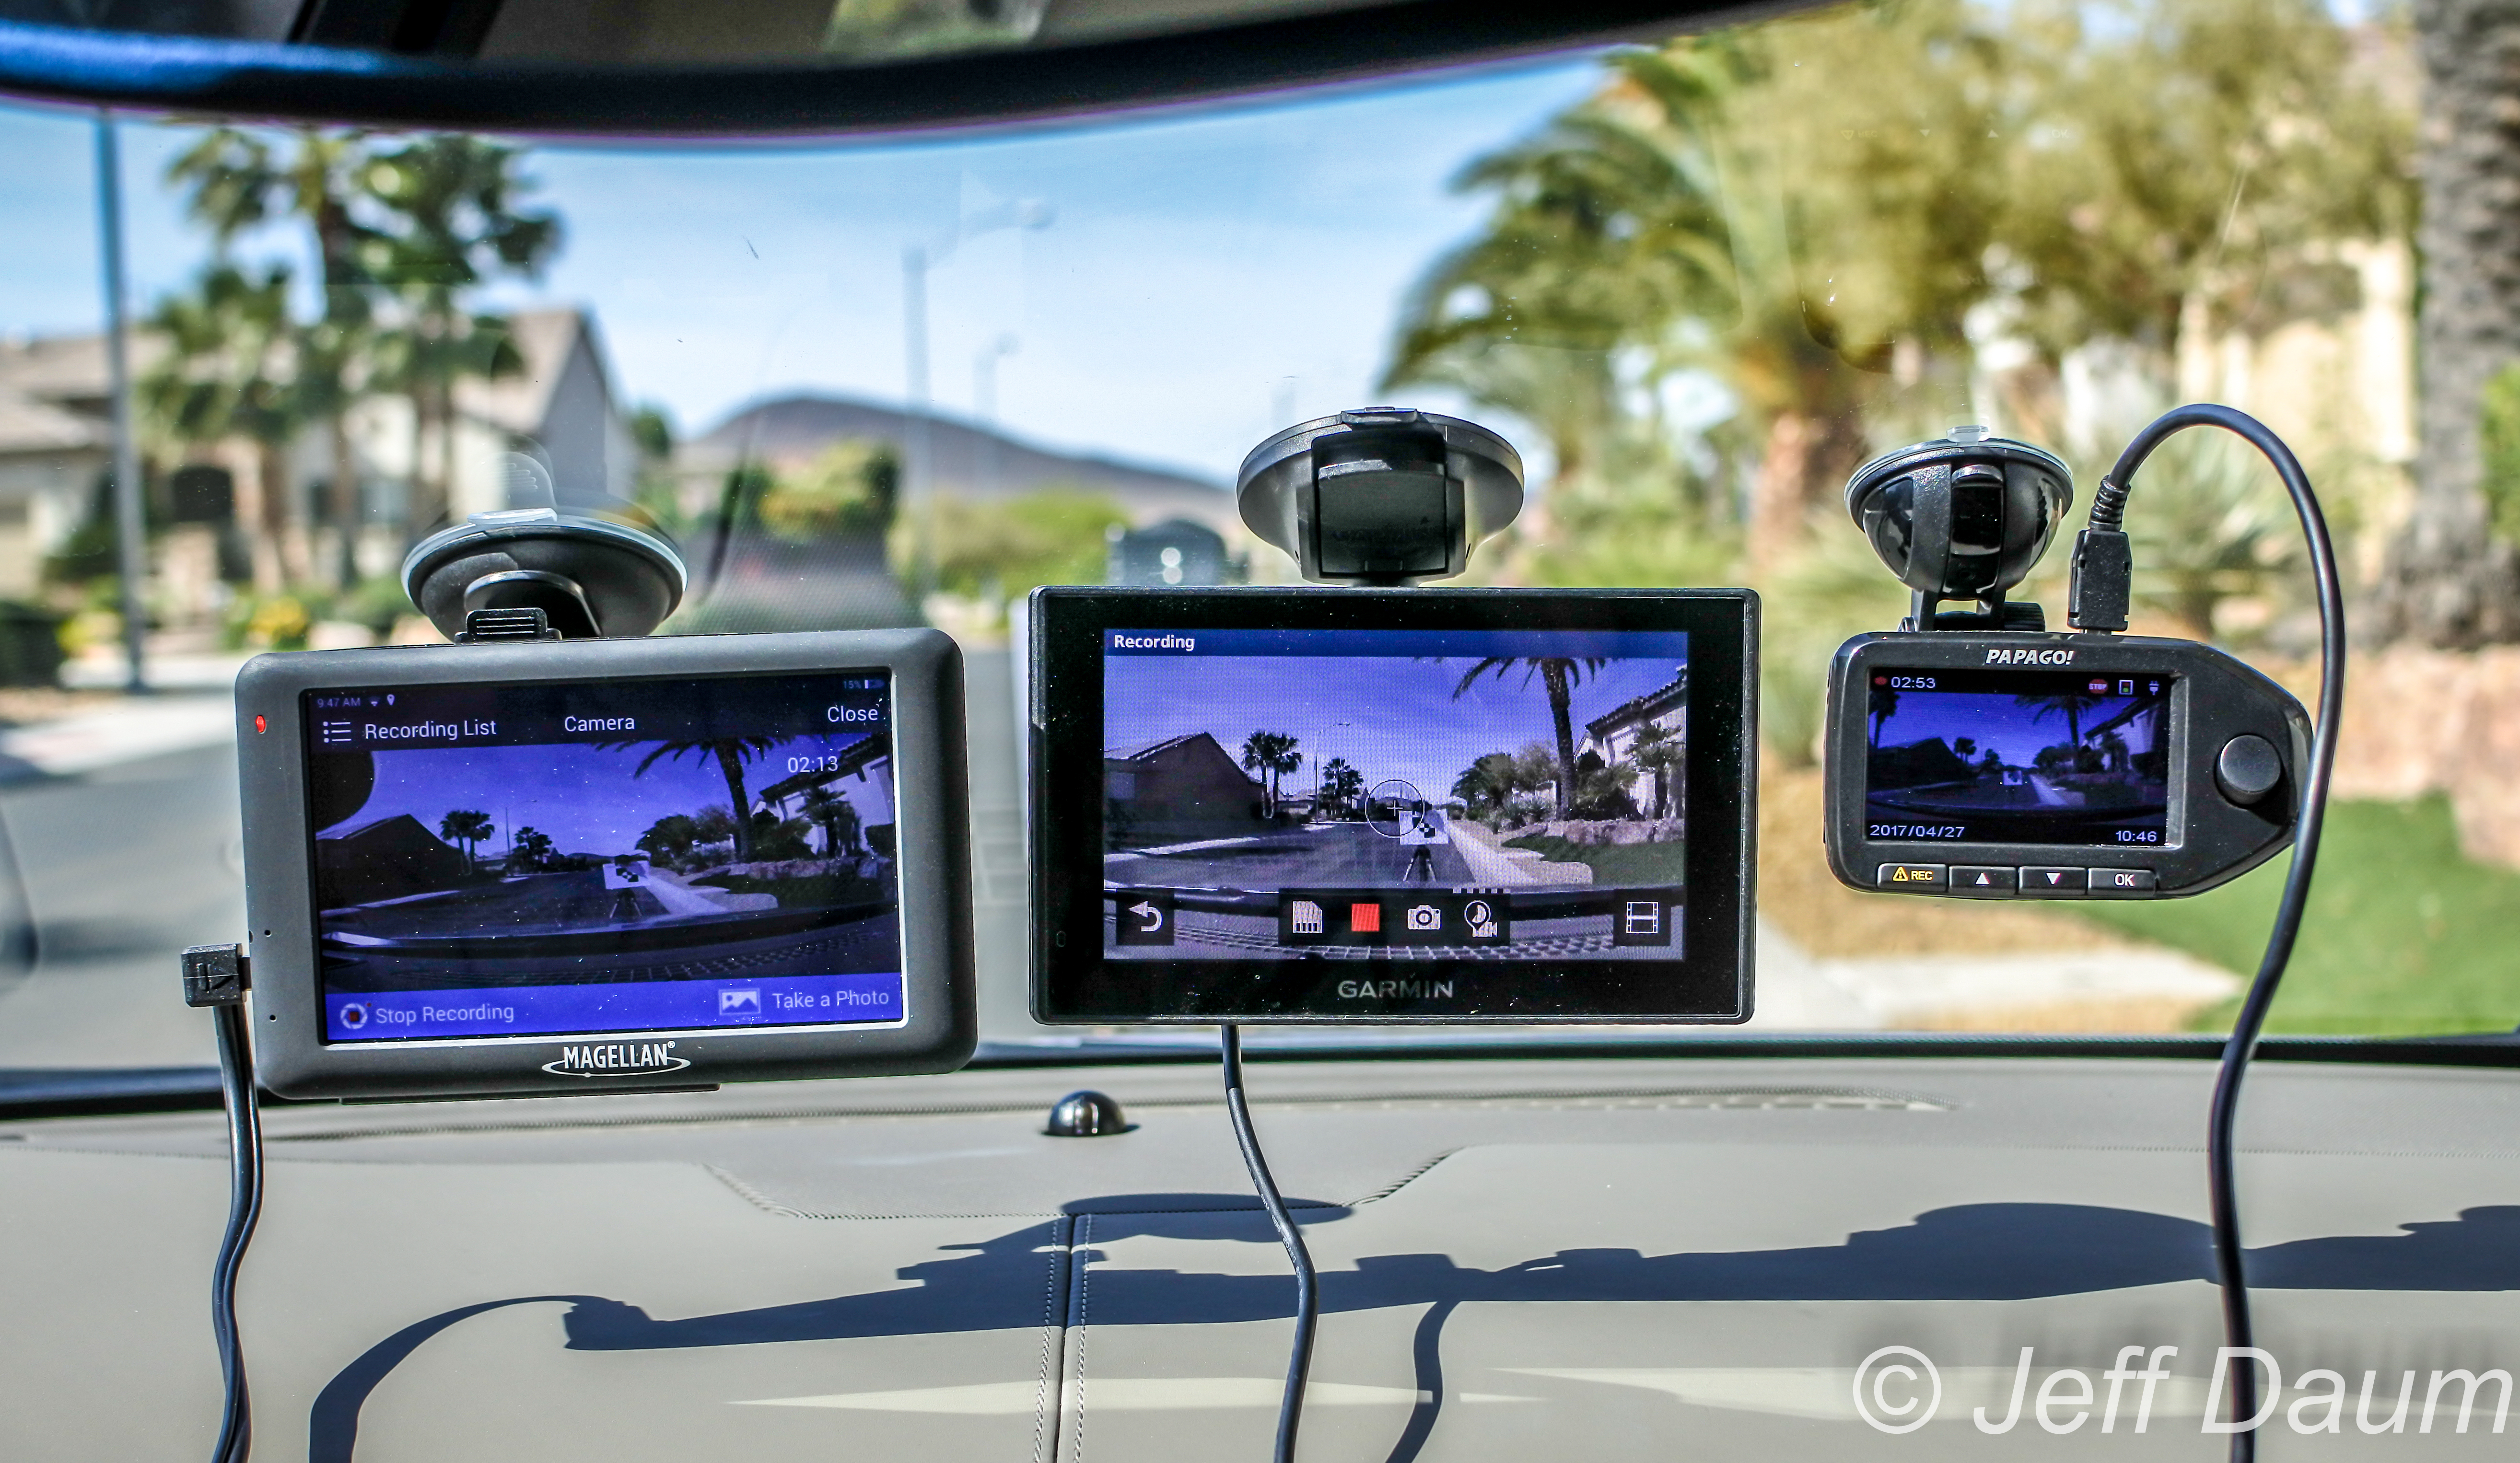
The DR770X dashcams were tested by mounting them in nearly the same perspective on the front and rear windshields as the DR900S, as can be seen in these images.
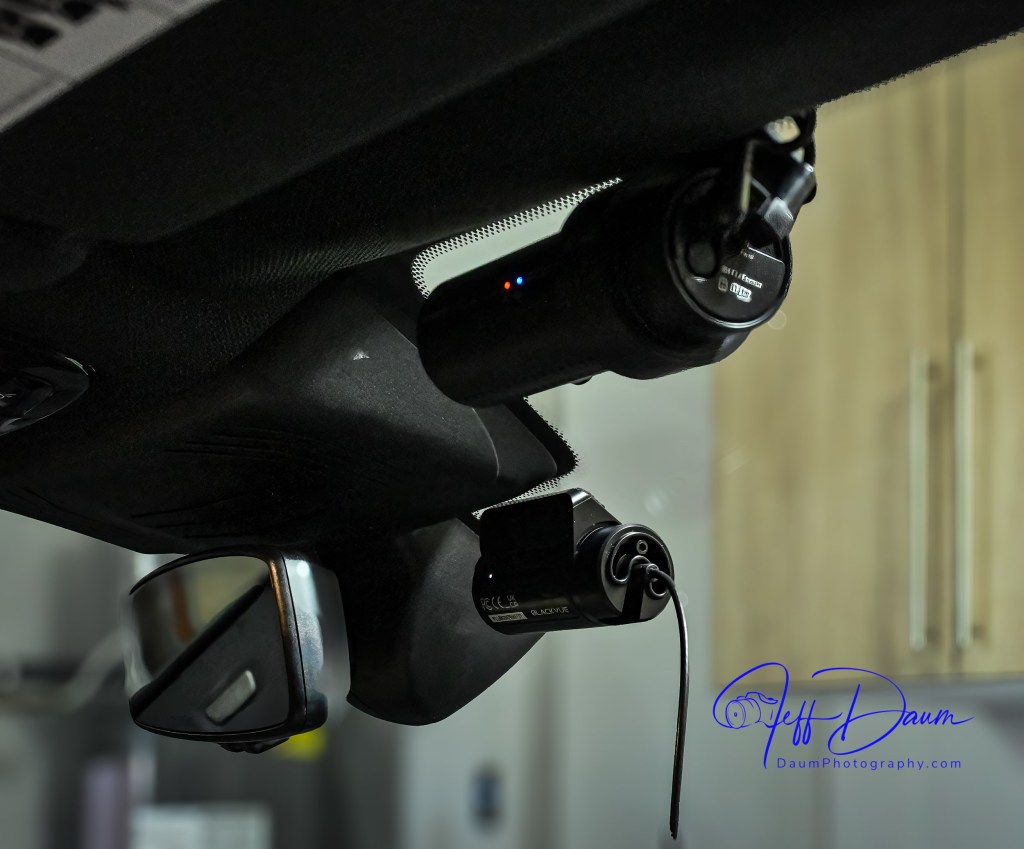

The main lockable box and B-130X Power Magic Ultra Battery were temporarily placed on the floor, with the GPS module or the LTE BlackVue cloud Connectivity Module antenna temporarily mounted near the top of the windshield.

Field Test
In this as well as all my tests, the images here are unmodified and based on the factory settings, which can be fine-tuned if one wants to.
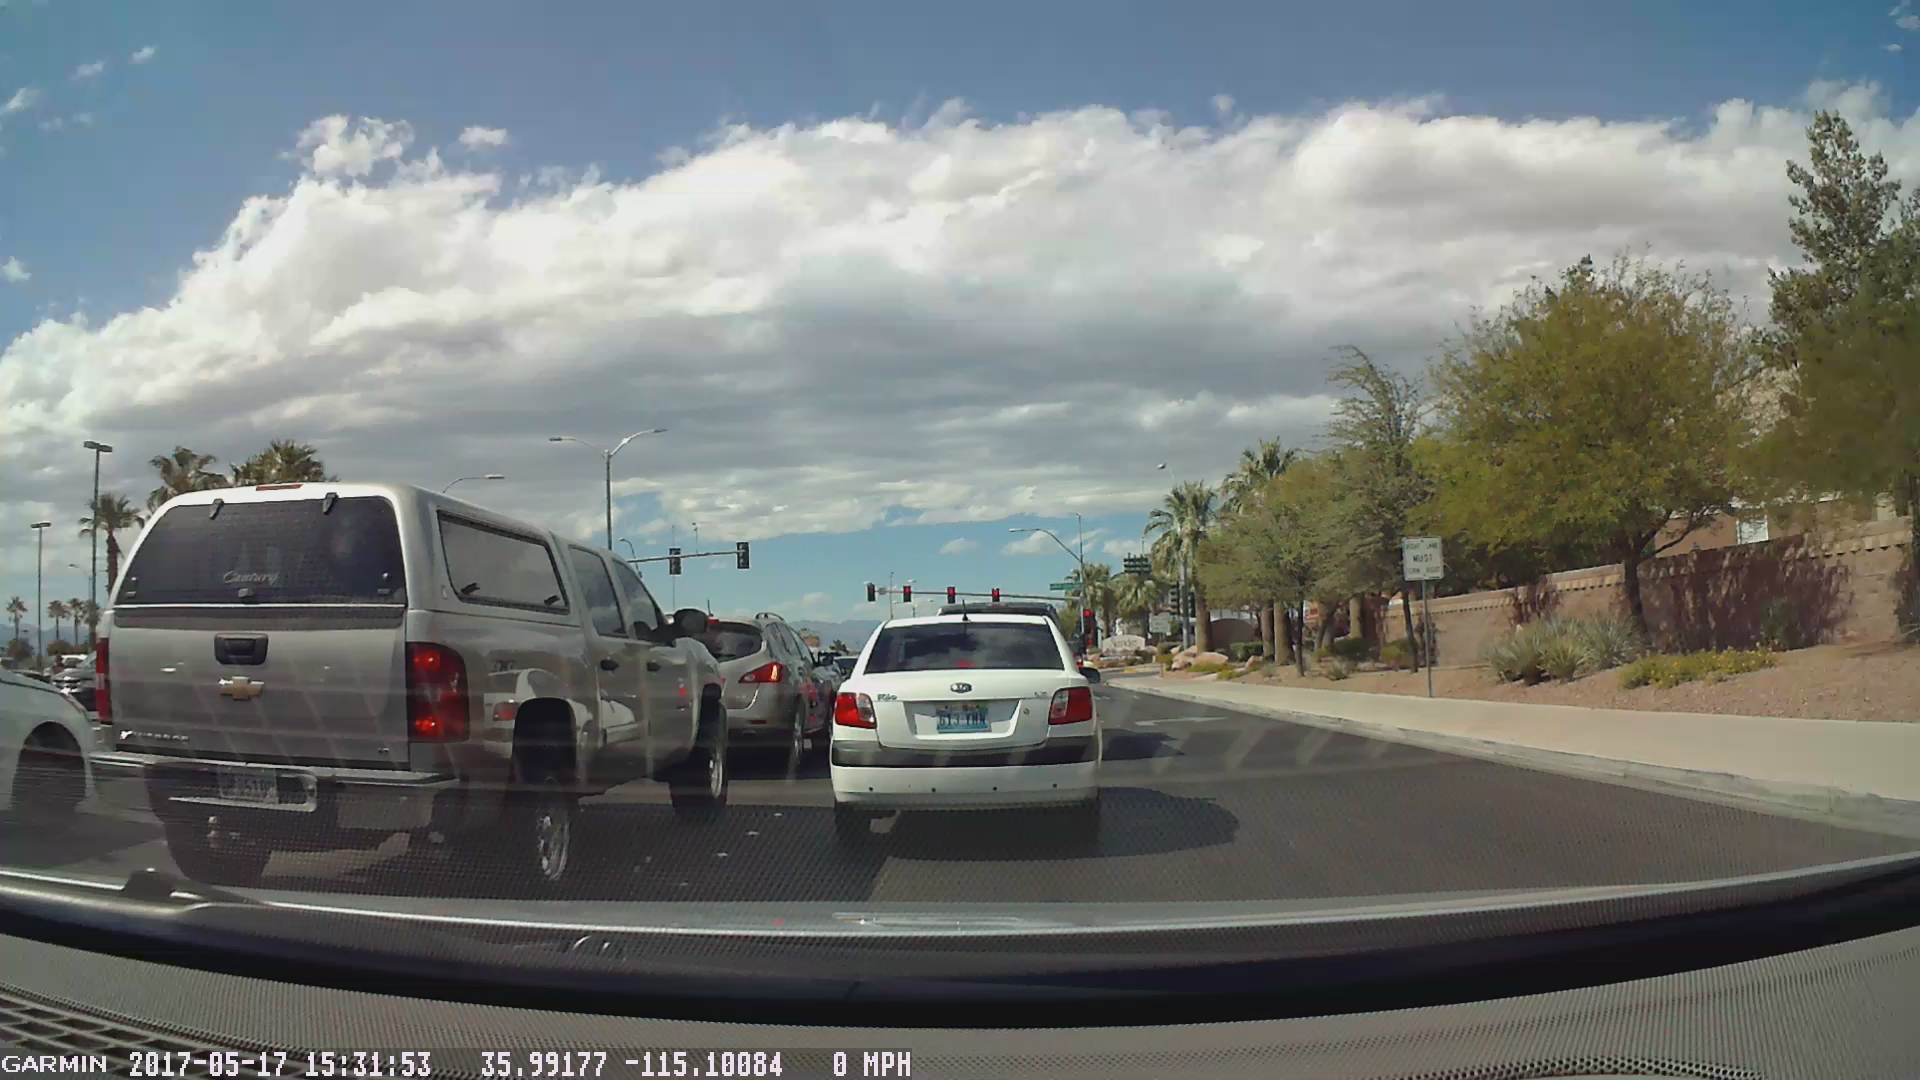
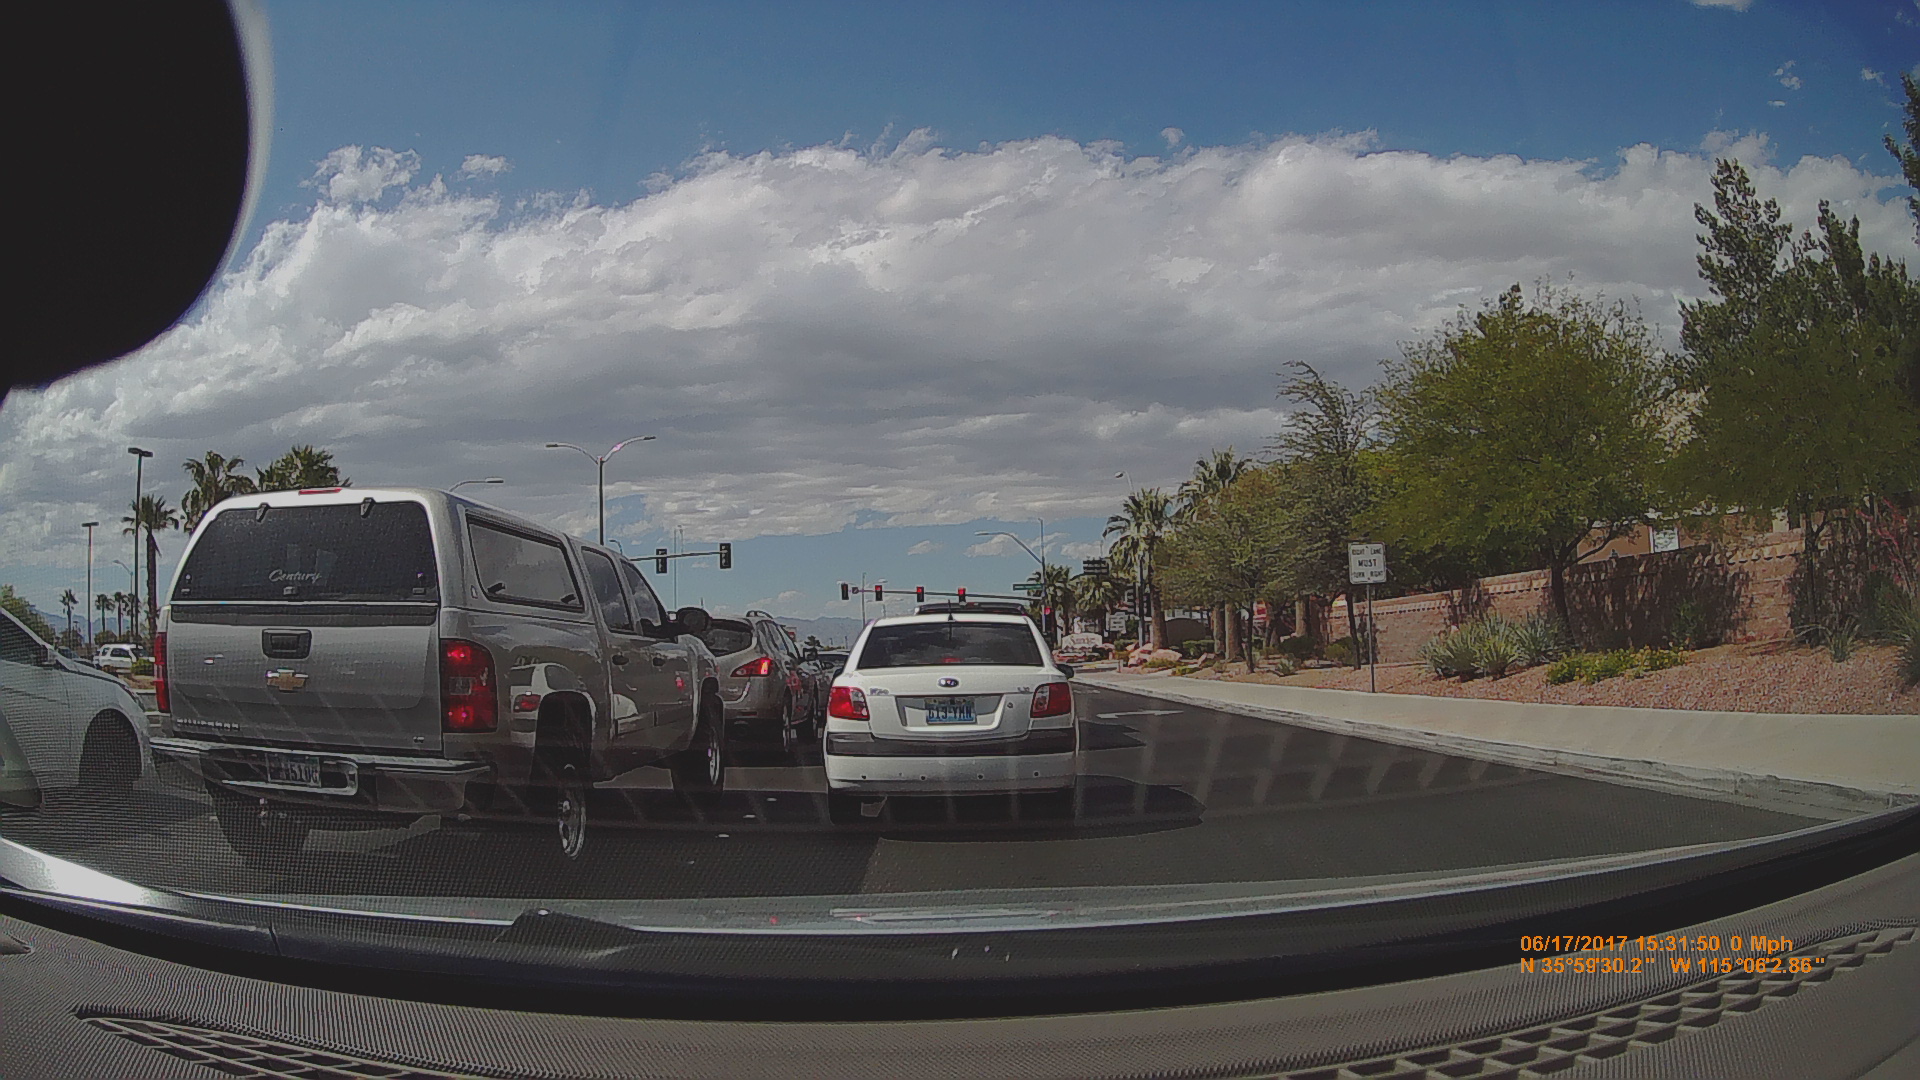
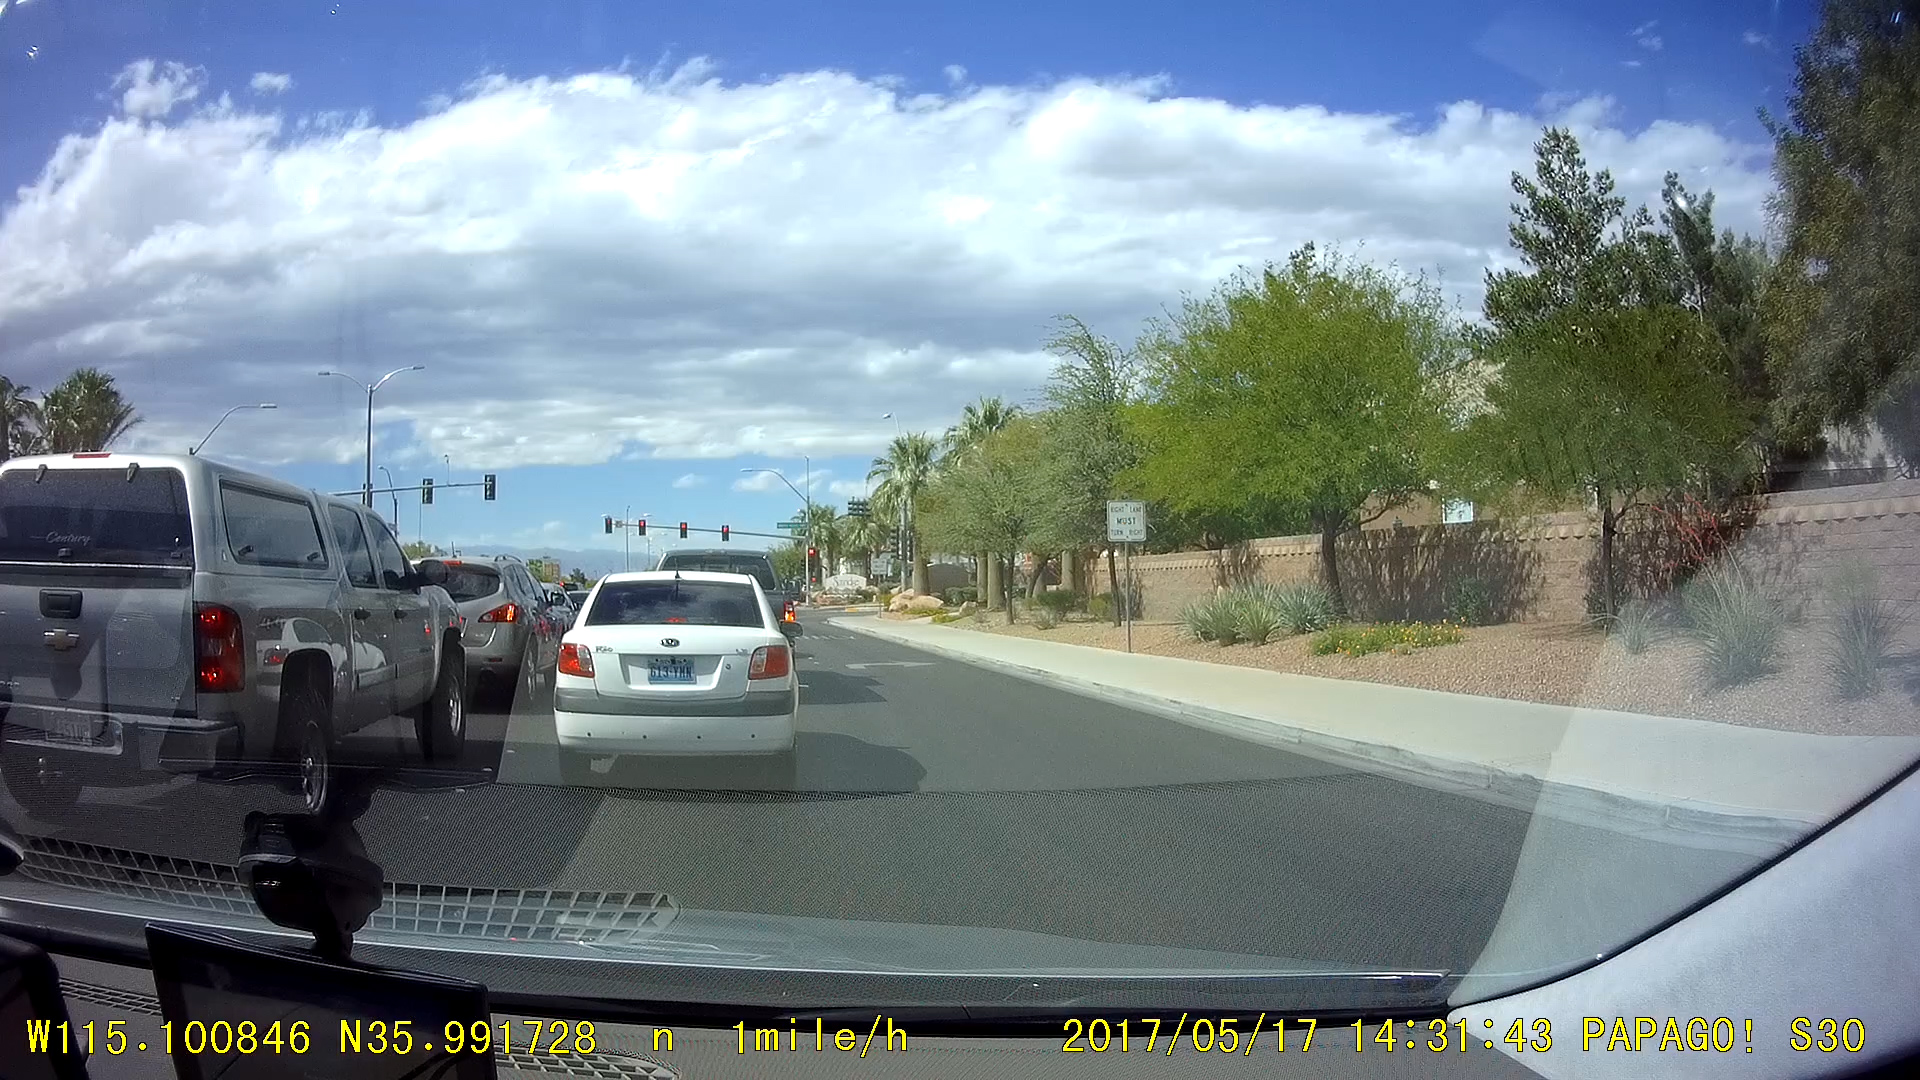
Here is a look at the front facing cameras during the day. In this comparison the DR900 images are slightly darker than the DR770. The DR900 has a wider perspective, meaning you would see vehicles on either side earlier than with the DR770. Both systems capture solid images along with documenting your position and speed (though you can turn that off in the set-up). When I looked at enlarged images, the DR900 captures a bit more detail than the DR770.
[Note: a higher resolution video can be seen by clicking on “Watch on YouTube” in the lower left section of each video]
Here is a comparison of the rear facing cameras, with similar conclusions as the front facing cameras. Again, the DR770 has a smaller angle of coverage with its rear facing camera than the DR900S.
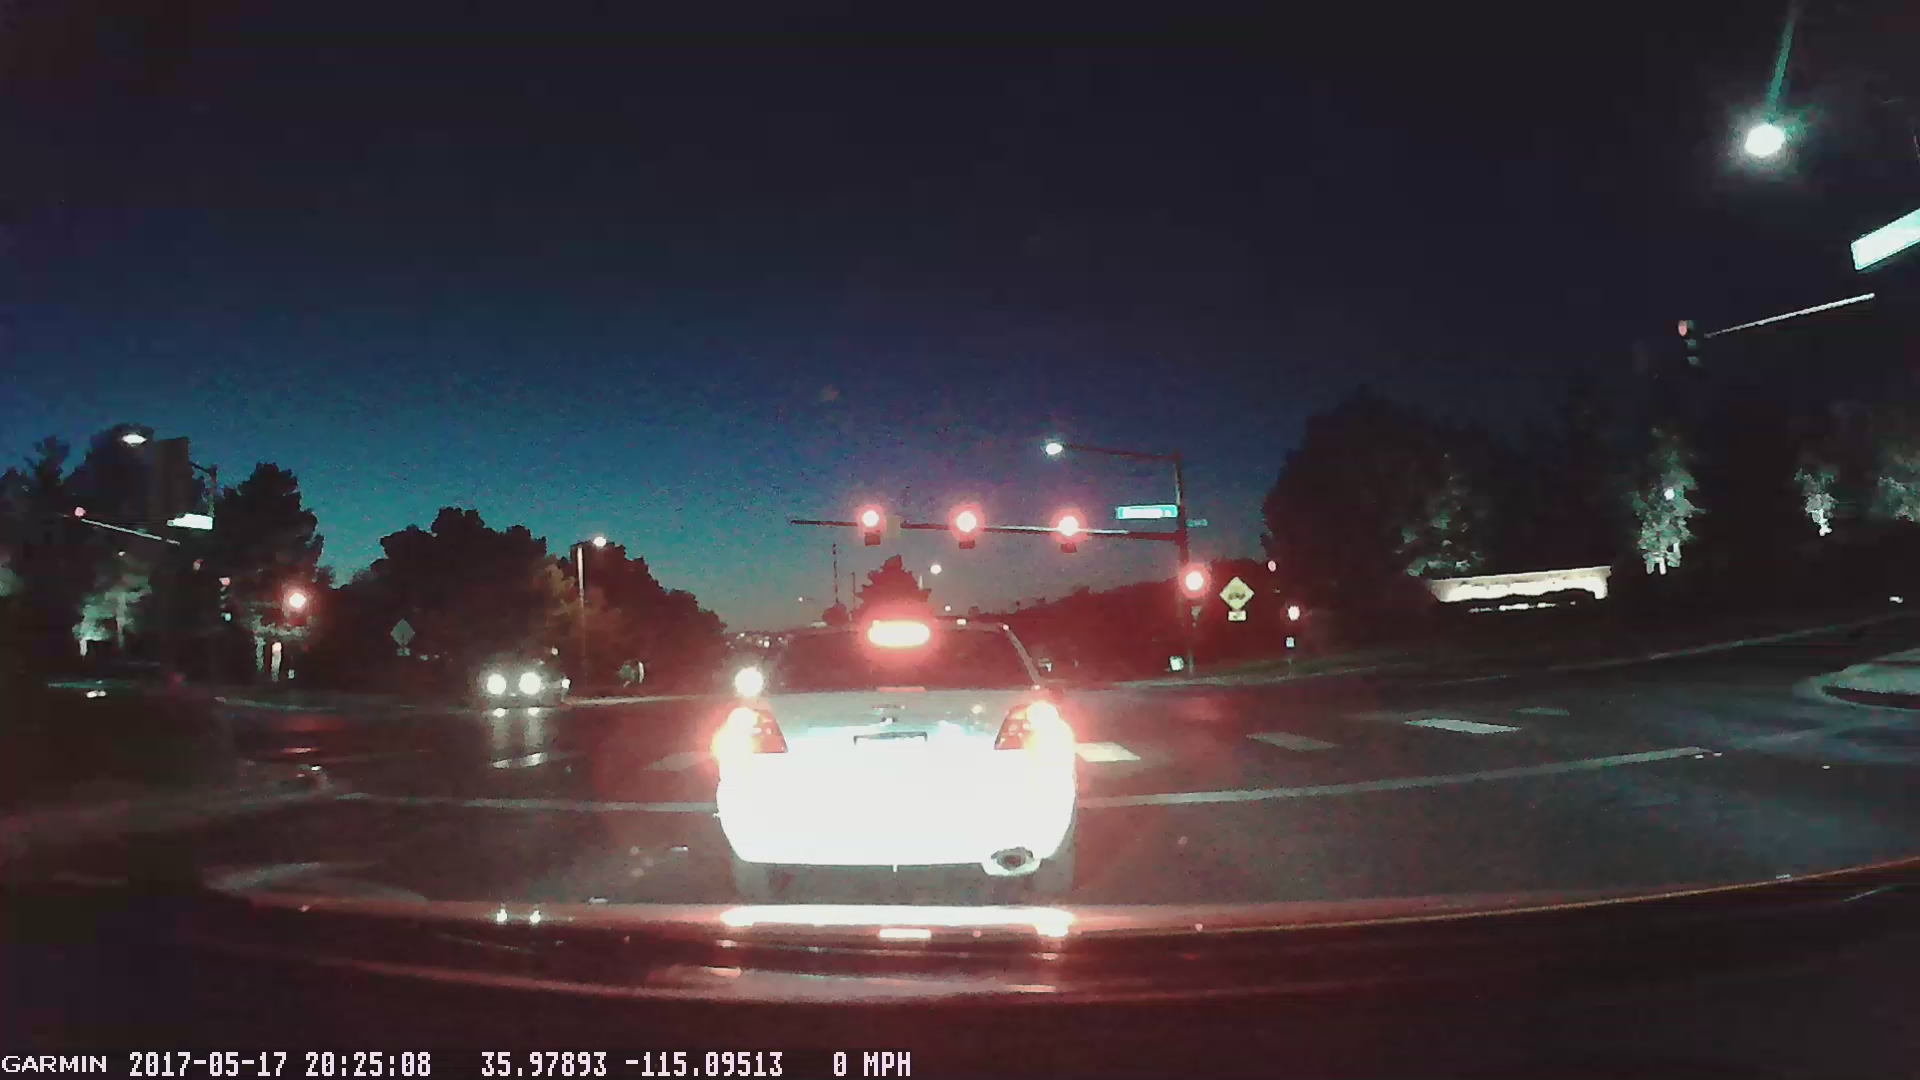
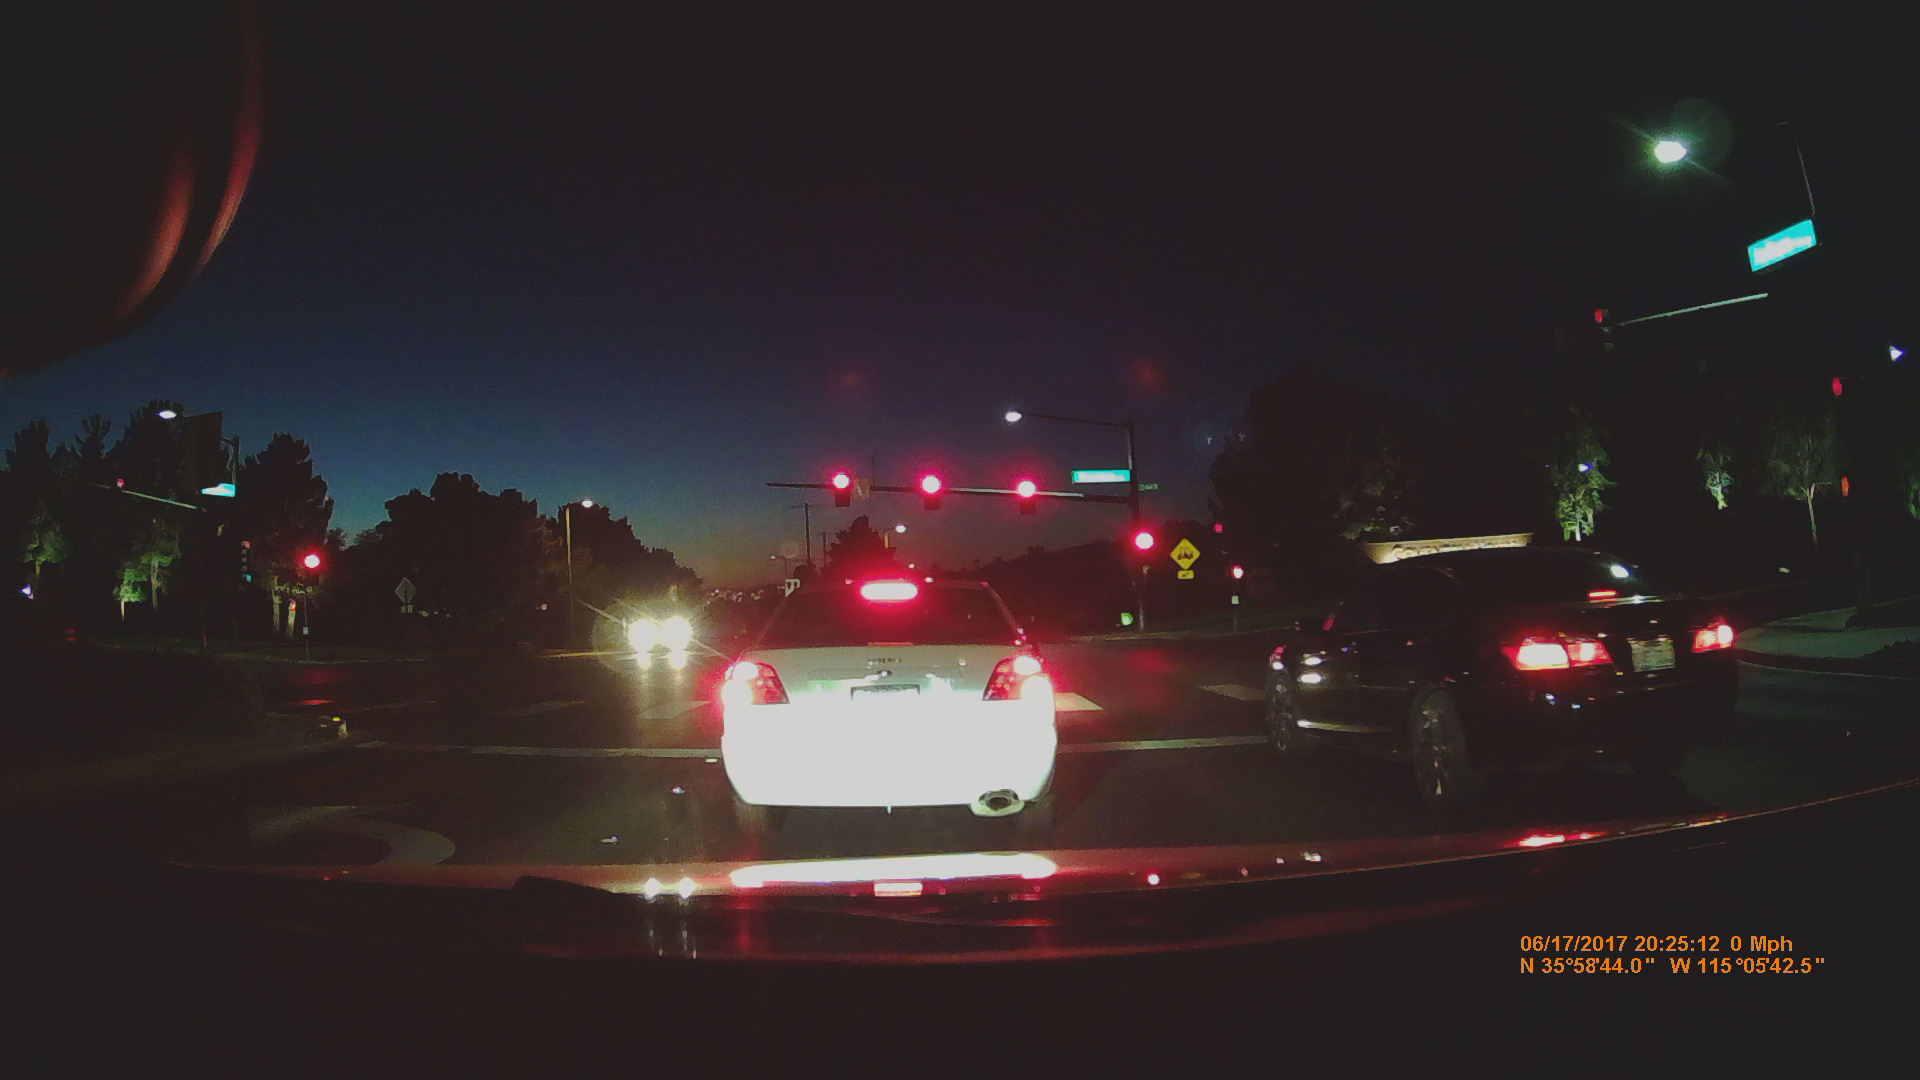
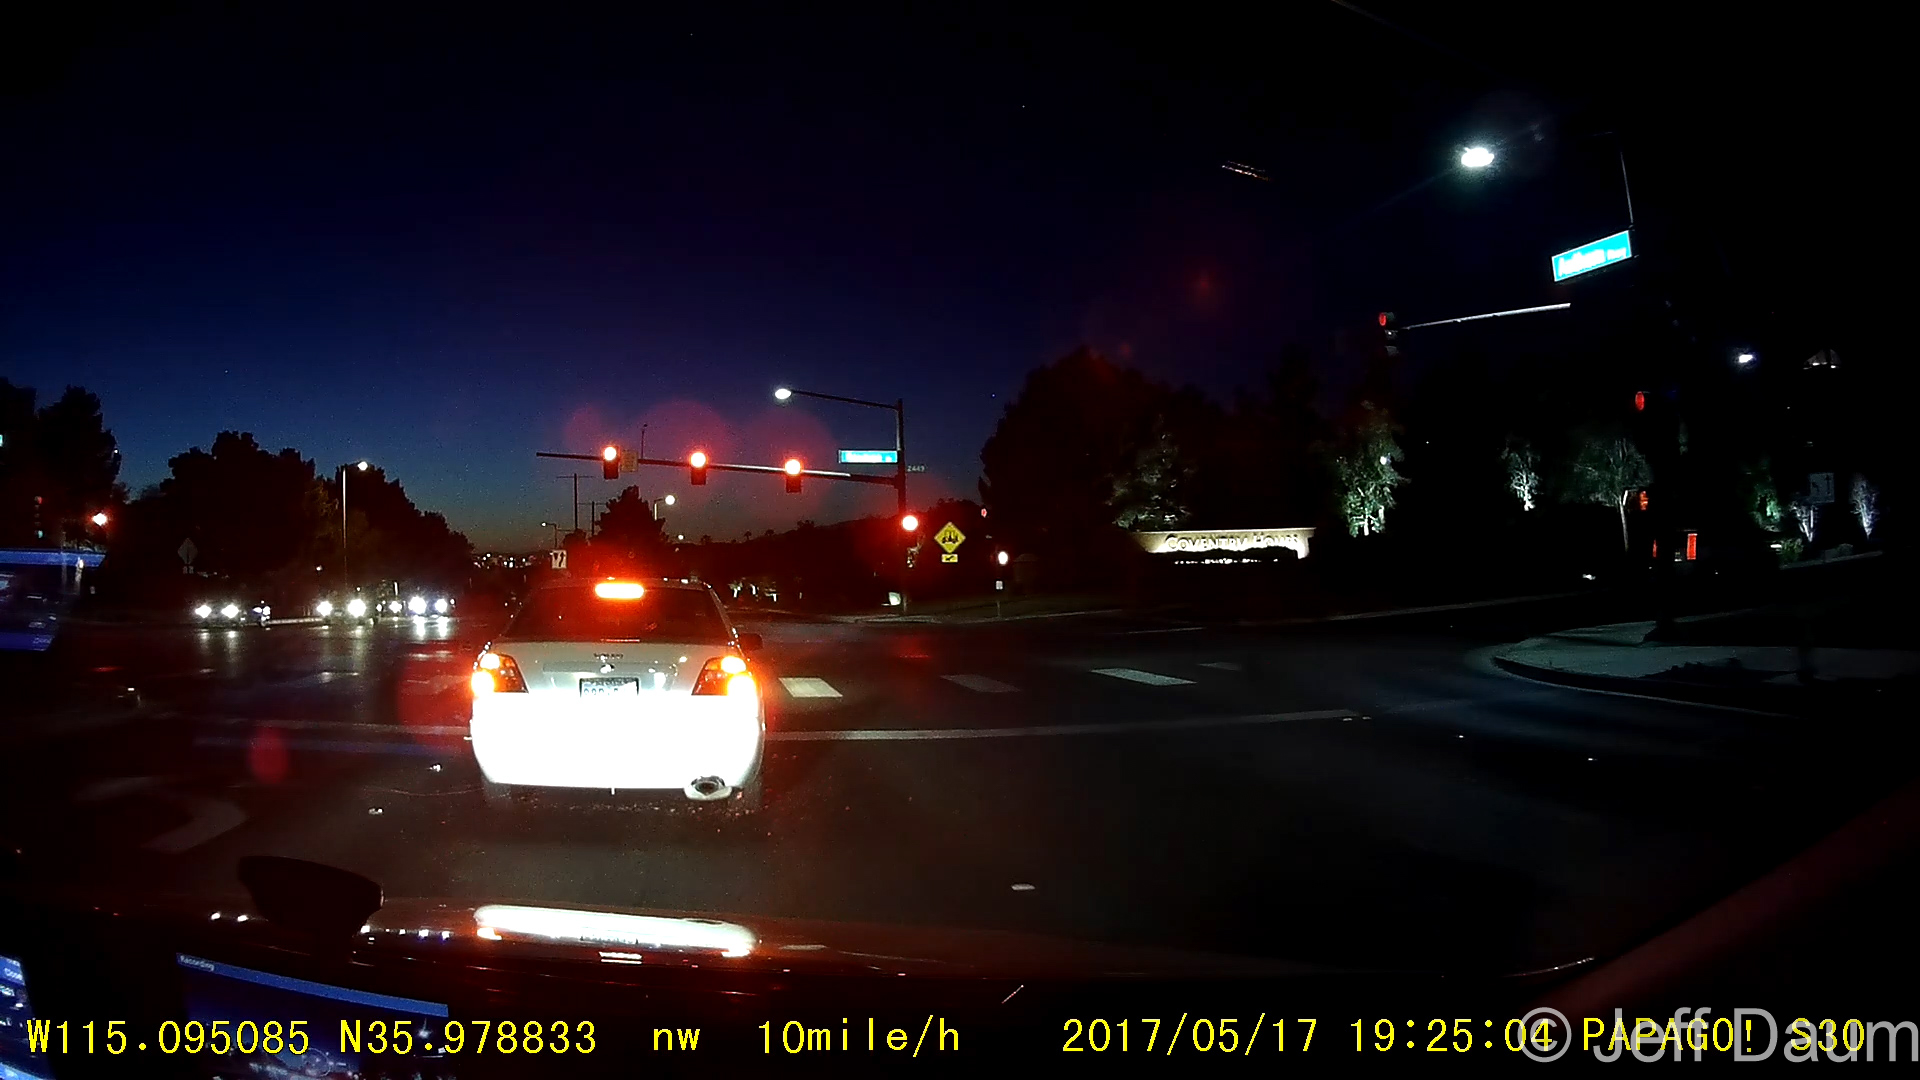
Turning to night captures, the front facing DR900 appears sharper with less flare around bright lights than the DR770.
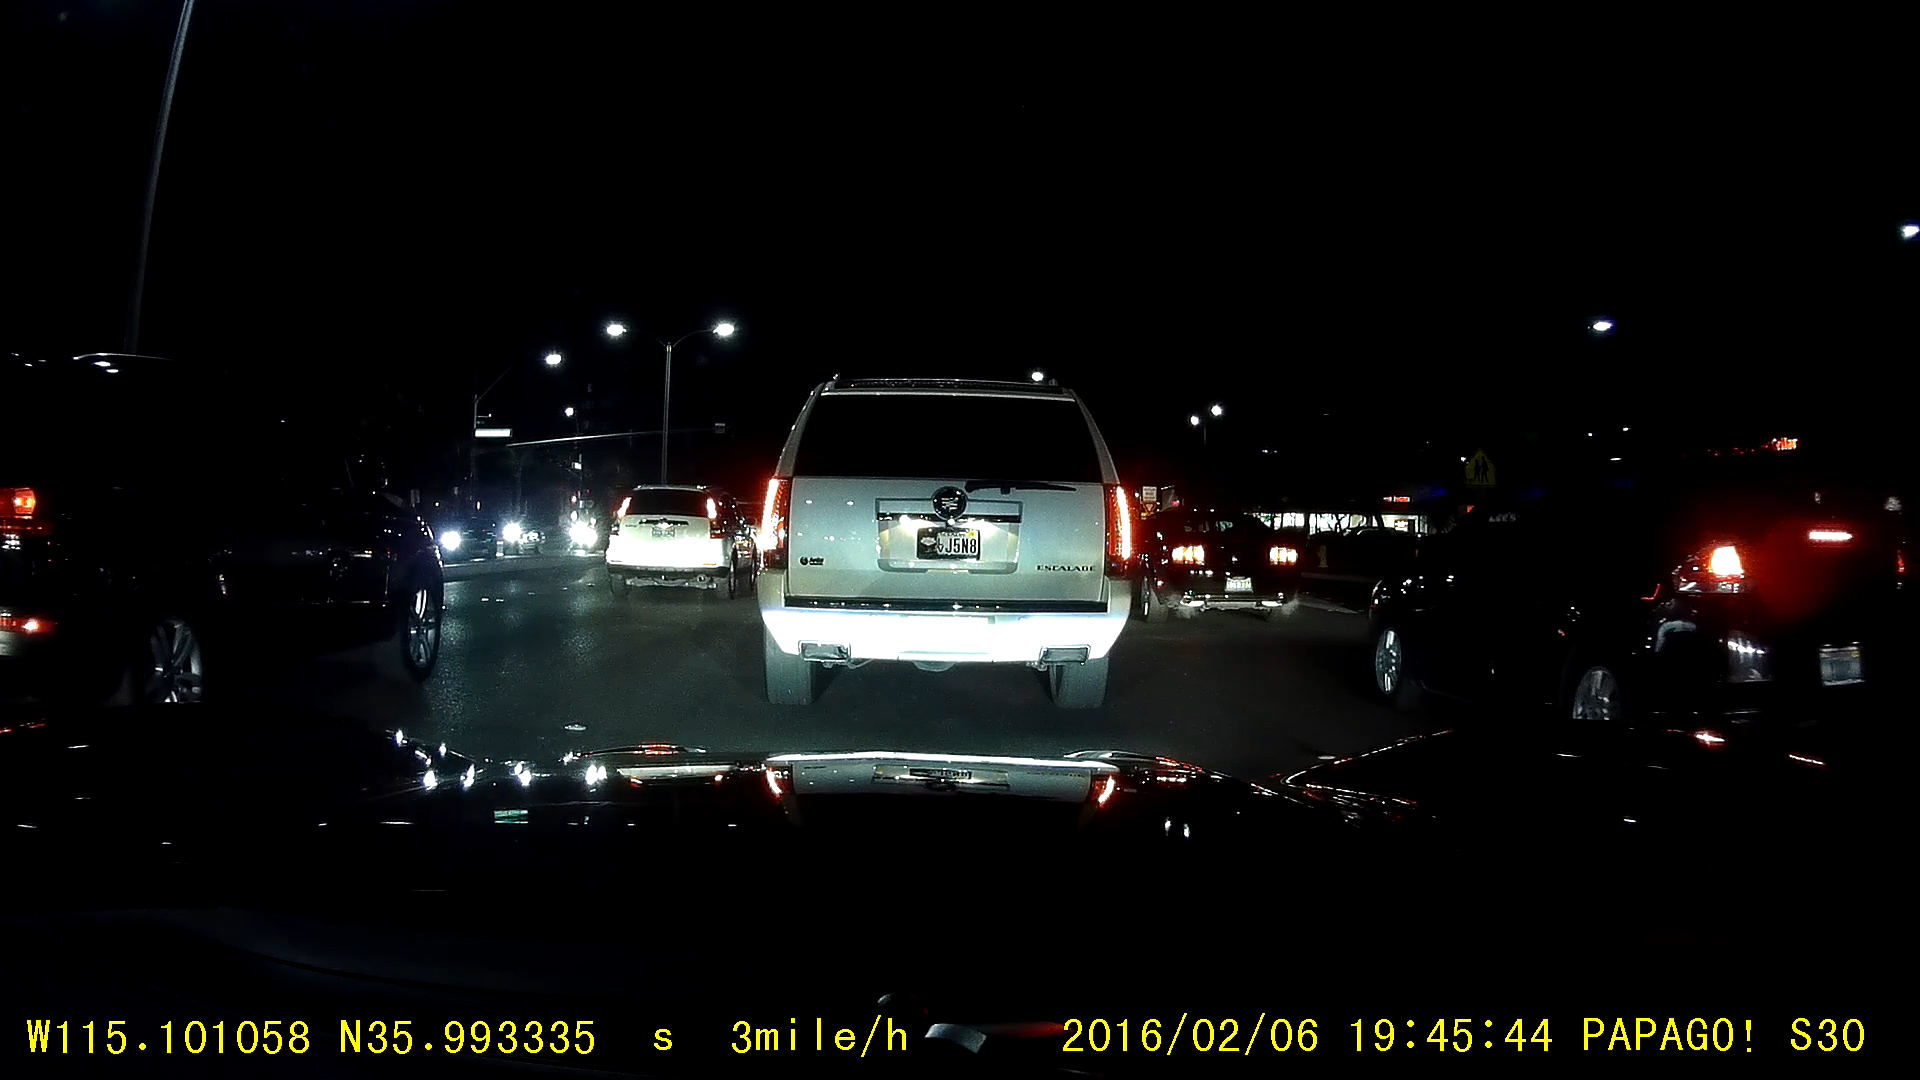
Looking at the night rear facing cameras, the DR900 has more flare around bright lights than the DR770, but still a bit more detail on examination.
The interior facing camera of the DR770 provides similar quality during the day to the front facing camera, but with a much wider range of 180 degrees. It captures everything from the driver door to the passenger door and back seat. This camera includes Infrared LEDs and sensors that automatically come on in low light, providing clear images in total darkness.
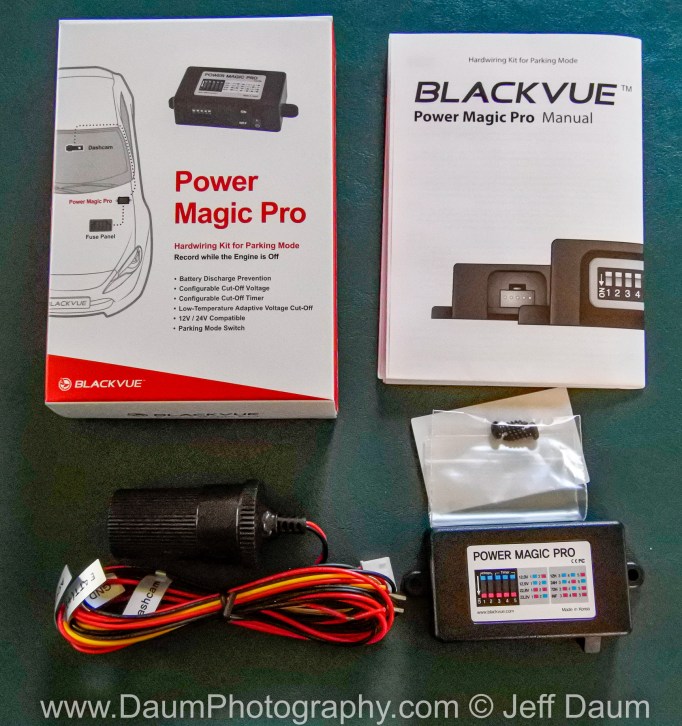
The B-130X Power Magic Ultra Battery is an excellent solution for continuing to record once you turn off your vehicle. Many new model vehicles have battery management software built-in that monitors all power draws once the vehicle is shut off. In most cases this means even if you use a ‘Parking Mode’ setting on a dashcam, the software will terminate its draw (power) at a specific point and no longer record. The B-130X Power Magic Ultra Battery provides a safe means to get around this. The unit charges up when the vehicle is running and then automatically switches the power feed to your BlackVue dashcams when it senses the vehicle is turned off.
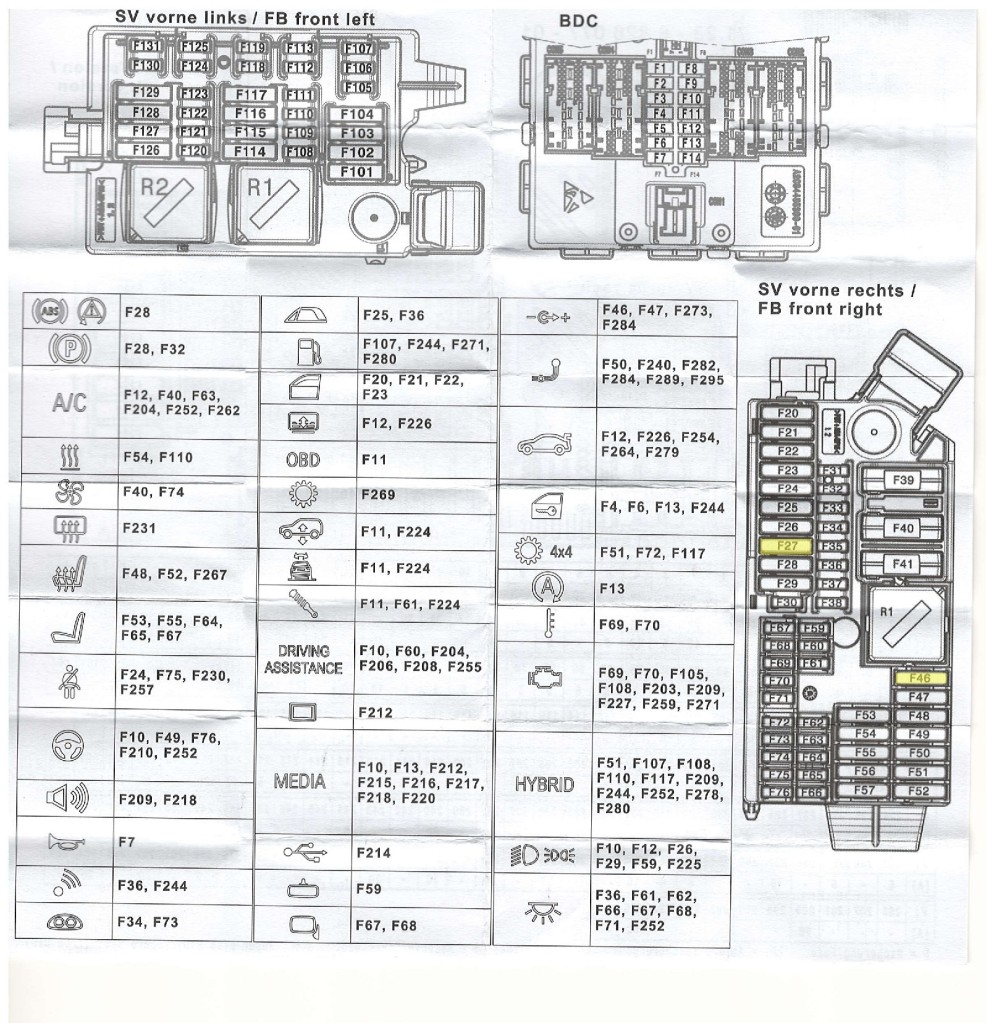
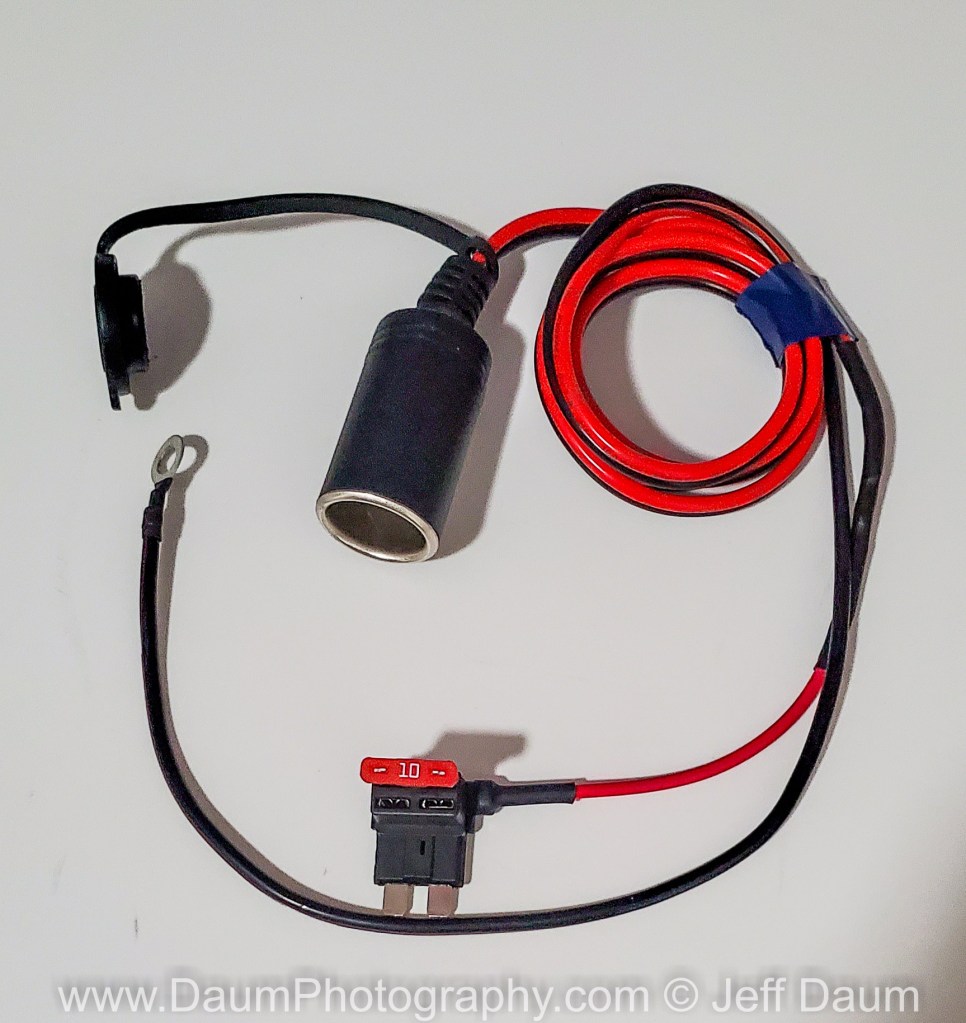
The B-130X Power Magic Ultra Battery can be connected to your vehicle power source either by plugging into the accessory outlet or by hardwiring through your fuse panel. If you use the accessory outlet it takes about 90 minutes to fully recharge the B-130X from ‘dead’ or empty. The faster method is accomplished by directly connecting to your fuse panel, where it takes only about 50 minutes to full from empty.
The B-130X Power Magic Ultra Battery software will automatically sense when you shut off your engine and switch your dashcams to draw from the Power Magic Ultra Battery. BlackVue states the B-130X will power a single dashcam for more than 30 hours or dual dashcams for more than 19 hours. In my field test, it easily powered the front and rear cameras throughout the night. You have optional settings on how the BlackVue dashcams record in parking mode including motion activated, continuous recording, interval recording, etc. Motion or interval recording will greatly reduce the amount of storage space taken on the MicroSD card. Any ‘event’ recording (from a bump or hit on the vehicle) will be protected from being overwritten the same as occurs during normal driving.
The free BlackVue app provides easy access to check on the B-130X remaining power. If you have the optional LTE Connectivity module connected, the app also allows you to see what your dashcams are seeing, stored recordings, etc. Even if you do not have the Connectivity module, the app will allow you via WiFi to see what your cameras are seeing and to modify their and the system’s settings.
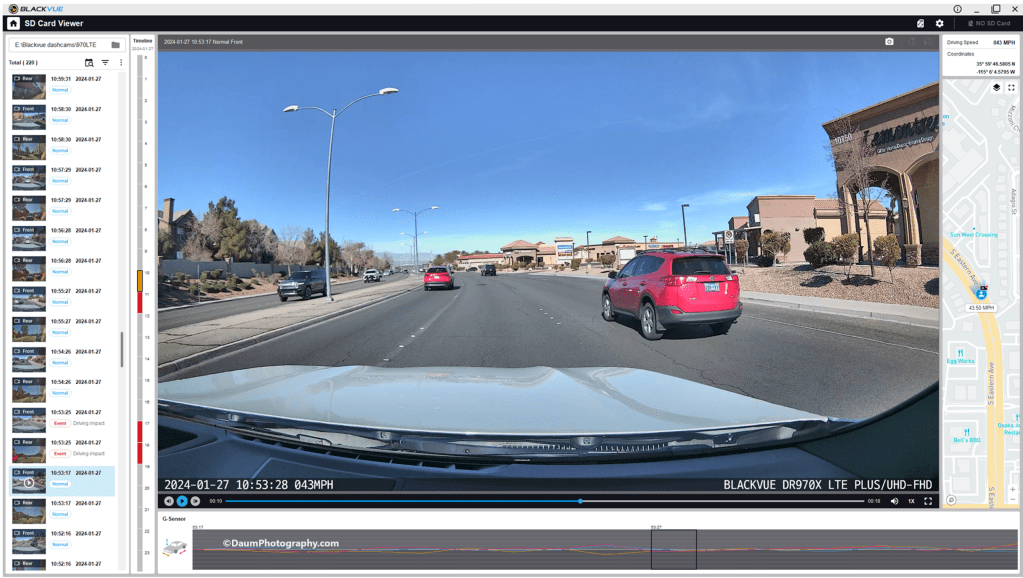
There is also a free BlackVue app for your computer that is very useful. While you can remove the MicroSD card and view the recordings on your computer without the app, the app offers several real advantages. When you use the app to view your recordings, it enables you to see all cameras (front, rear and interior) simultaneously as well as providing a sidebar with a dynamic map and GPS position. Another nice function of the app is it will automatically join the individual recordings one after another, simplifying the viewing.
Here is a screen shot of what the BlackVue computer app looks like with the DR770X. On the right side of the screen, you see a narrow column with a dynamic map showing my vehicle’s position with street names, my speed, and actual GPS coordinates. On the bottom of the screen, you will see a line with date, time, vehicle speed, and the BlackVue camera(s) on the recording. In the main part of the screen, you see a picture in a picture that has the rear facing camera and the rest is the front facing camera. You can adjust what is included in the screen.
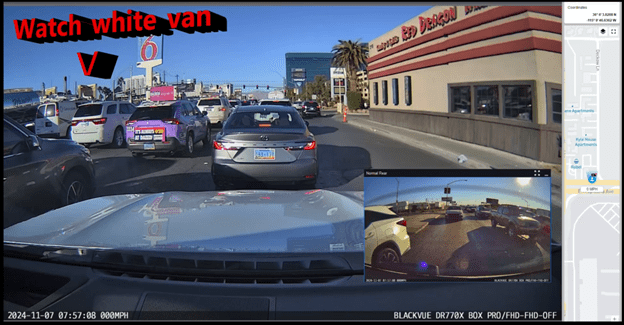
When you look at the following example from the app, you can see how the map is dynamic, and somewhat amusing, the white van will attempt to cross three lanes nearly perpendicular to the flow of traffic!
Preliminary Field Test Conclusions
Set up of the DR770X was straight forward, especially since this system uses the included wireless button to pair the cameras with the BlackVue phone app. Once you power up everything, you simply press the wireless button which pairs with the app, and then you use it to confirm the DR770X cameras you installed. Once that is done, you are all set. You can use the system immediately or use the app to modify software defaults.
As in prior comparisons, BlackVue continues to produce top line dashcams with the most important features built in. Of course, quality does come at a price with the DR770X 3CH Pro including a 64GB microSD card retailing at US$474.99.
The Power Magic Ultra Battery B-130X retails at US$359.99. The LTE module retails at US$159.99.
BlackVue customer service has been excellent in responding to any set up questions and/or issues.
The BlackVue DR900S has been in my vehicle for nearly 5 years now and has performed flawlessly in all temperatures from freezing to extreme desert heat. I have no reason to think the new DR770X Box-3CH Pro series won’t perform equally well and it adds the ability to have the IR interior camera along with added security of the locking main box and tamperproof camera mountings.
BlackVue states that you should use their microSD cards for optimal performance. I experimented early on with several non-BlackVue microSD cards (all were name brand high-quality professional level cards, designed specifically for handling the frequent record events typical of security cameras designed for video recording), and while they would work for a period, inevitably they would stop working or have glitches. Once I went back to BlackVue’s own card I never had it stop working or fail.
These cameras offer pricing plans for saving files to the cloud as well as in the case of the option LTE connectivity module, a built-in SIM card to simplify the recording directly to the cloud. As noted, it is easy to either download the video files or temporarily remove the microSD card and transfer the files to your computer.
The fit and finish of the new DR770X is excellent and all the components included are high quality.
If you are highly concerned about your vehicle when it is parked and unattended, you should consider purchasing the optional Blackvue Power Magic Ultra Battery. I was impressed with how it elegantly solves the OEM battery management software issue. I am adding it to my cars.
A final thought worth repeating from my earlier reviews: Many of my readers have asked ‘Do you really need a dashcam, and if so which one?” Hopefully this review is helpful in reaching a decision. For me personally I always want to have documentation of what is going on around my vehicle when I am driving, so all my cars have dashcams and when I rent a car, I put in a portable dashcam before I leave the lot. I also find it is nice to have videos of scenic drives and the ones from BlackVue are perfect for this.
Thanks for visiting and reading. If you have a question, please feel free to ask below!


 , or your computer USB (however, using the computer will be a relatively slow charge), or by using a AC adapter (not supplied). The full downloadable User Manual does mention that you can use an AC adapter. I placed a call to customer support and quickly got through. The very professional tech said you can us power packs, computers (again, noting that it will be slower) or AC adaptors in addition to the 12 volt accessory plug supplied with the unit.
