by Jeff Daum, Ph.D., PPA, Technology & Product Analyst
This is a review of a AI powered pool cleaning robot. Come dive in with me 🙂
Unboxing and Technical Information
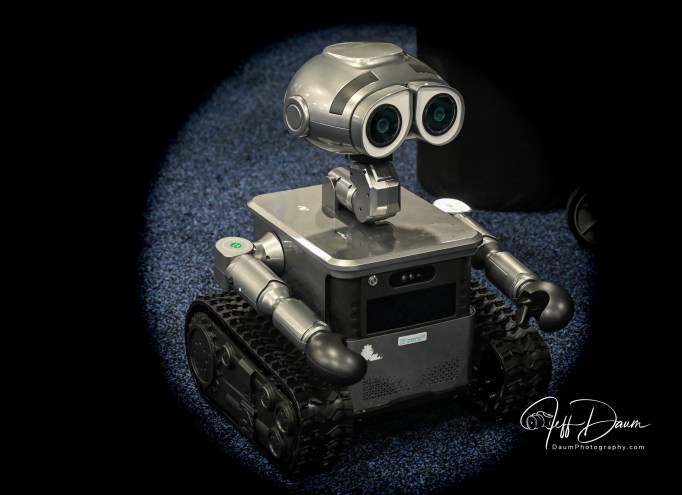
I first saw the Beatbot AquaSense Pro pool cleaning robot at CES 2024 and was impressed with its apparent capabilities. In their booth the robot was cleaning the floor and walls effortlessly of a transparent pool, but of course this was under ideal conditions, and I was a bit skeptical. So, when Beatbot offered me the opportunity to test and review the Beatbot AquaSense Pro in real life conditions I jumped at the chance.
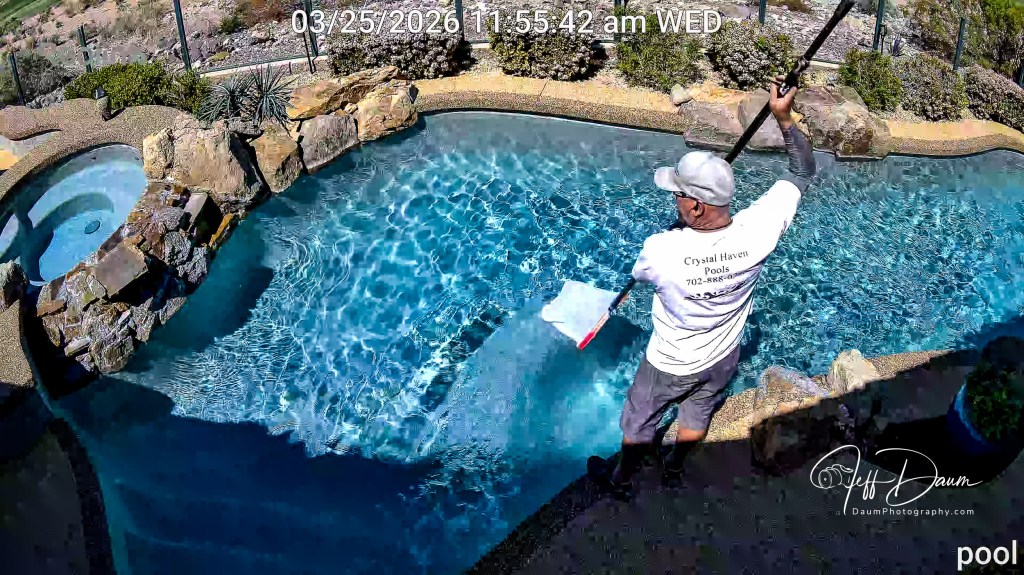
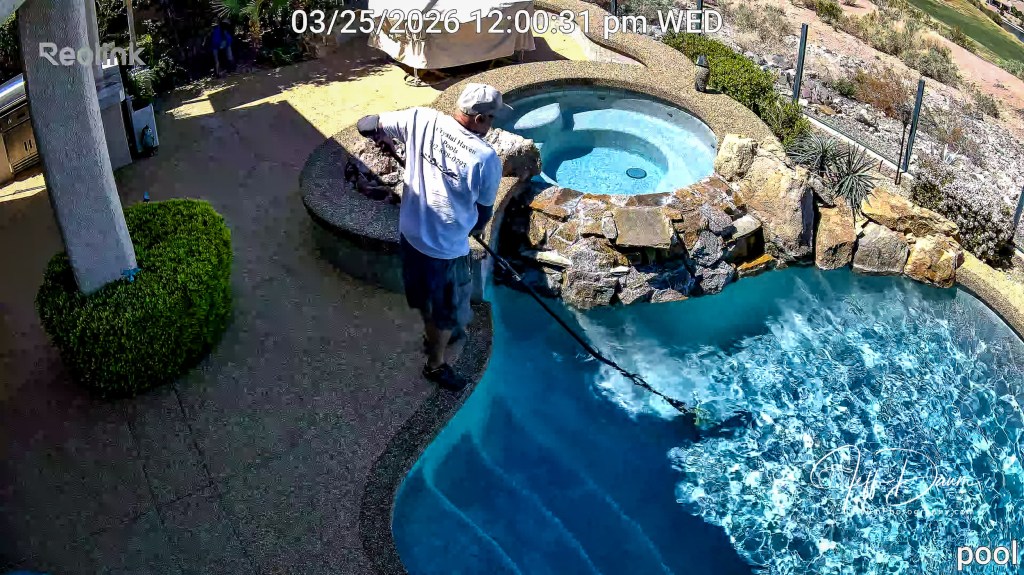
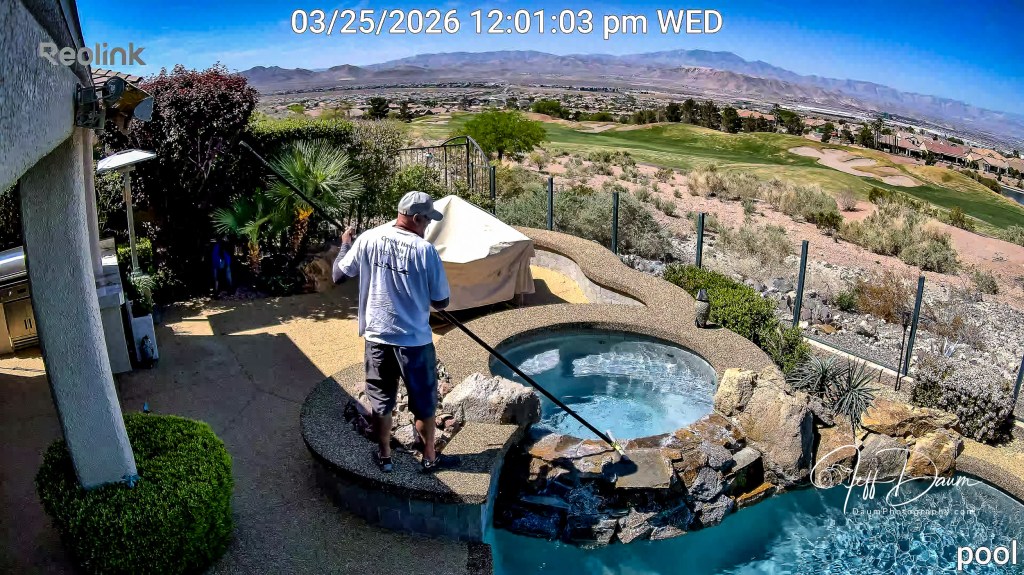
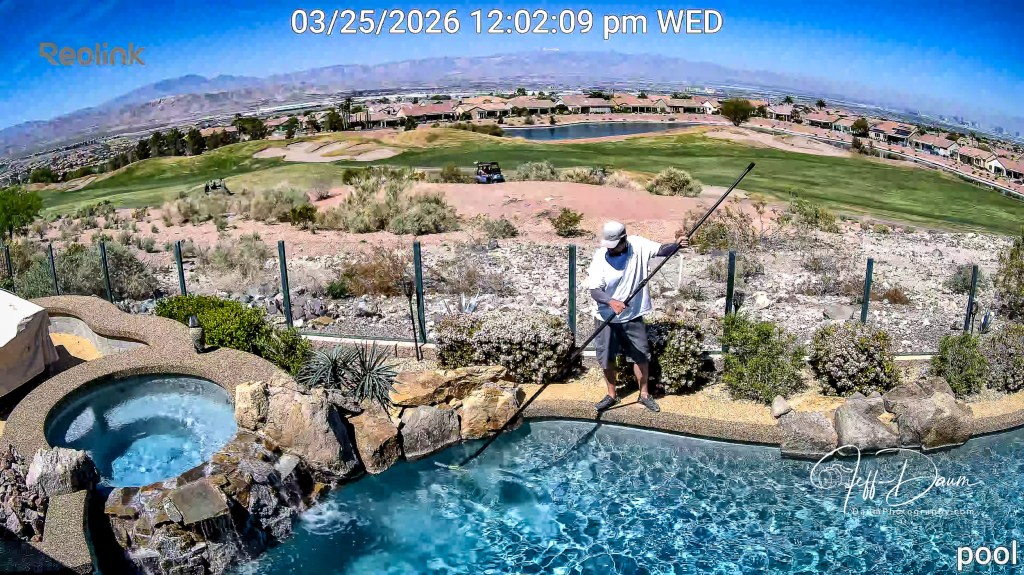
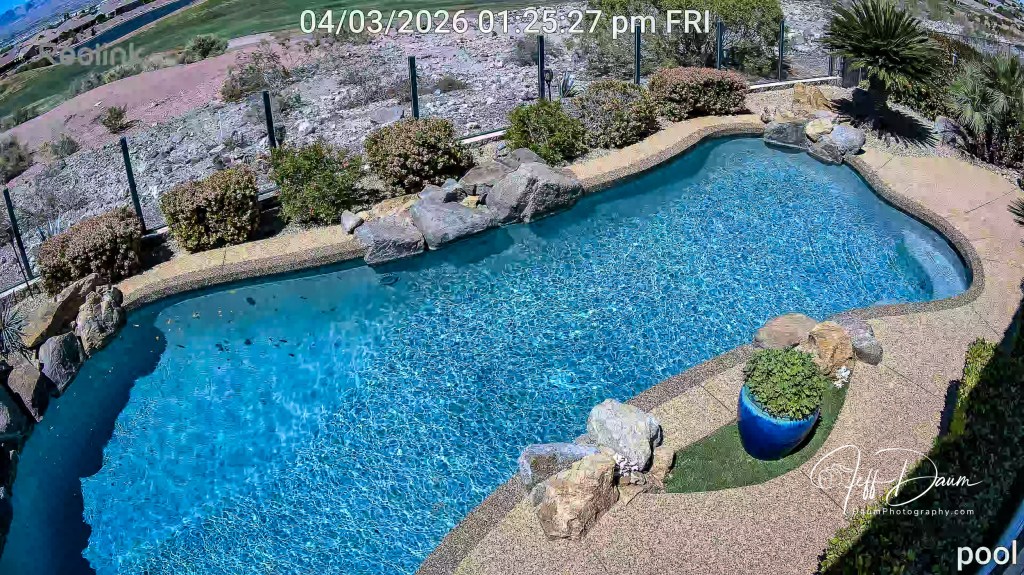
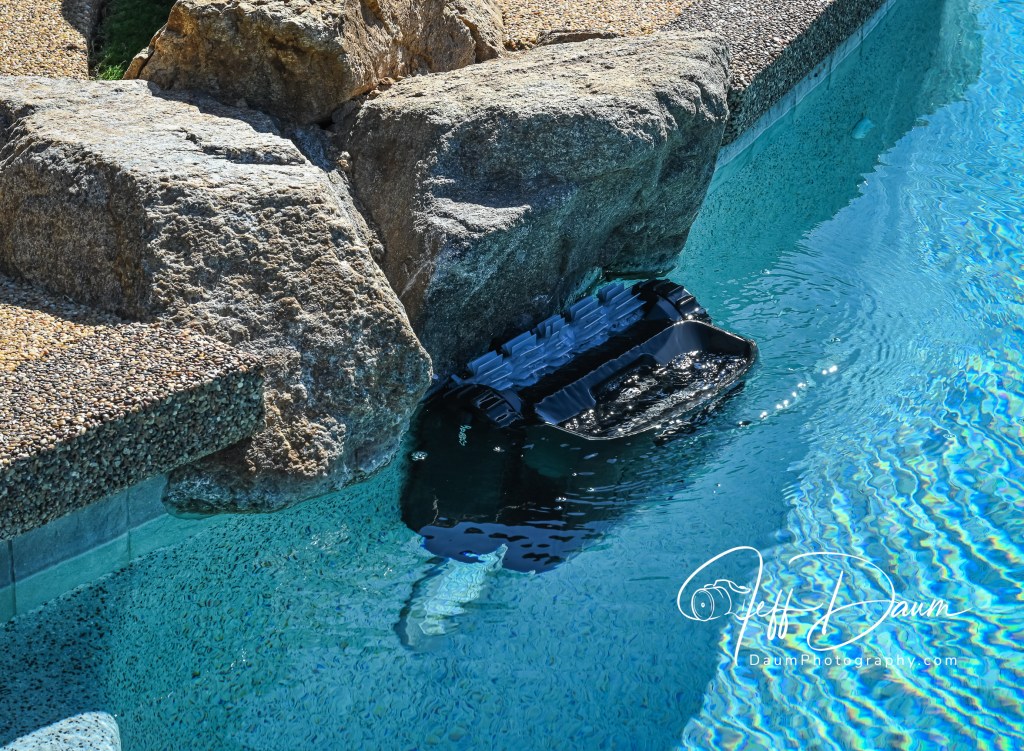
I have what I considered a challenge for it to clean: a 14,000-gallon salt water free-form pool with two sets of steps/landings and attached jetted hot tub. The pool depth varies from about 3 feet to 5 feet, the walls curve to the bottom and the waterline has several boulders that jut down into the water. I had lots of questions: would it be able to handle a free form pool, how good would the cleaning be, is it practical and is it something I think a pool owner would really want?

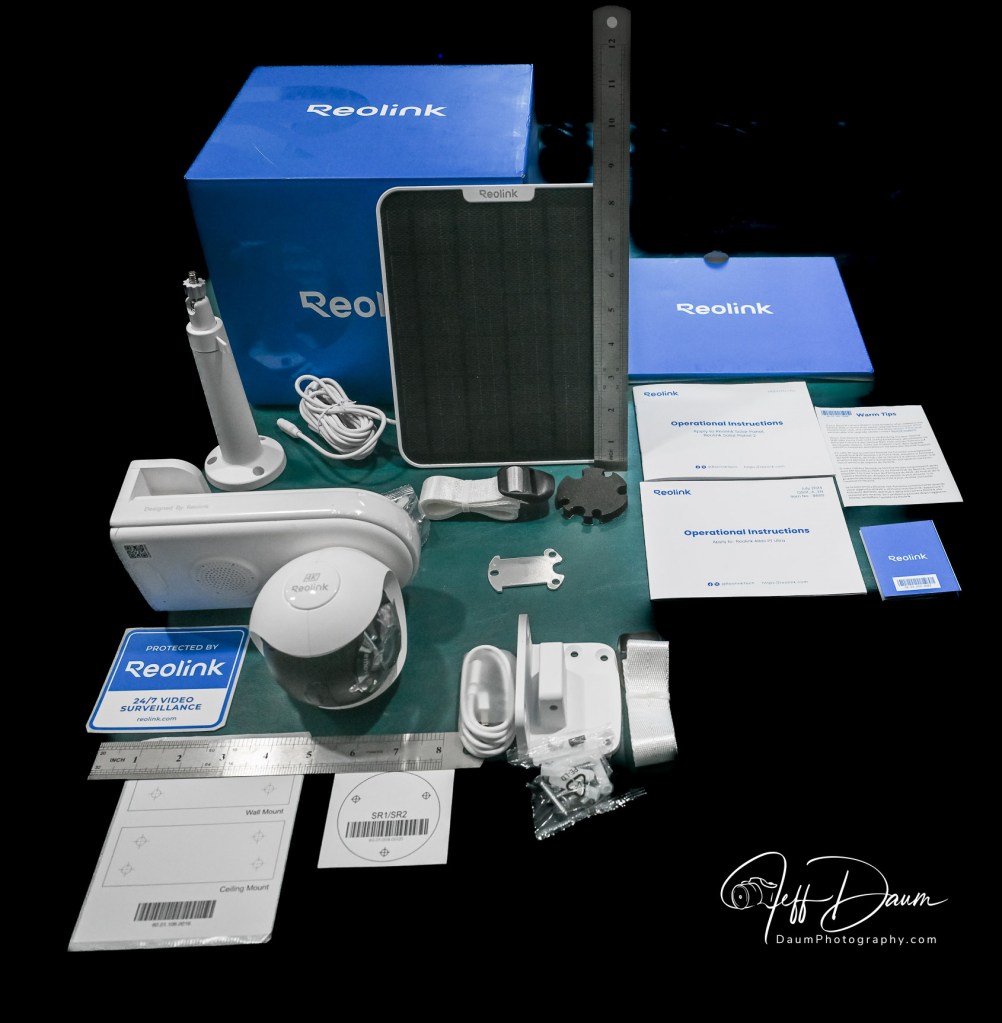
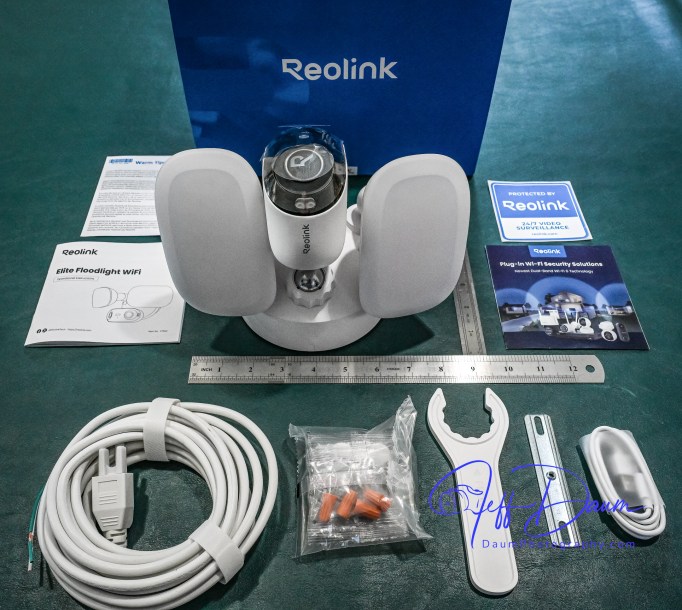
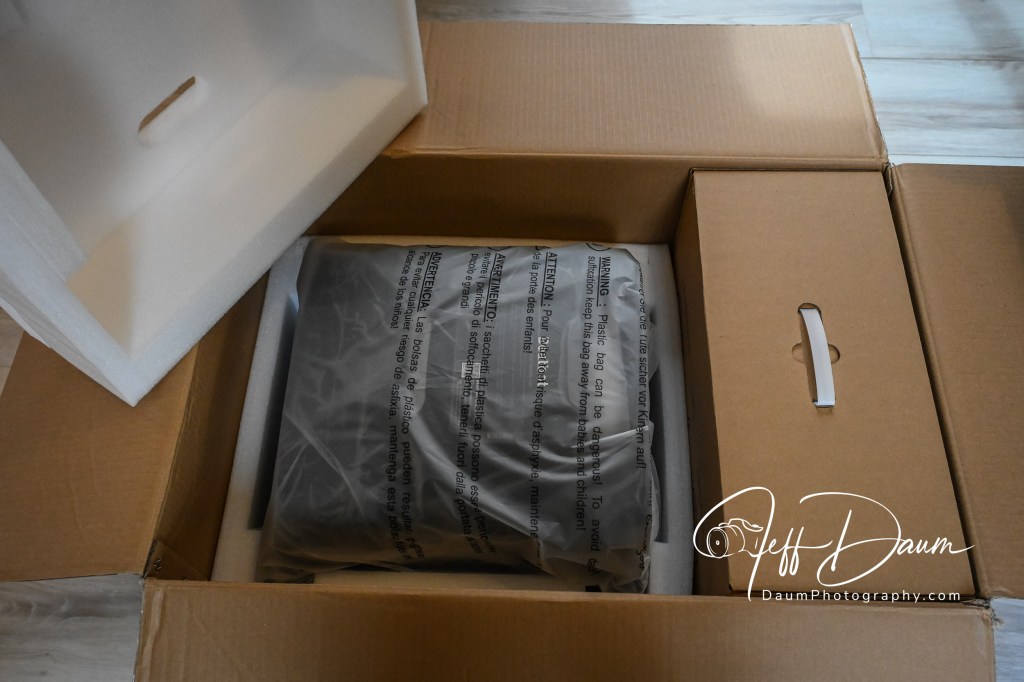
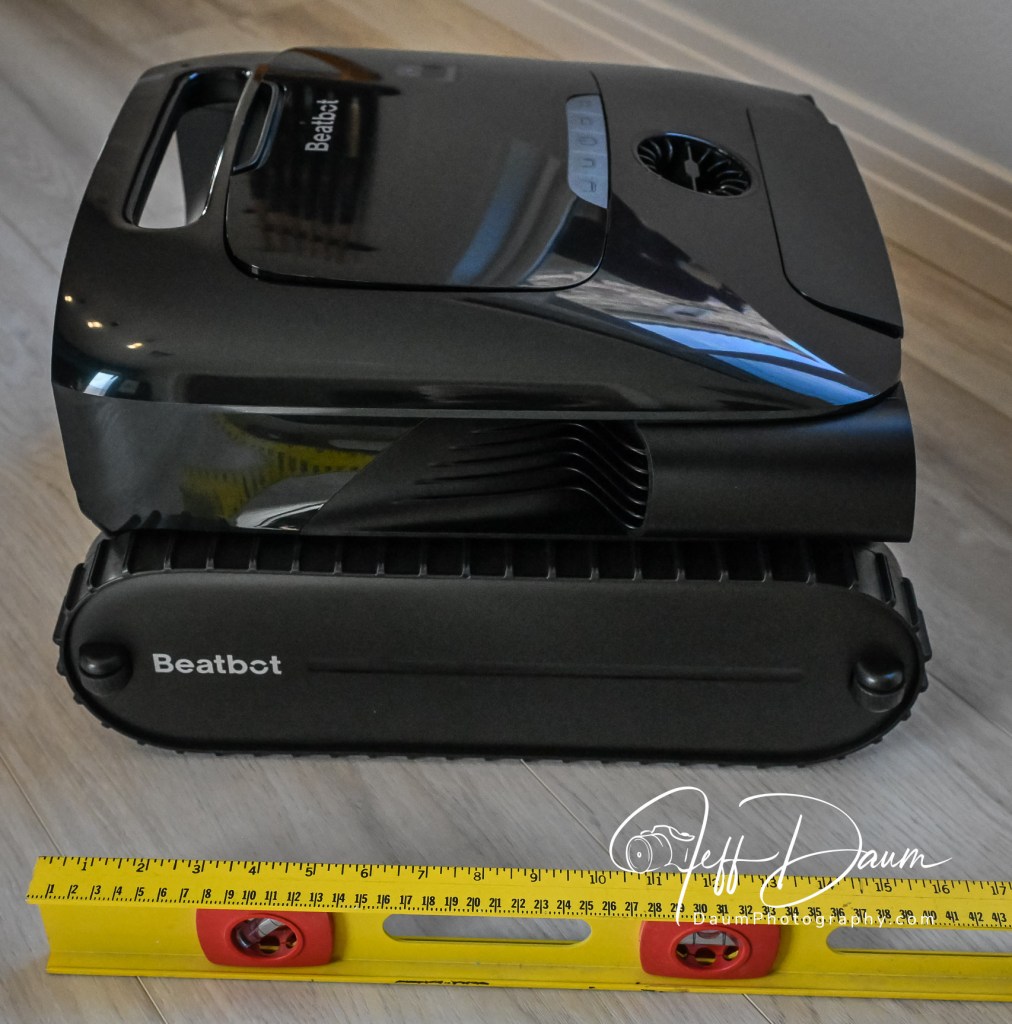
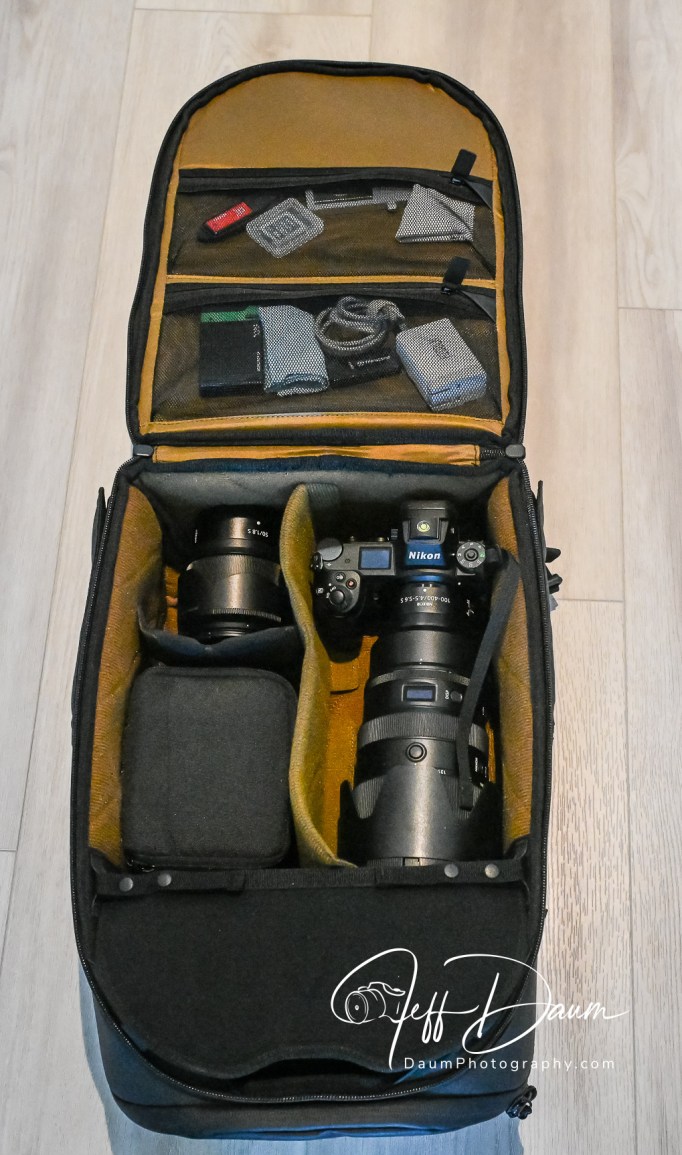
Before answering these questions, let me talk about the unit itself. It came well packed and protected in a single box. The Beatbot AquaSense Pro (dry) weight is about 11 kg or around 24 pounds and it measures 451mm x 403mm x 263mm or 17.75 inches x 15.9 inches x 10.4 inches.
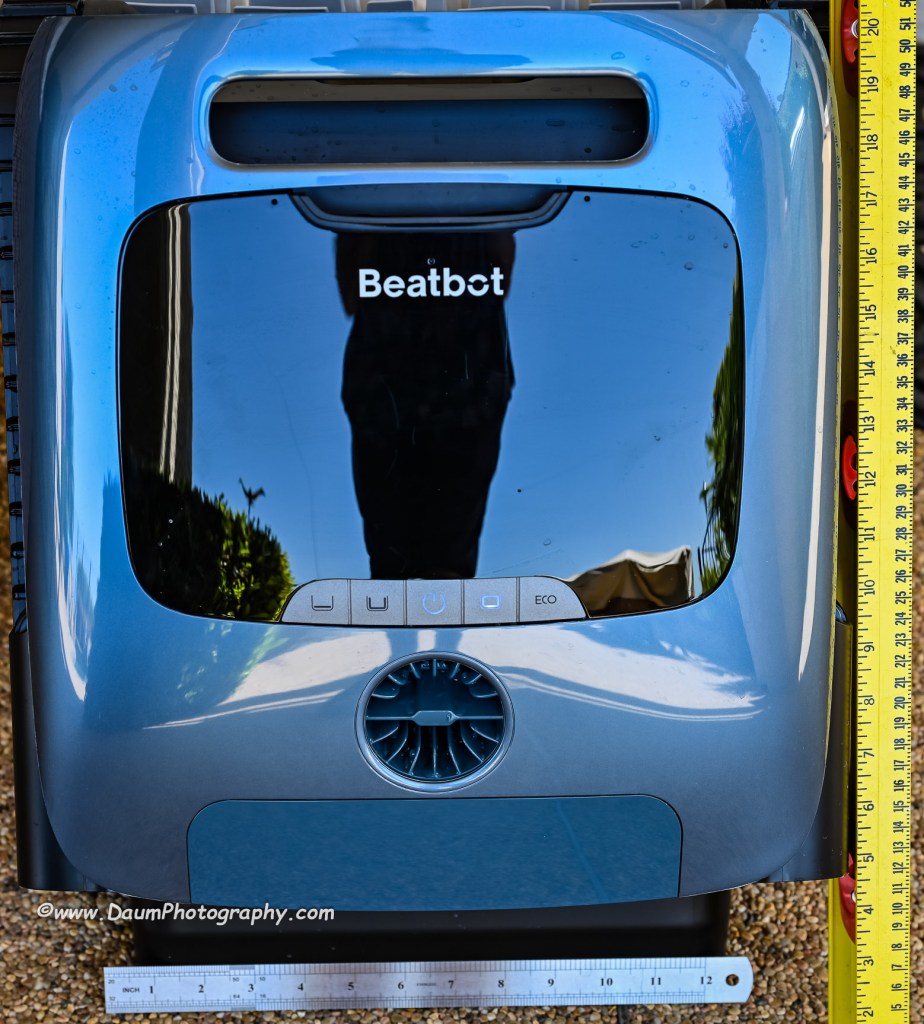
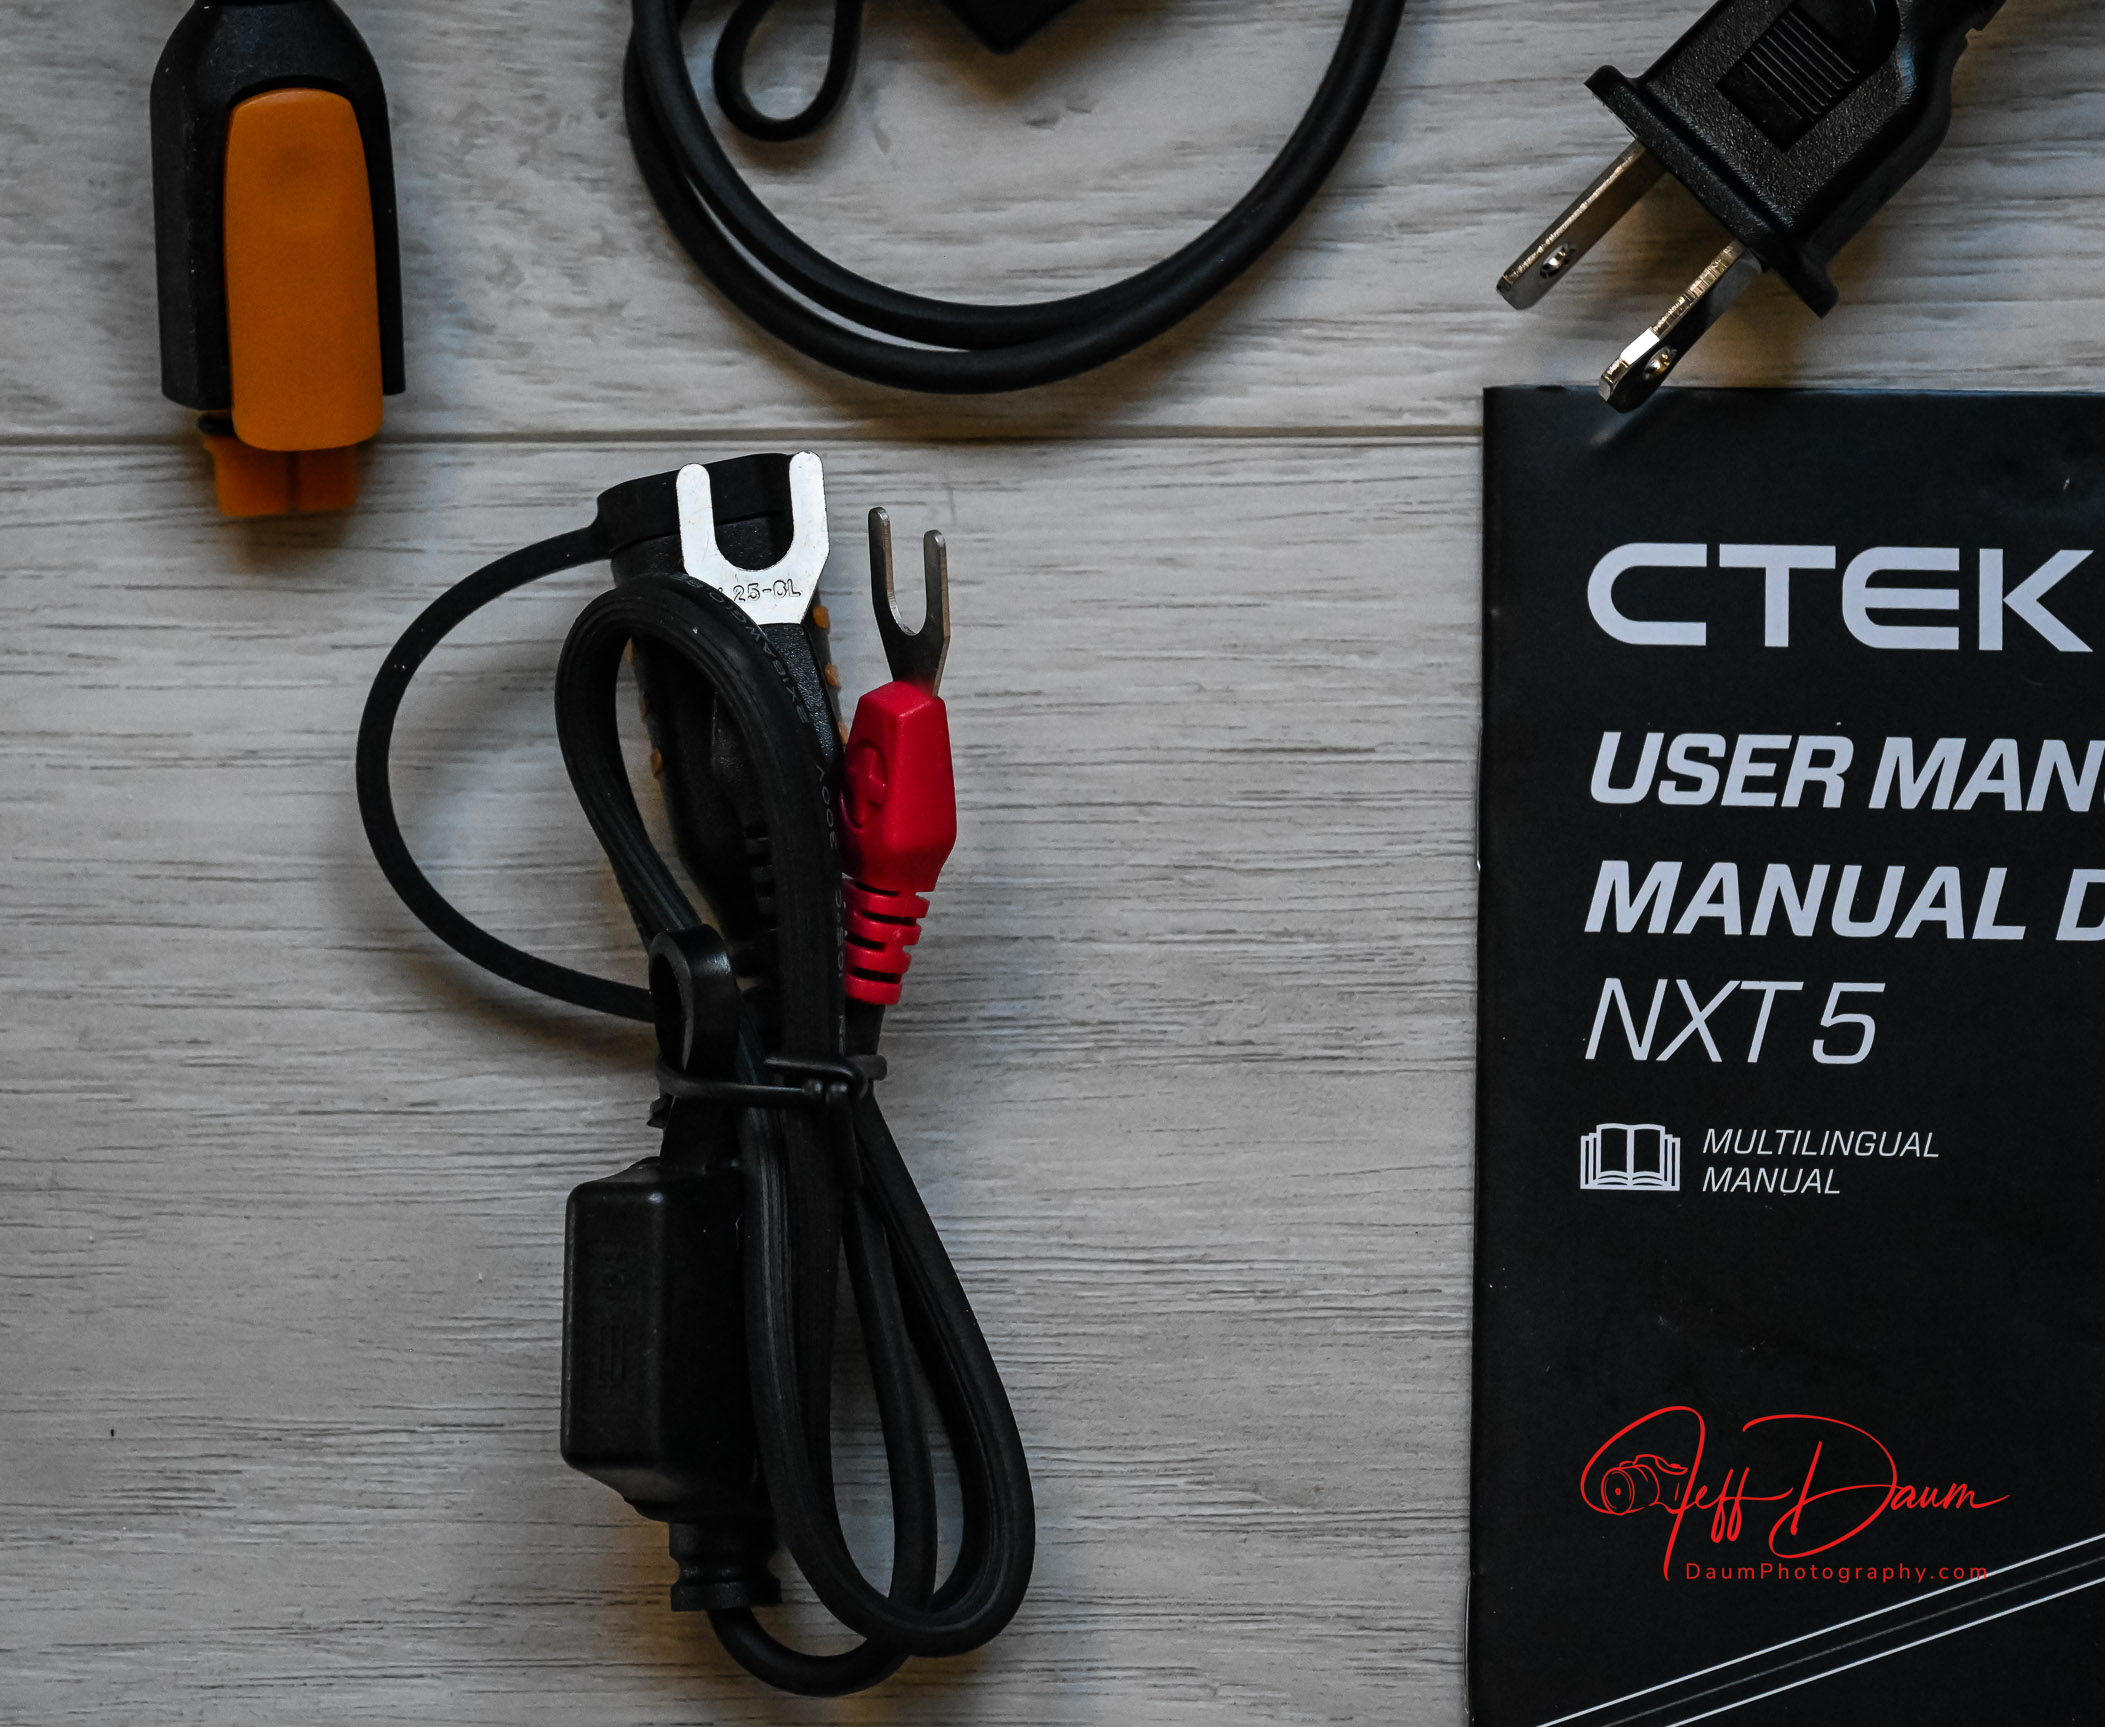
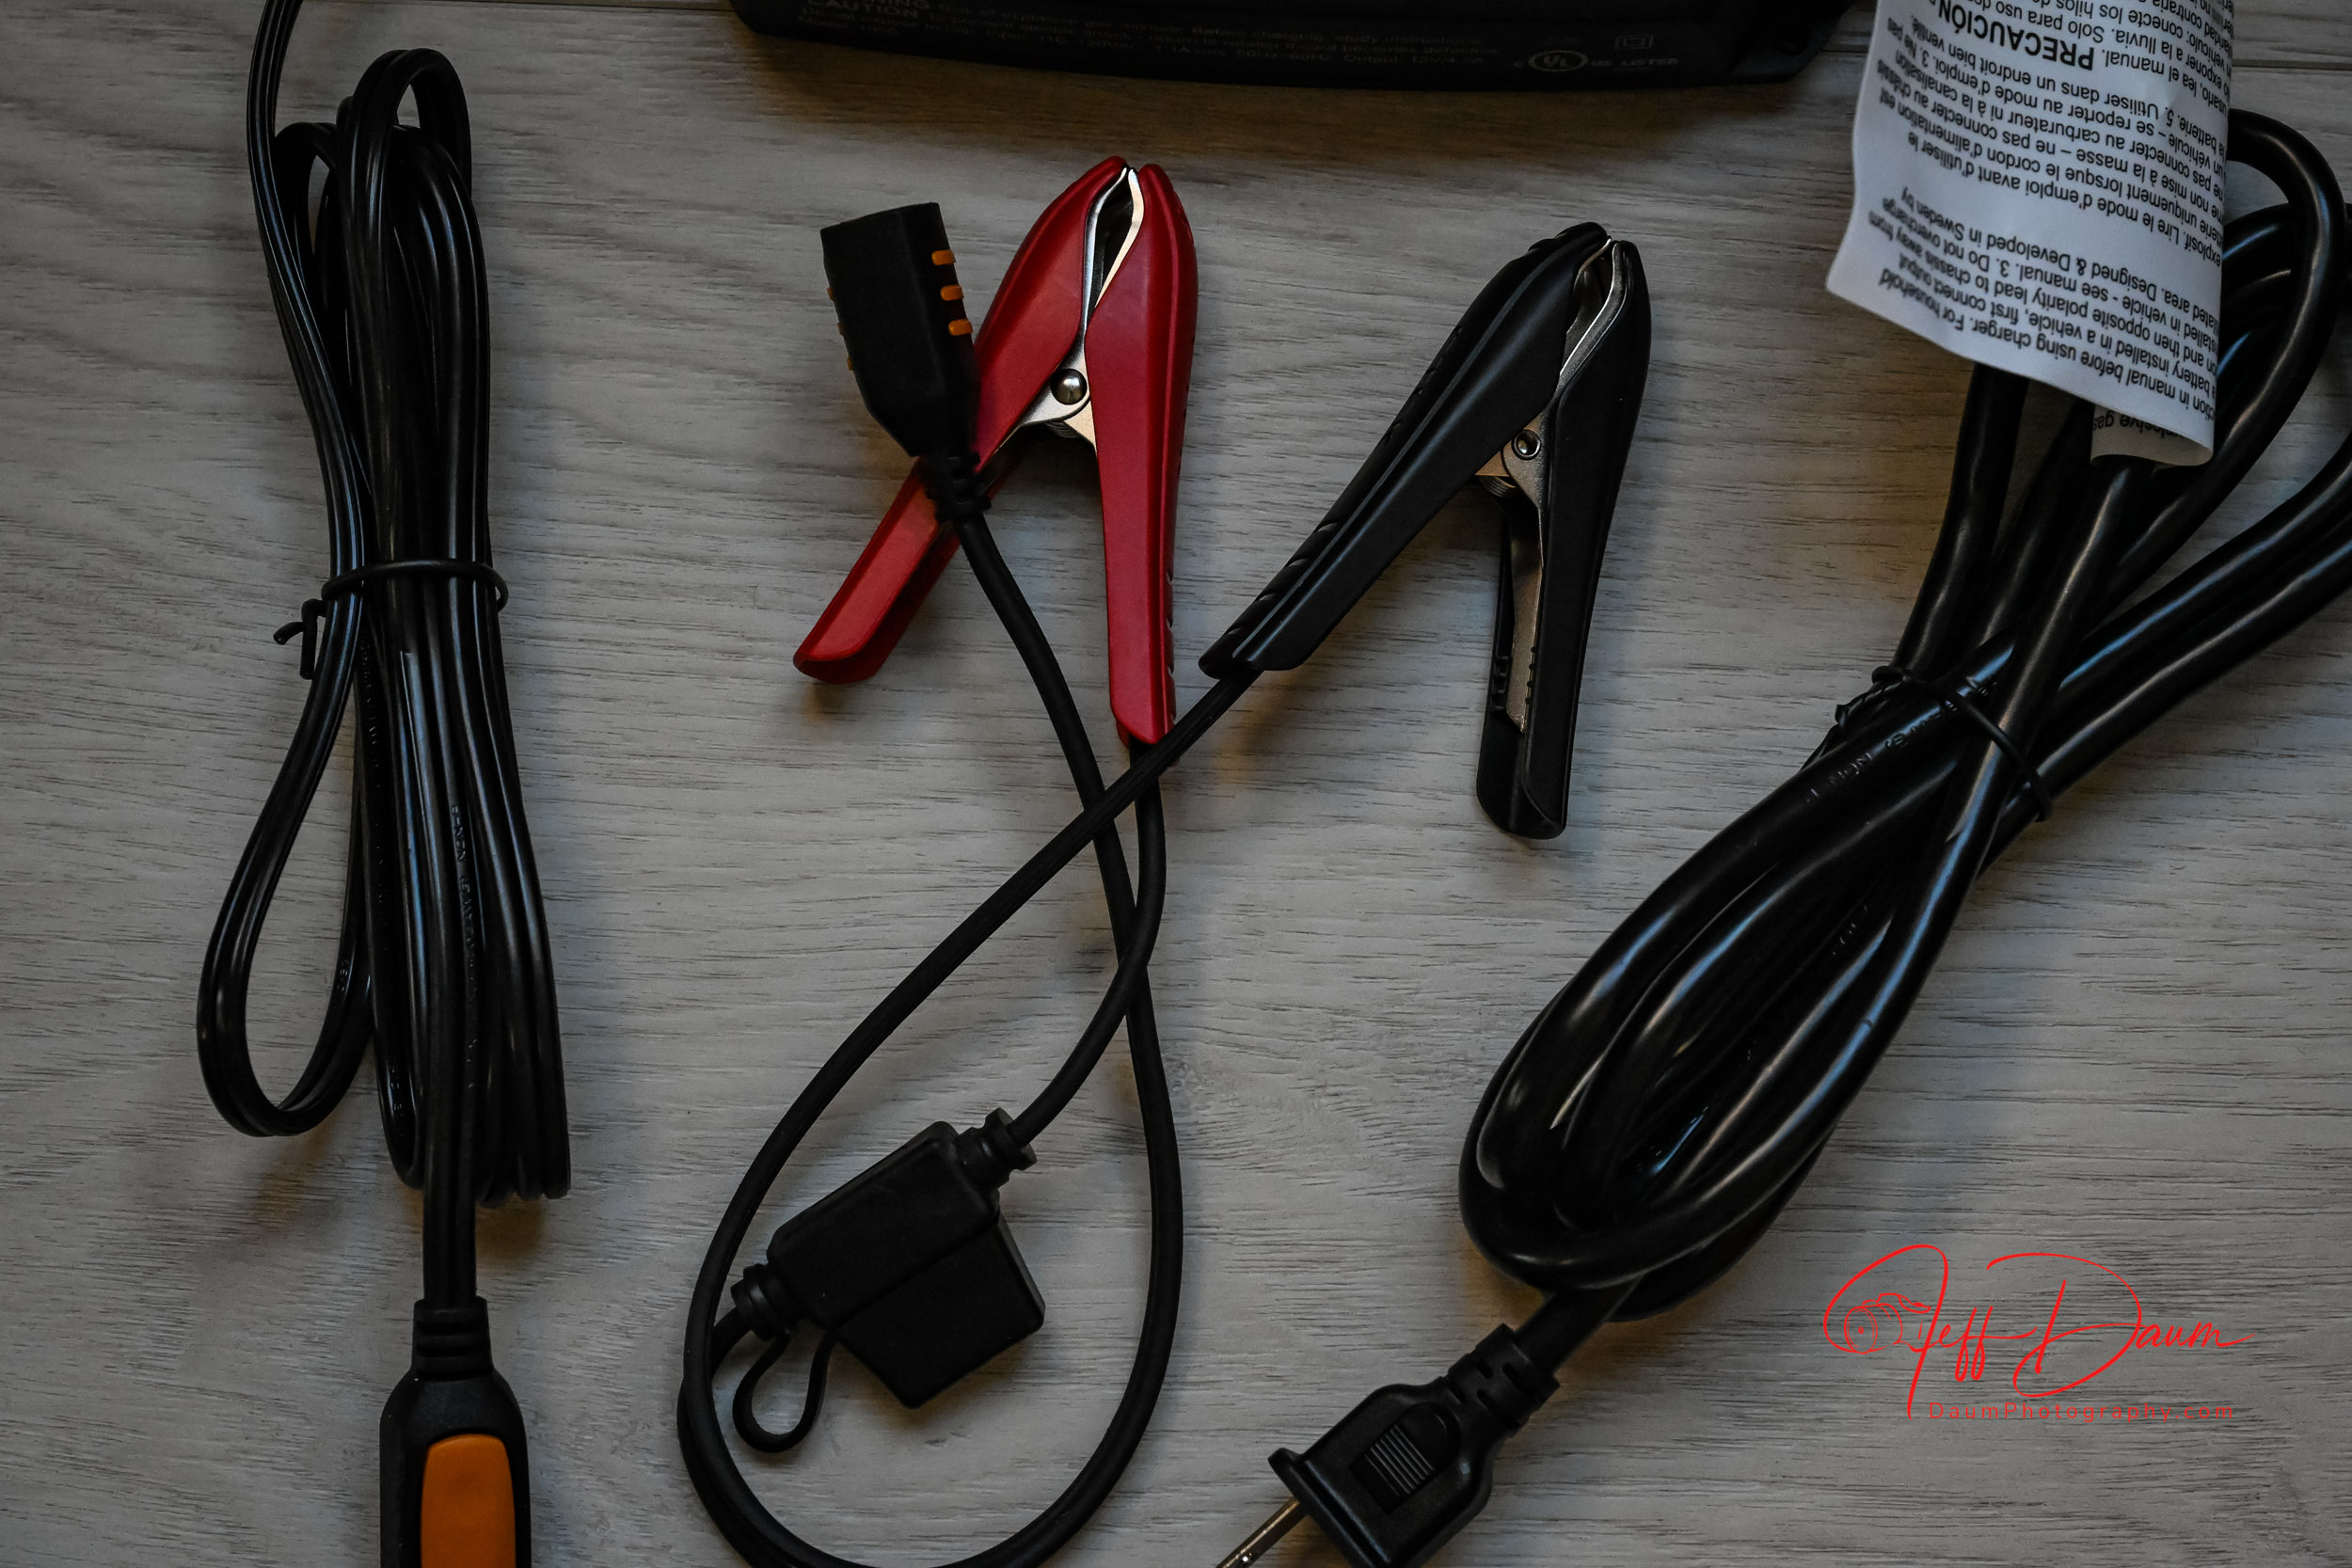
Included in the packing box is a multi-language Quick User Guide (with unfortunately hard to read small gray text on a black background) that runs 2 pages per language, a very legible User Manual that runs 32 pages per language, a compact charging station with attached power cord, and a retrieval hook (not normally needed).

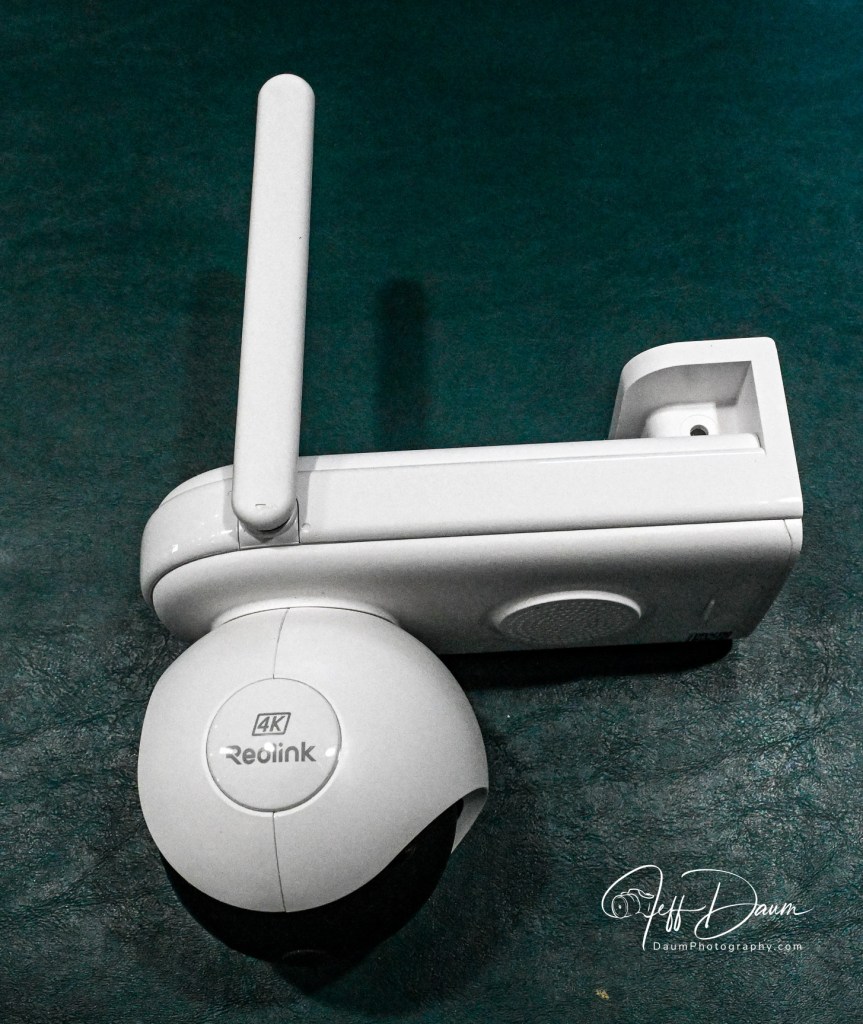
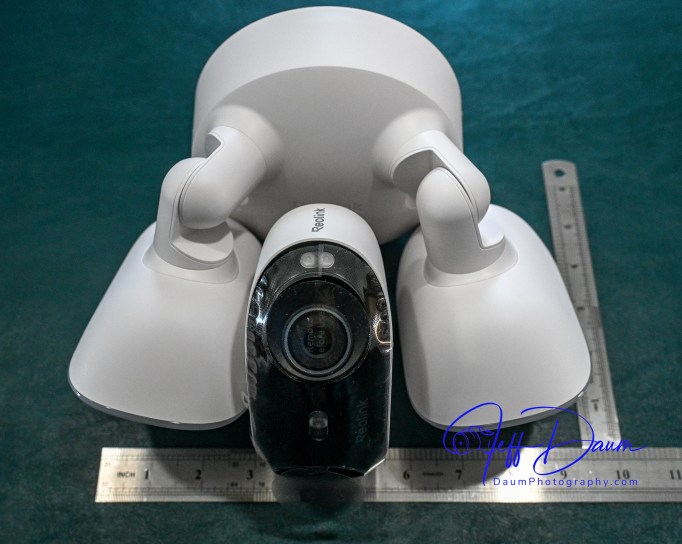
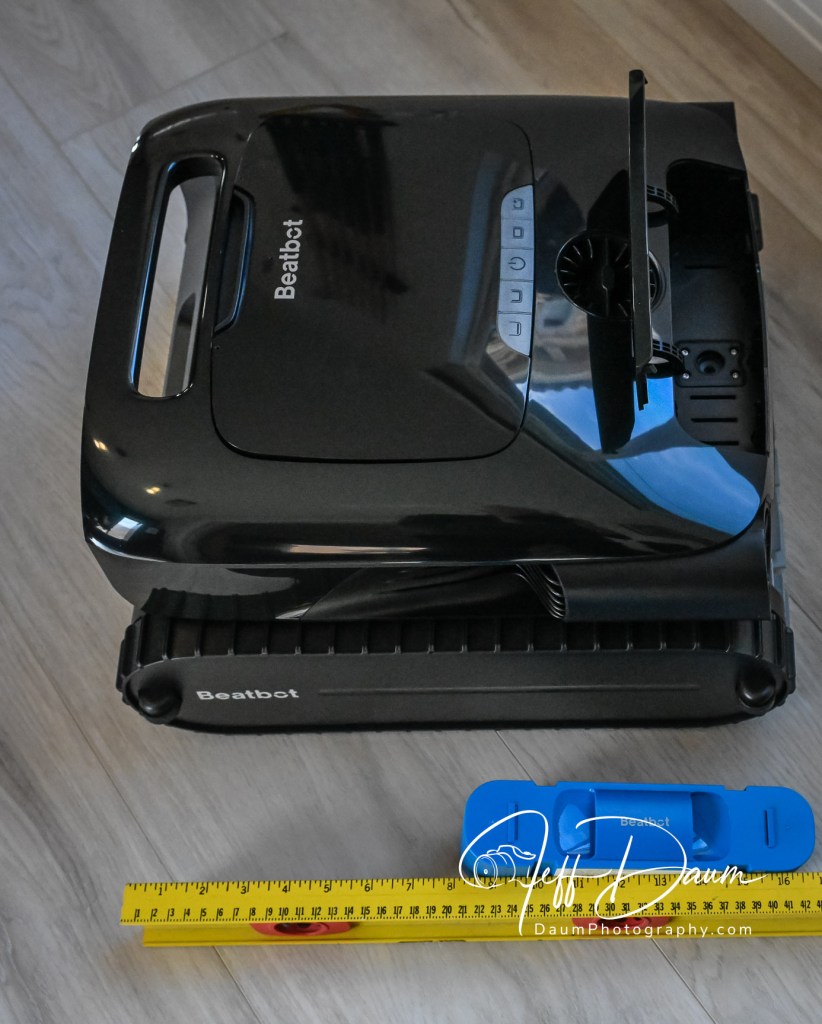
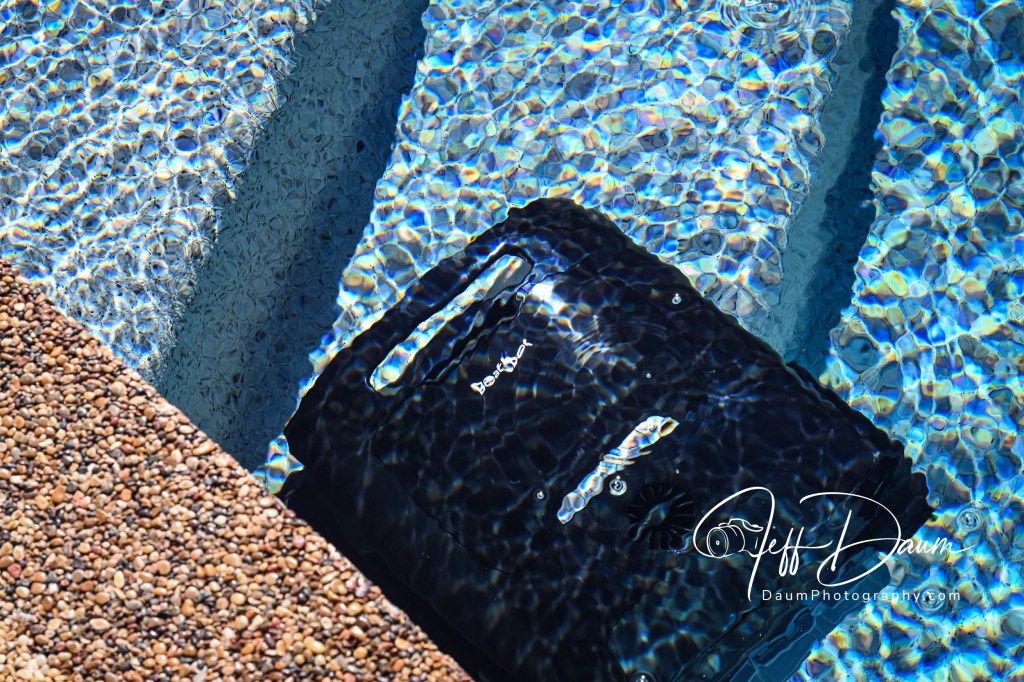
It is a very nicely finished product and appears well made. It has a built-in carrying handle, a push to open cover over the dual filter baskets, a separate cover for the option water clarifying agent kit. LED status light bar, and mode switched/LED indicators. It comes fully assembled with rubber track wheels and roller brushes.
Highlights from their website:
o List $2,199 (though they may have a sale on their site)
o World’s 1st 5-in-1 Cleaning: Clarification/Surface/Waterline/Floor/Walls Powered by 9 Motors.
o Best Intelligent Path Optimization Powered by Quad-Core 1.8GHz Processor.
o Industry-Exclusive Intelligent Return to Water Surface and Surface Parking.
o Powerful Wall Cleaning with Brushless Main-Pump Motor up to 5500 GPH Suction.
o Effortless Cleaning Control with the Beatbot APP and OTA Software Upgrades.
o Award-Winning and Eco-Friendly Cordless Submarine Propulsion Design.
o Superior Cleaning Efficiency and Coverage with 2×2 Independent Roller Brushes.
o Extreme Safety and Reliability with 15 Certifications, including ETL, CEC, and IP68.
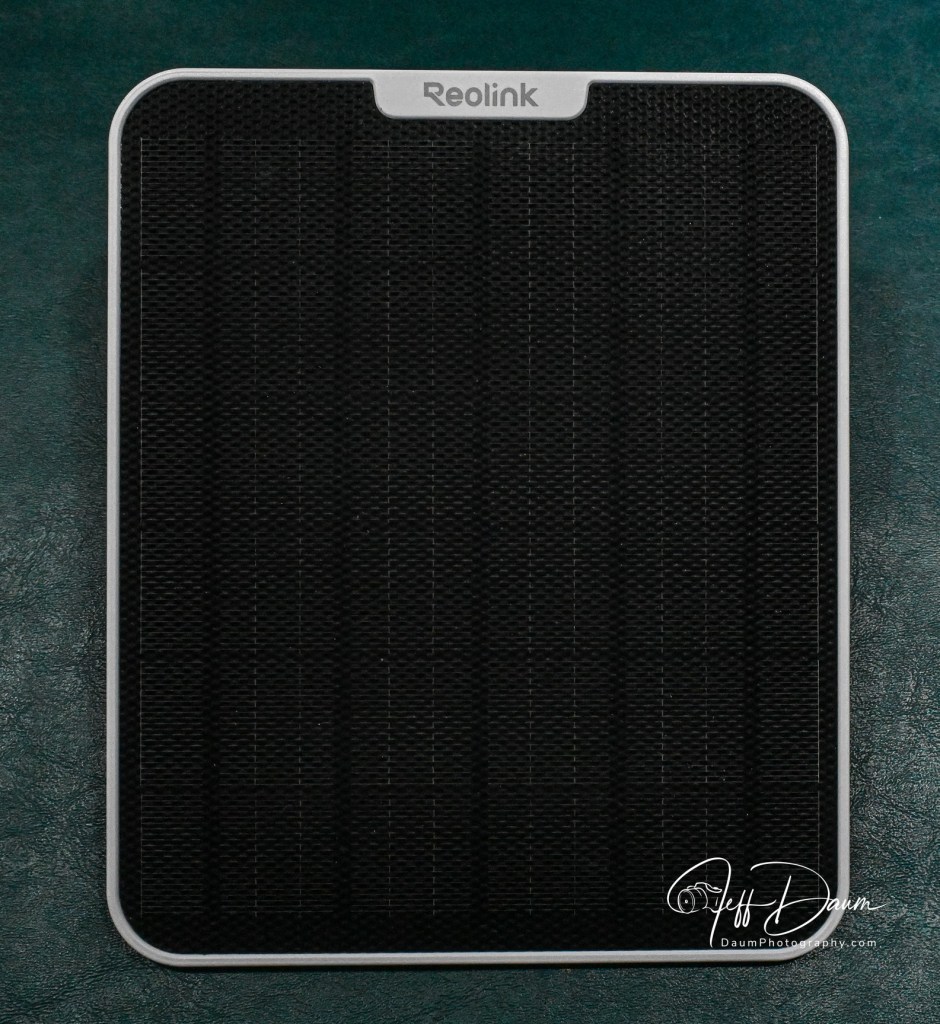
o Ultimate Convenience with Cordless Charging Dock for Plug-Free Operations.
o 9.5 Hours Surface Cleaning and 5 Hours Floor Cleaning with 10400mAh Battery.
The Quick User Guide suggests that you put the Beatbot AquaSense Pro on the charger stand (plugged in) and allow it to fully charge up. The charger stand does require easy no tools assembly of the two supporting leg brackets prior to use.

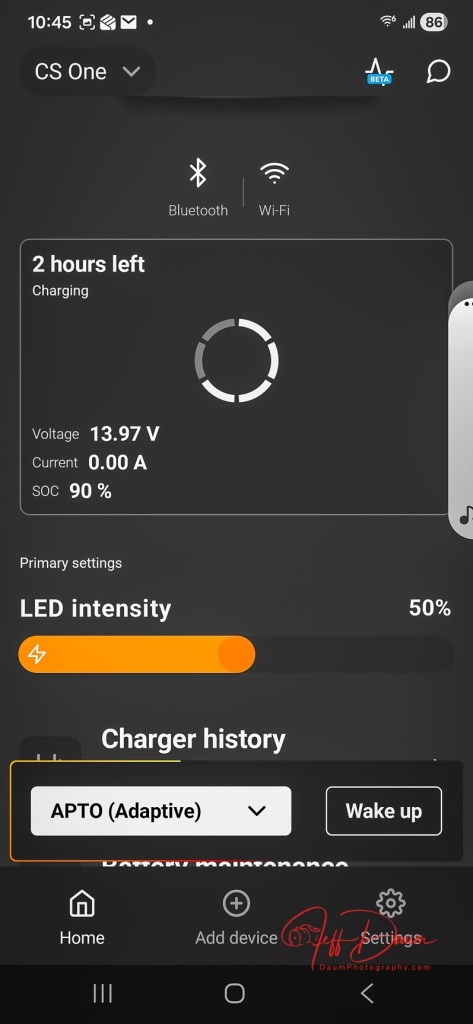
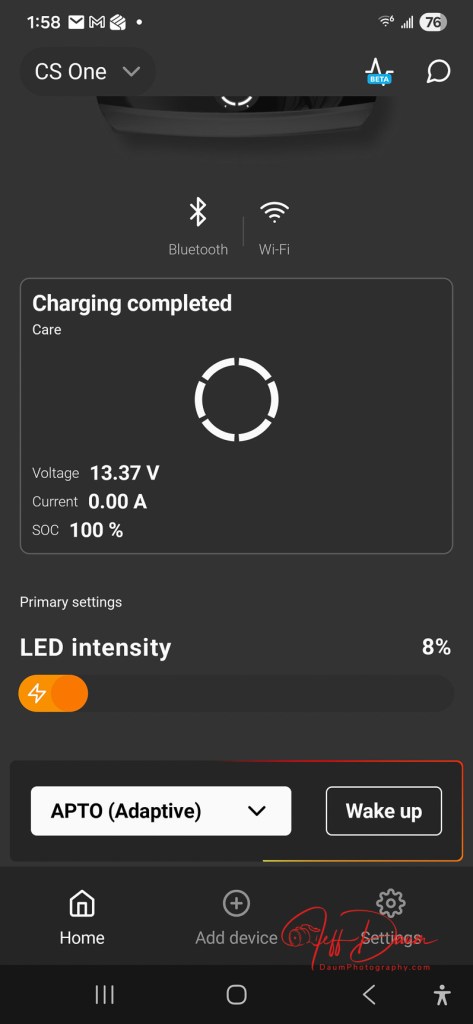
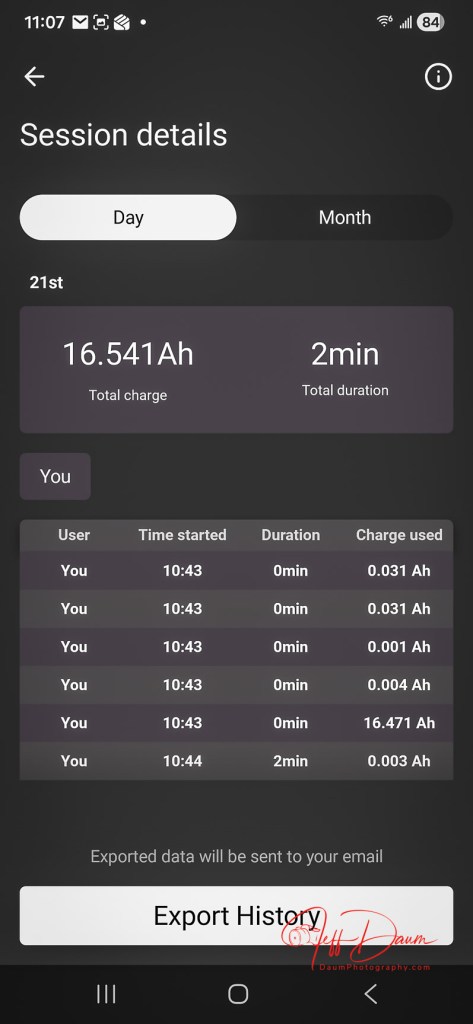
Also, included in the Quick User Guide is a QR code to scan with your smartphone to download the Beatbot app. Once you download it, you’ll need to follow its setup instructions. The app is very easy to use and provides you information such as state of charge, the cleaning mode selected (or you want to select) and when the robot is done cleaning your pool and ready to be lifted out. It will also provide reminder messages such as to clean the filter baskets.


When you are ready to have Beatbot AquaSense Pro clean your pool there are a couple of things to do before putting it in the water. The manual tells you to (1) turn off your pool (pop-up cleaner, water input from the pool pump) (2) remove any objects including people floating in the pool that can interfere with the multiple sensors, and (3) to place the robot on a level surface by the pool for 5 seconds to allow it to calibrate. Then you are ready to ease it into your pool. It will turn itself on shortly after it senses the water and begins the cleaning process depending on the mode you selected.
You have a choice of five cleaning modes: a Quick mode which cleans only the pool floor once, a Standard mode which cleans the floor, walls and water line once, a Pro mode with cleans the floor, walls, waterline and surface one time, ECO mode cleans the floor every other day (it remains on the pool floor until it cleans it again in two days), and Custom mode.
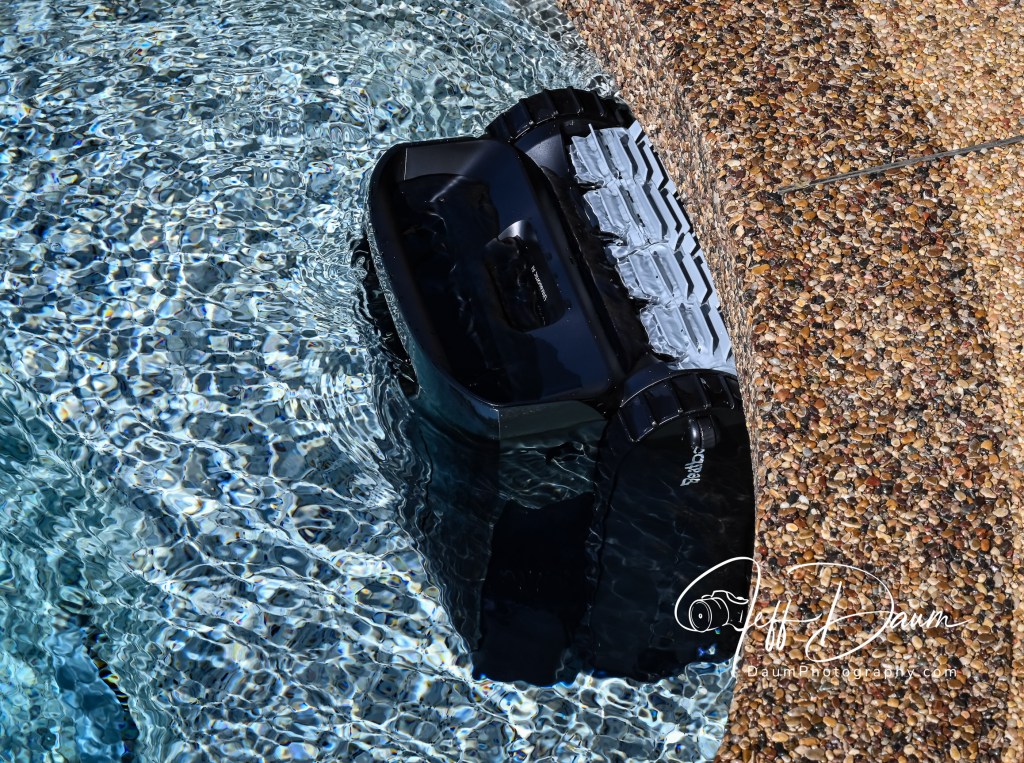
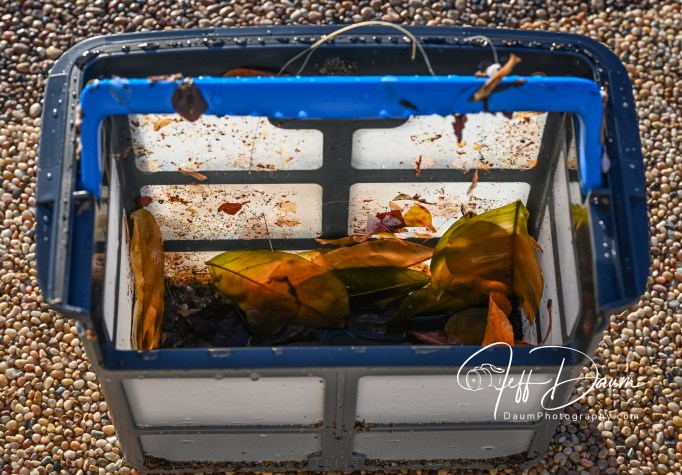
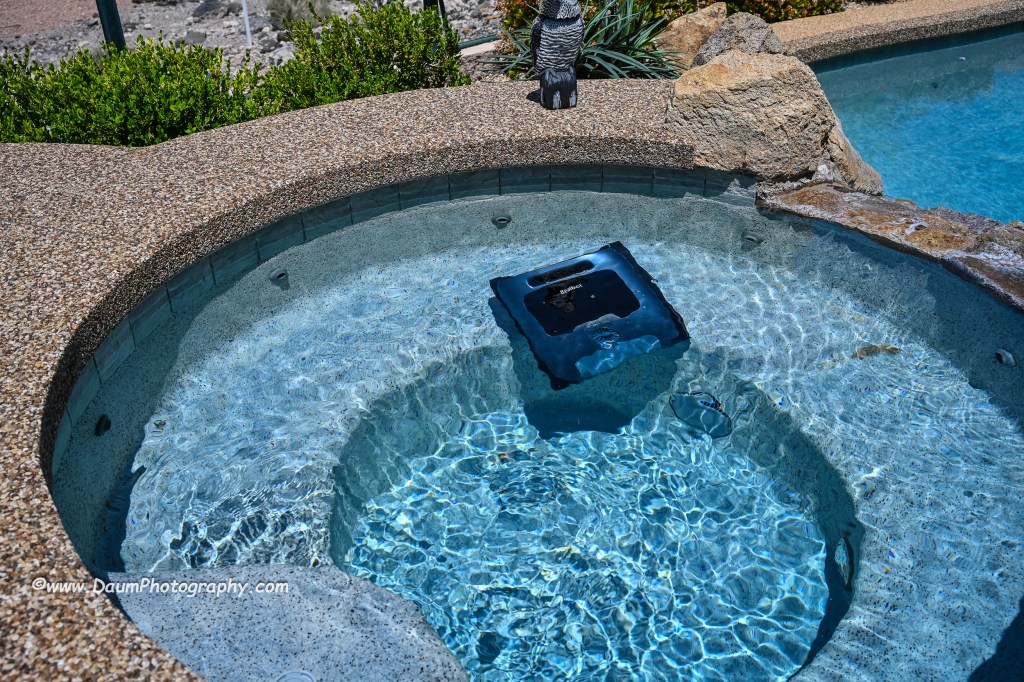
After the robot is finished cleaning, it will bring itself to the edge of the pool and hover there (unless you selected ECO mode) and send you a message via the app. If you don’t retrieve it for an extended period, it will drop to the pool floor and you will need to use the retrieval hook to bring it back up. The manual recommends that you slowly remove the Beatbot AquaSense Pro from your pool to allow it to self-drain as you pull it up. Then you pop open the filter baskets cover and remove them for cleaning using a hose. When that is done, you can put it onto the charger stand or in my case, move it into our hot tub for it to clean. It easily cleaned both my pool and the hot tub on a single charge with battery power remaining once done. It took about 3 to 3 ½ hours for the pool and under 1 ½ to 2 hours for the hot tub on different runs completed during my initial testing. It is virtually silent while cleaning unless it was at the surface where you could hear the water being expelled at a relatively low db level.


Preliminary Results
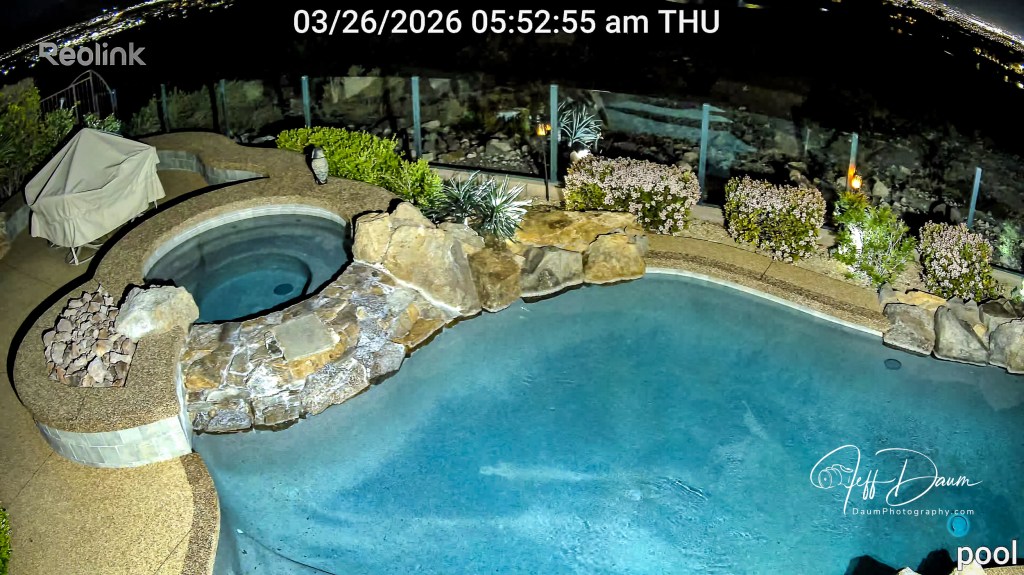
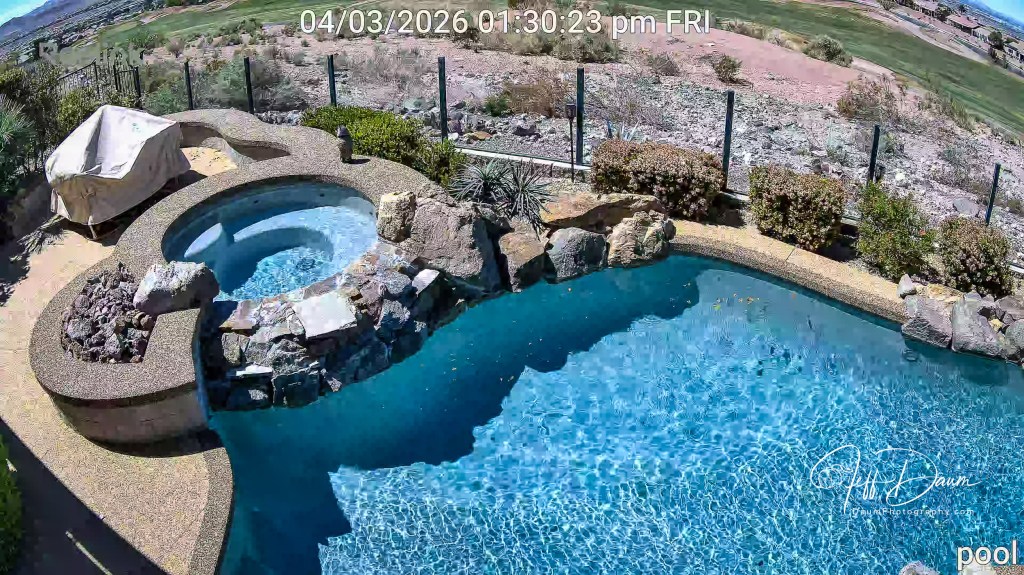
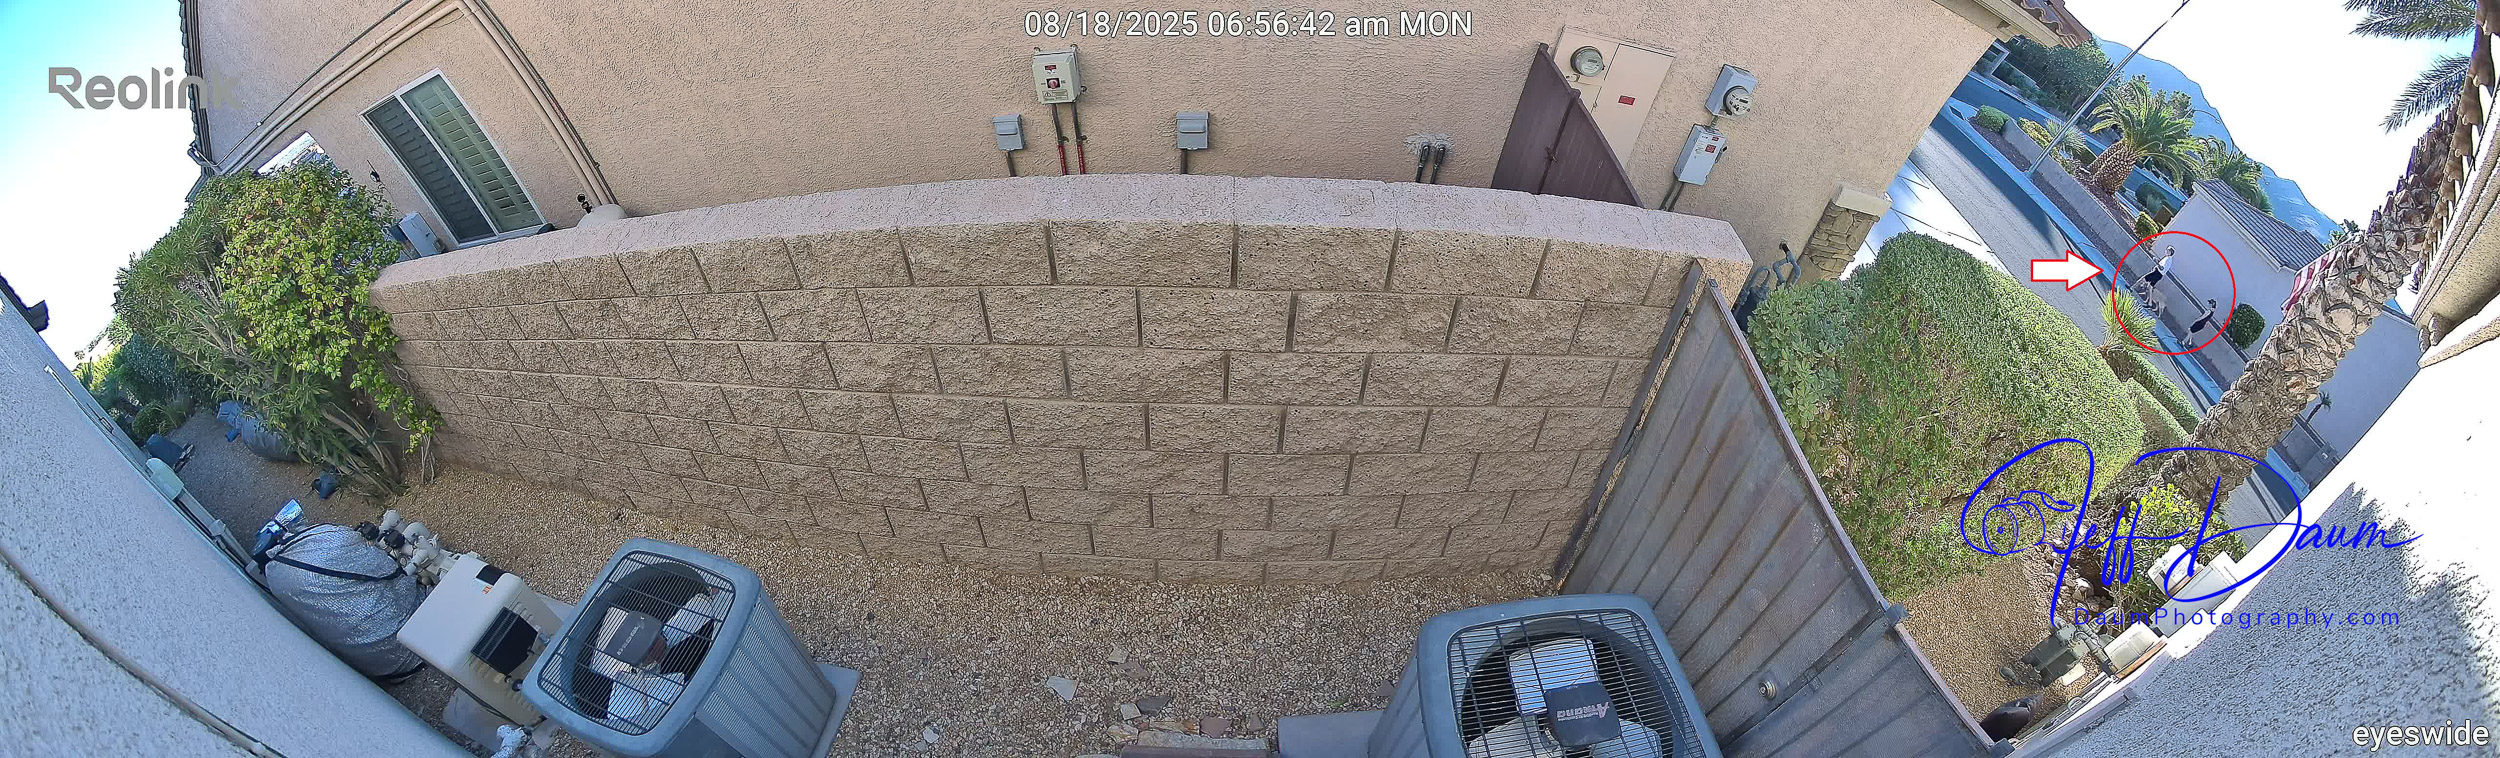
So, let’s turn to my initial set of questions: How did it handle my free form pool? In a word- easily! It had no problem with the fact that it was irregular in shape with curved walls. The only impact was that the app when the cleaning was finished stated it automatically switched to DeepSense Mode for better cleaning and did not provide a clear graphic of the path it took to do it. Did it do a good job cleaning? We live in a dry desert climate so often there are blowing sand and dirt that get into the pool. I was truly amazed at the amount of sand the Beatbot AquaSense Pro vacuumed up and how noticeably cleaner the bottom of the pool looked compared to just the normal pool filtration system and having the pool manually cleaned once a week.

Similarly, it did a great job capturing leaves and debris both on the pool bottom and floating on the pool surface.

Do I think this is something a pool owner would really want or is it just a neat robot? I think the list price of $2,199 will deter many potential buyers until they see it in action or know someone who has one. If you pay someone to clean your pool frequently, the Beatbot AquaSense Pro will pay for itself in your first year of ownership. If you clean your pool yourself, you need to weigh your time and the quality of the job you do versus the ease of having Beatbot AquaSense Pro doing it for you.
If you would like to see a short video of the Beatbot AquaSense Pro in action, click on this link https://youtu.be/k1gVOMtEDKk
Summary
I am extremely impressed with Beatbot AquaSense Pro design and execution. Lots of pool vacuums and some robots can do a good job on the floor of a pool, but to be able to climb the walls, stairs and landings, and scrub the waterline truly separates Beatbot AquaSense Pro from the field. It is so easy to use and clean and the results are sparkling, both in the pool and hot tub. The app is well designed and works every time. I did not get the optional Clarifying Agent Kit so I can’t speak to its effectiveness. Since the app has not given any information on water quality, I presume that is dependent on having the Kit installed. The only hitch experienced so far is that the MemoryPark™ smart return doesn’t always bring the unit back to the starting point, but it always hovers near the wall, so it is easy to retrieve.
Conclusion, I rate Beatbot AquaSense Pro 5 out of a possible 5 waves!


Thanks for visiting and reading. If you have a question, please feel free to ask below!


 JD: Thank you so much.